
netcup wiki
Domain

Connecting a netcup Domain to a Server
The process for using a netcup Domain in combination with an existing netcup Server is very convenient. This chapter provides you with a detailed step-by-step guide.
1. Registration
The first step to connect an additional netcup Domain to a netcup Server that is already in use is to register a netcup Domain. This process is documented in detail in this chapter.
Once you have ordered a netcup Domain, you can proceed to Step 2.
2. Accessing the SCP
Open your Server Control Panel (SCP) and select the server to which you would like to add the registered domain.
Below the SCP logo, there is a drop-down menu that allows you to quickly select a server. This will take you to the specific control panel for that server. You can also select a server by clicking its name in the server list in the center of the page:

3. Network
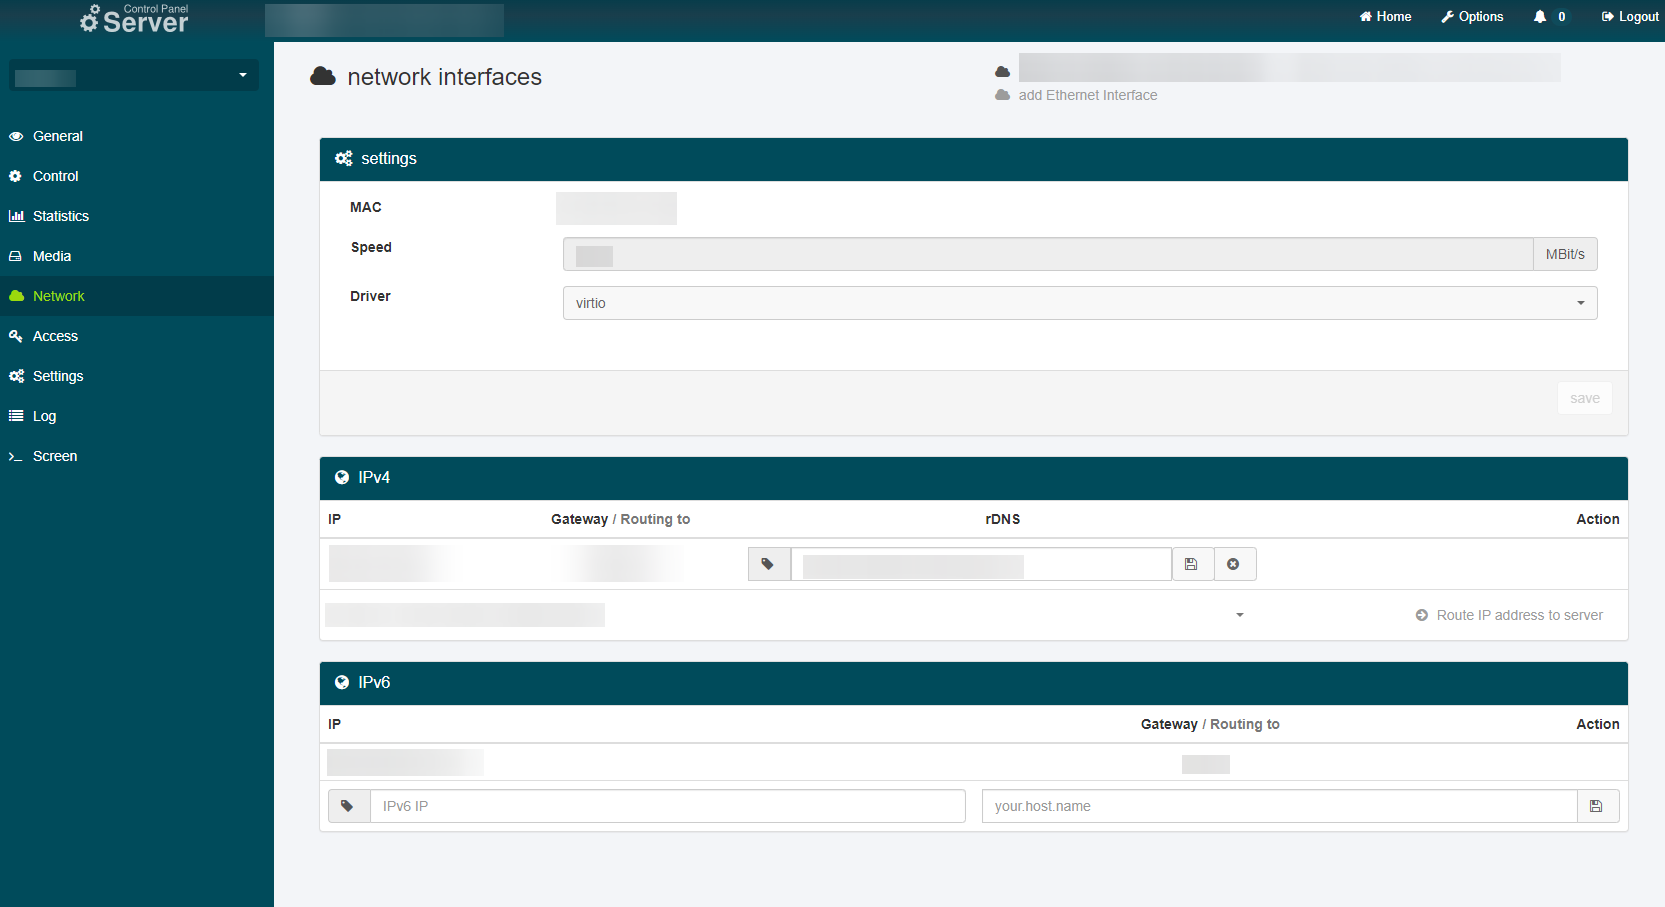
In the navigation tree on the left side, click the "Network" entry and then look for the "rDNS" section under "IPv4":
4. Adding the domain
To add the domain, simply replace the already existing URL under rDNS with the complete domain, including the Top-level Domain. In addition, write down or copy the IP displayed in the "IP" section, you will need it later.

5. Accessing the CCP
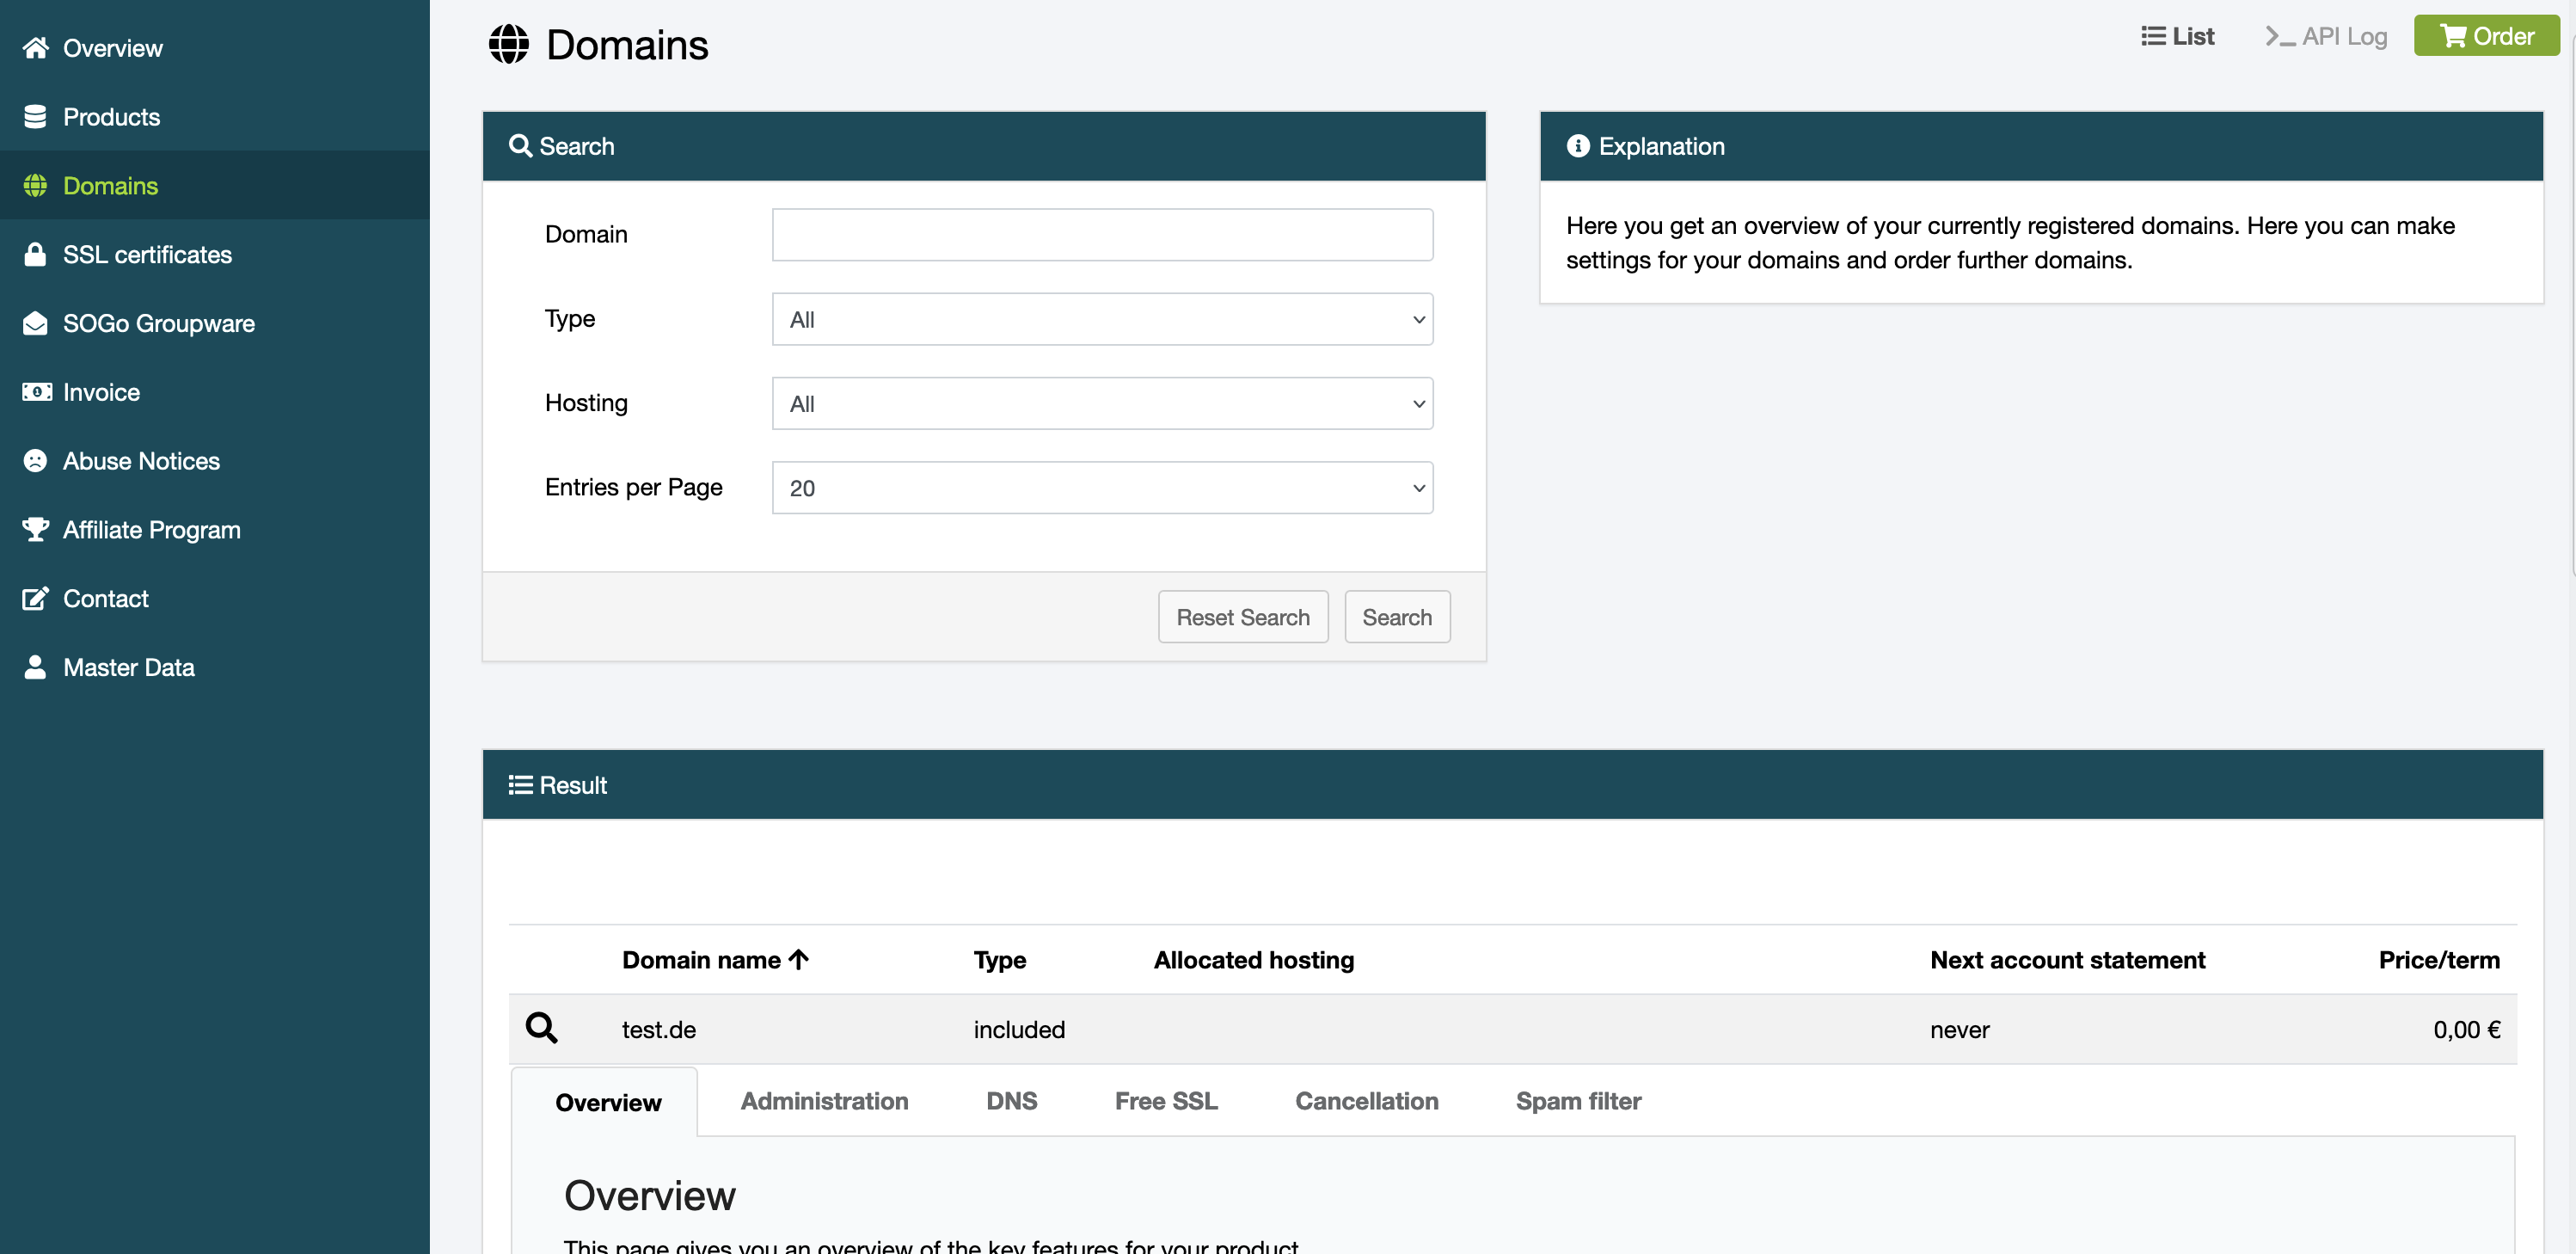
Open your Customer Control Panel (CCP) and go to the "Domain" section in the left navigation bar. Search for the domain you want to connect to your server. Click the magnifying glass to the left of the domain name and then go to the "DNS" tab.
6. DNS
Here, if there isn't already an entry for it, add an "A-Type" with "*" and a second with "@" under "Host". Under "Destination", you have to paste the IP address you just copied in Step 4:
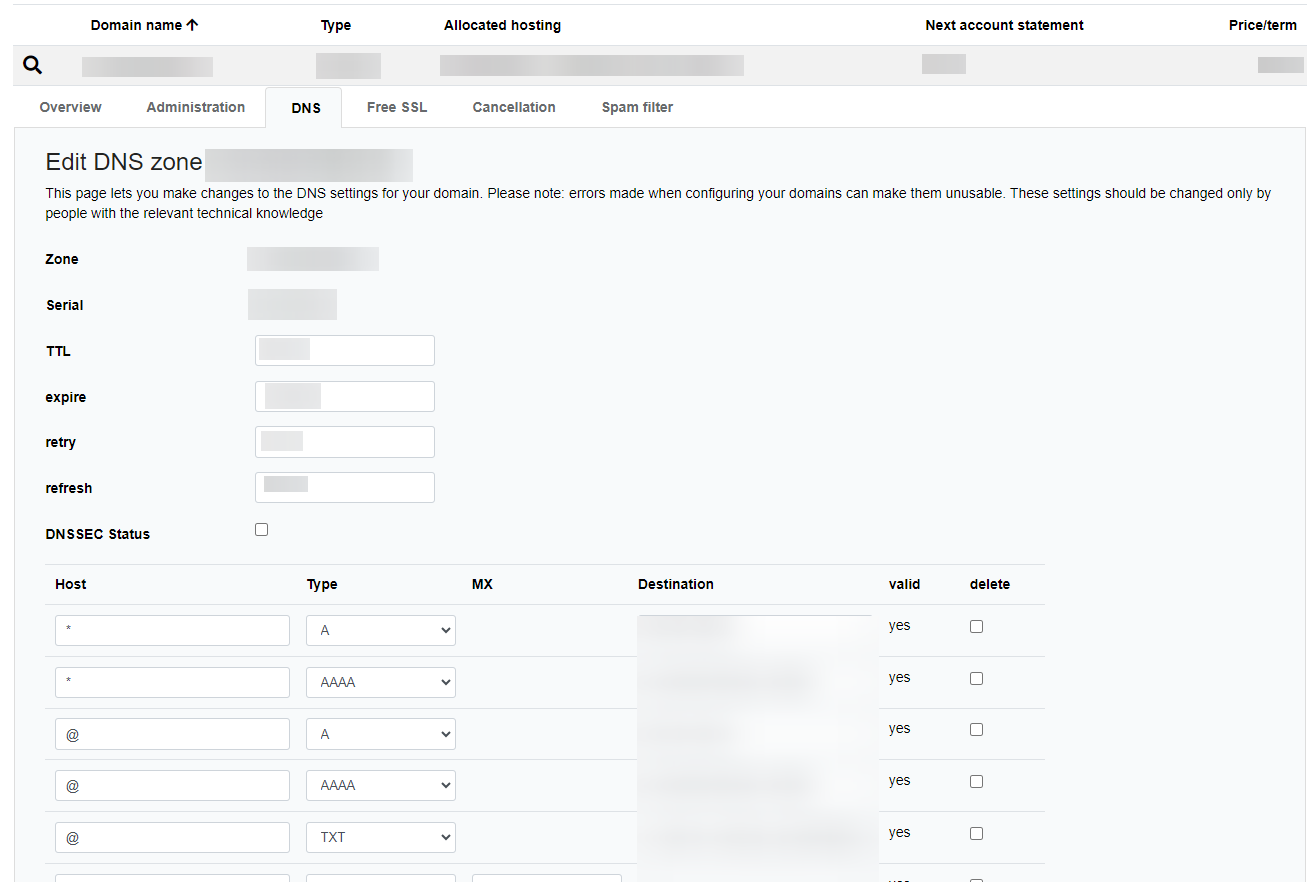
Once you have clicked "Save DNS Records" at the bottom, the server will be accessible via the provided domain once this change has been propagate across DNS servers, which may take a few hours.
netcup
netcup Enterprise
Community
netcup Enterprise
Community