
netcup wiki
SOGo Groupware

General
Getting Started
User Guide
Server
Getting Started
User Guide
Webhosting
Getting Started
User Guide
Domain
Getting Started
User Guide
SOGo Groupware
Getting Started
Adding a Mailbox to SOGo
Adding a Mailbox to Your SOGo Instance
In this chapter, we are providing you with a step-by-step guide on how to add a Mailbox to your SOGo instance. Once finished, you will be able to access your SOGo instance via this account.
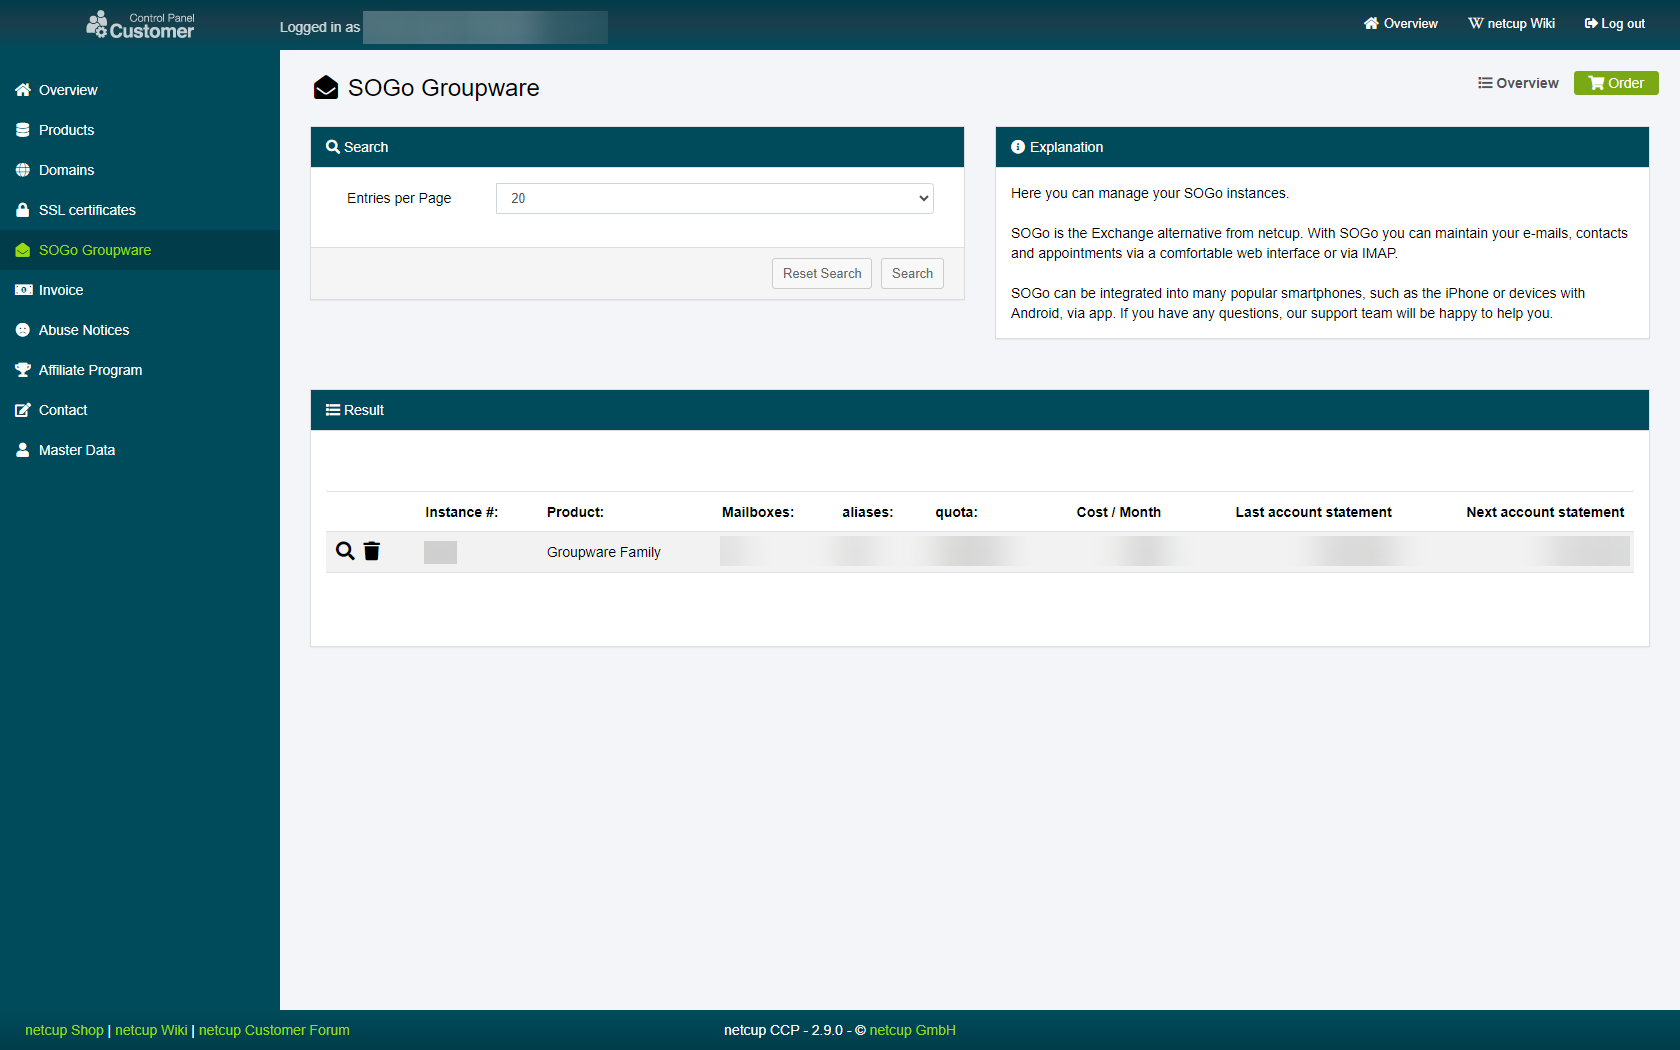
1. Selecting the instance
Head to the SOGo page in your Customer Control Panel and click on the magnifying glass next to the SOGo instance you want to add a Mailbox to:
2. Adding a Mailbox
Switch over to the "Mailboxes" tab and look for the section titled "Create Mailbox".
| Titel | Description |
|---|---|
| Here you can specify the address of the new Mailbox. Add the new address name on the left and select the Domain you want to use on address the right. | |
| Quota | Here you can set the amount of storage the new Mailbox has access to in megabytes. Owner Here you can set a name for the new account. |
| User | Here you can set a name for the new account. |
| Password | Here you can set a password for the new account. Please keep in mind proper password etiquette. Do not reuse this password in any other place and ideally, choose a long, unique passphrase including letters, numbers and symbols. |
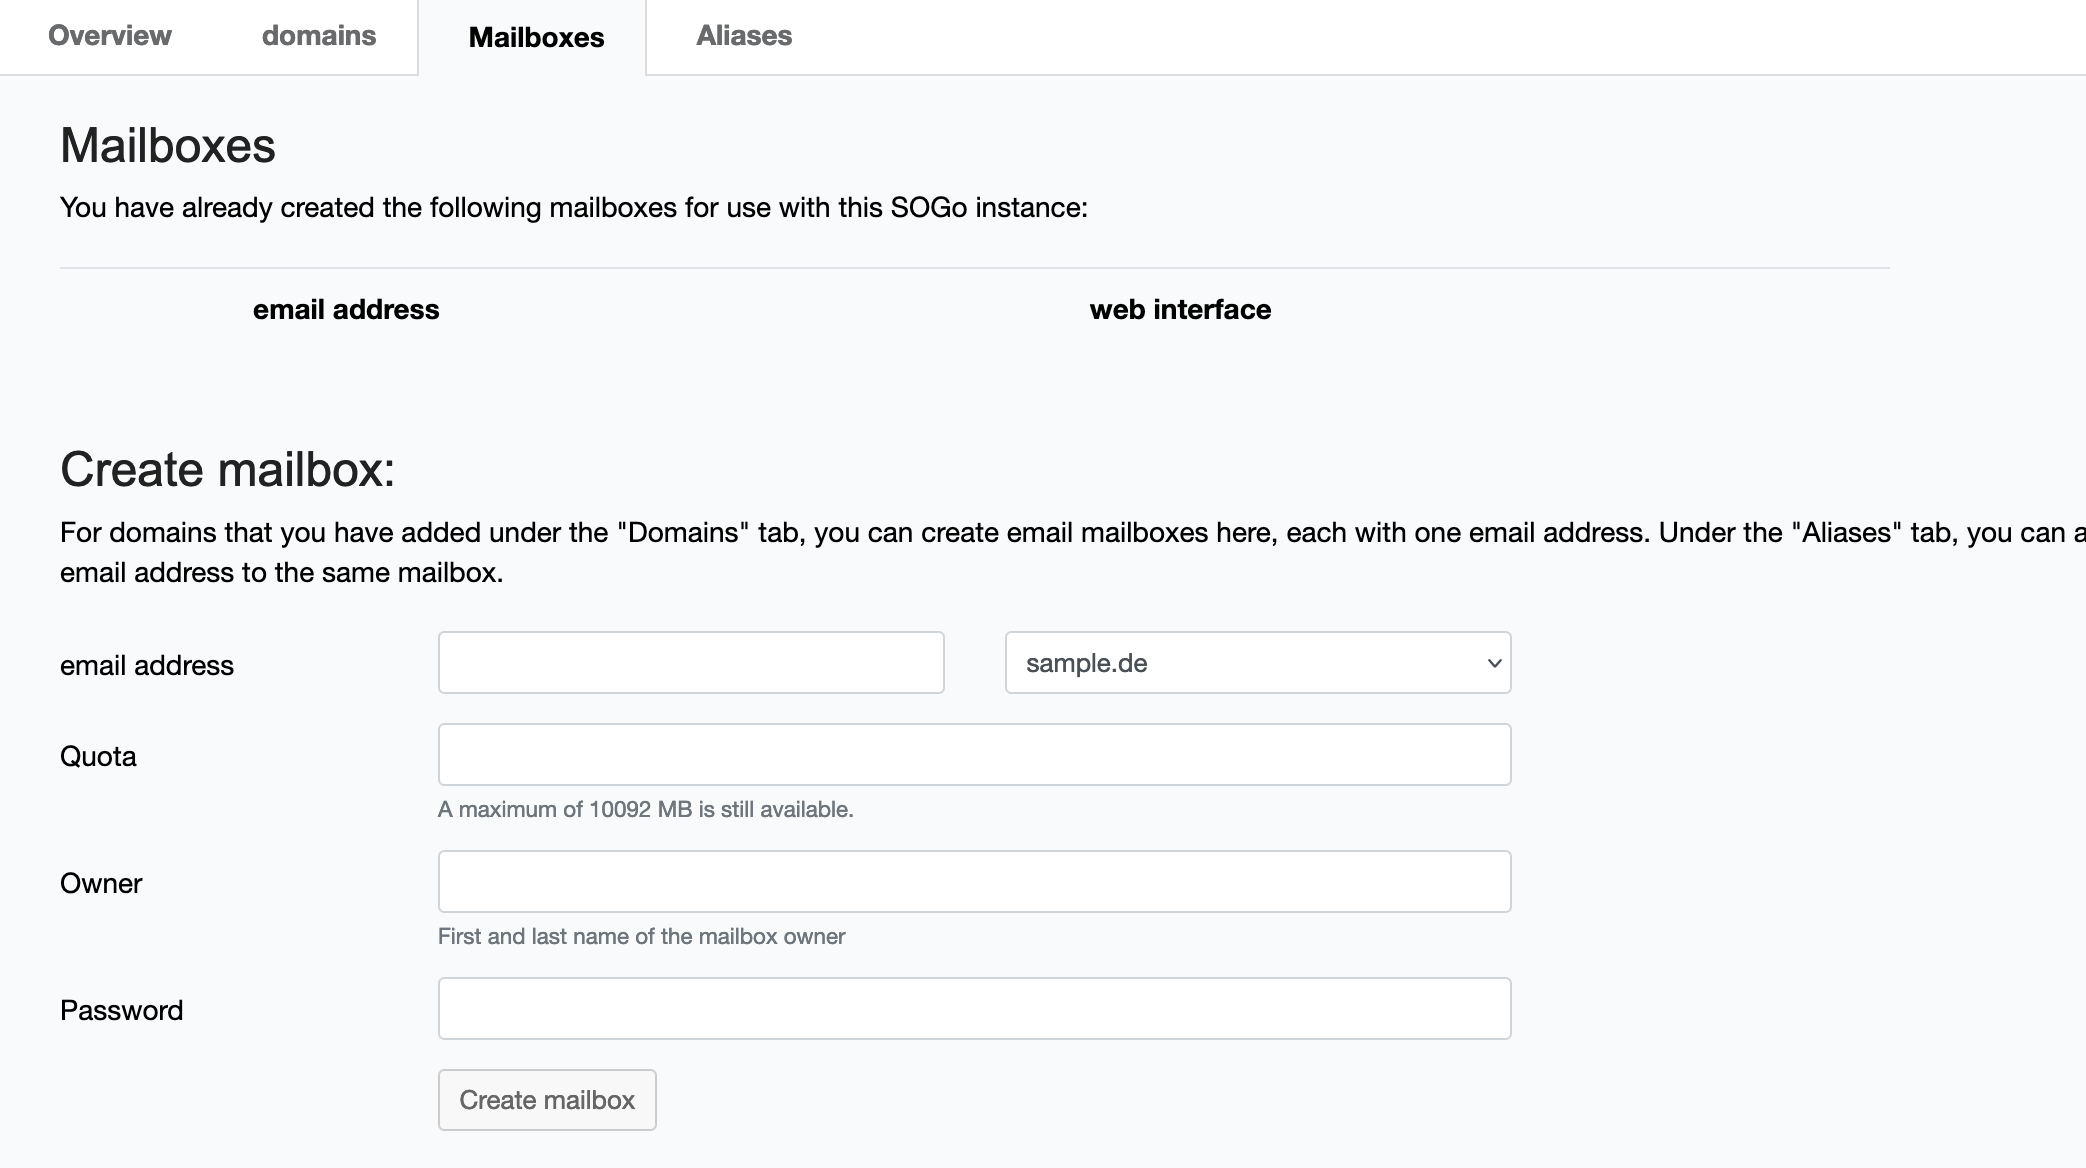
3. Success
Click on "Create mailbox" at the bottom to add the new Mailbox.
netcup
netcup Enterprise
Community
netcup Enterprise
Community