
netcup wiki
Webhosting

Using the File Manager
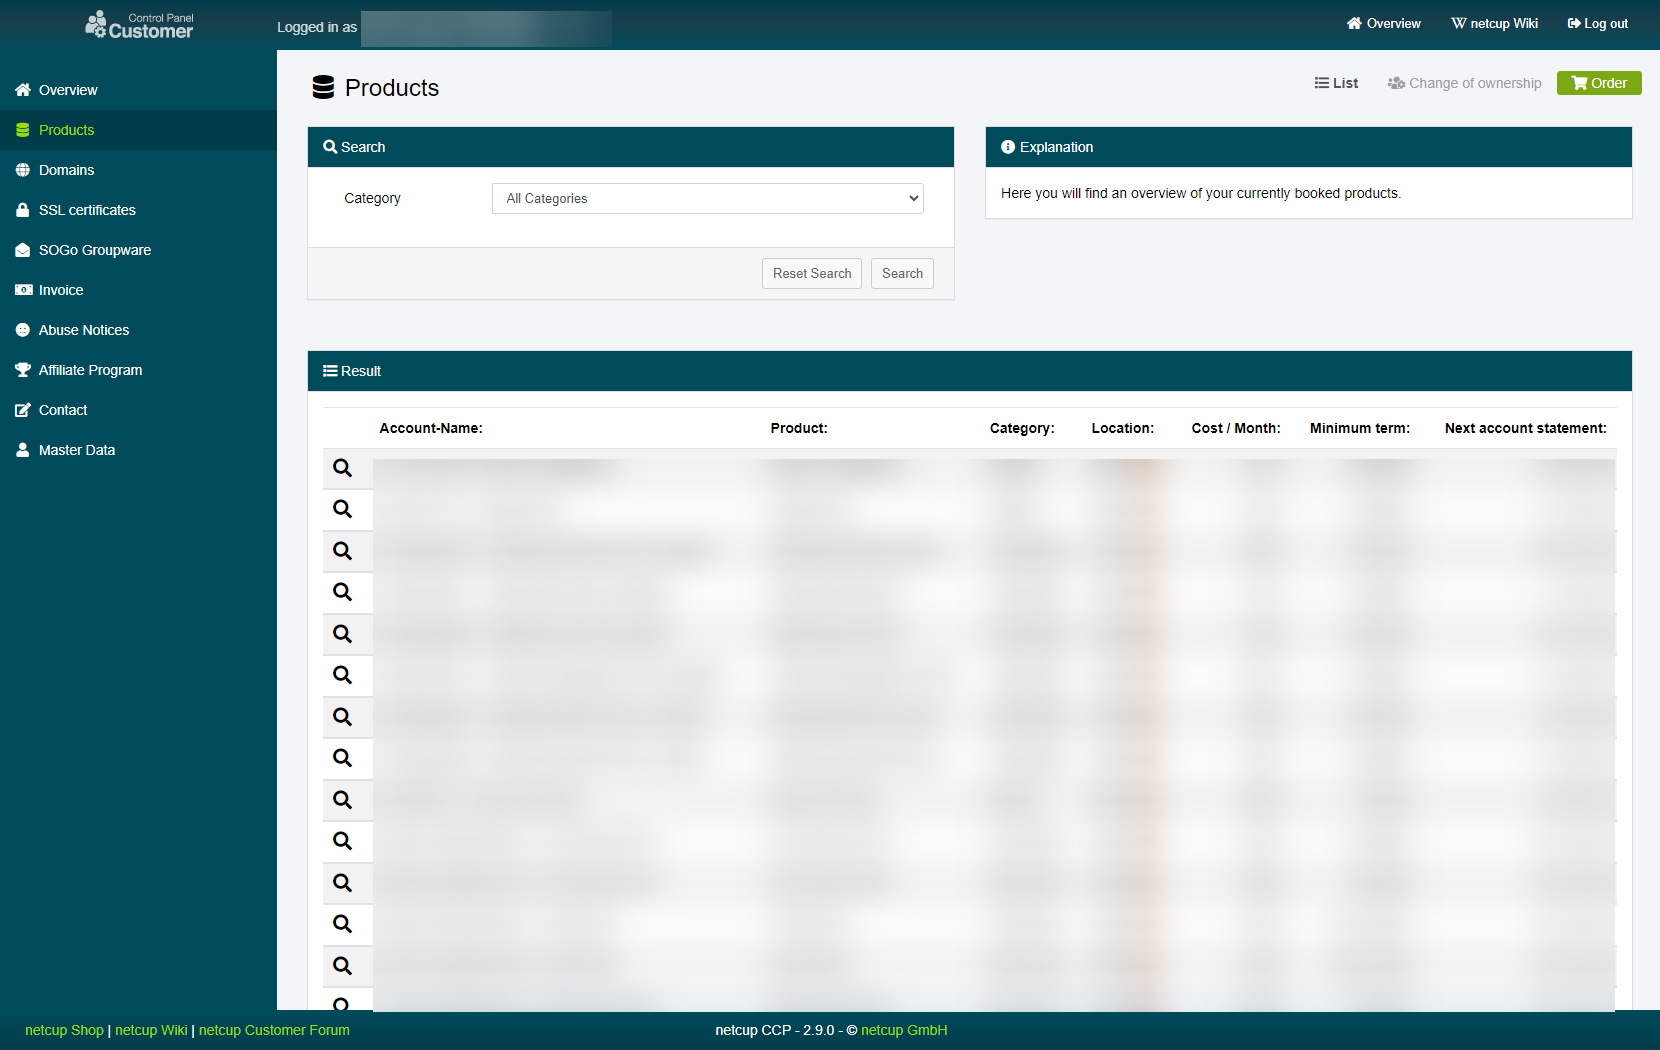
1. Accessing the CCP
Log into your Customer Control Panel (CCP). In the navigation bar on the left, go to the "Products" section. Find the Webhosting instance where you want to manage files and click on the magnifying glass icon next to the instance name.
2. Using the File Manager
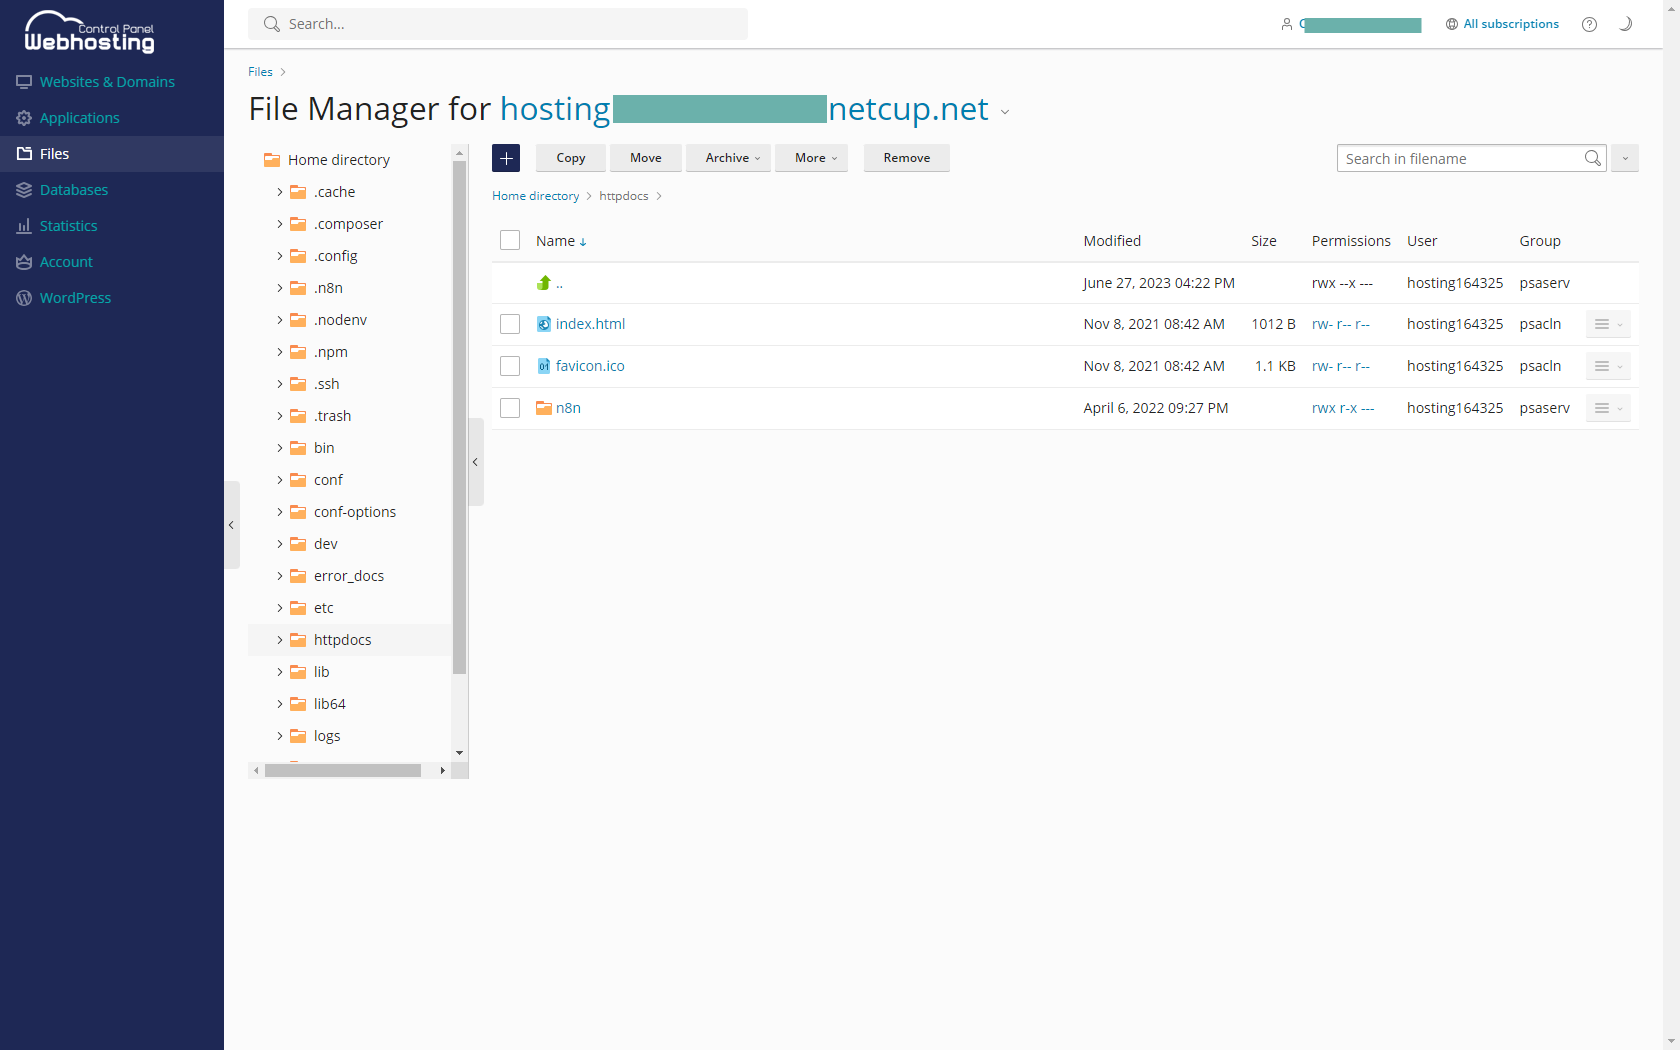
Under "Select a domain," choose the domain you want to work with and click on "File Manager."
You will be redirected to your Webhosting Control Panel for the selected domain. In the new window, you'll be able to navigate through your directories, upload, download, edit, delete files, change file permissions, and much more. Use the toolbar at the top of the page to perform these actions.
4. Success
Congratulations! You now know how to use the File Manager in the Webhosting interface.
netcup
netcup Enterprise
Community
netcup Enterprise
Community