
netcup wiki
SOGo Groupware

Using SOGo with Android devices

Note that these instructions may not exactly replicate the process on your device, as Android devices may differ depending on the manufacturer and software version.
1. Set up email
Open Customer Control Panel
- Open the details of your SOGo instance in the Customer Control Panel (CCP).
- Select the Mailboxes tab.
- Select the email address you want to set up and click on the key icon.
- A window will open with the access data you need for the setup.
Open settings
- Open the Settings on your Android device.
- Select the menu item Accounts and backup.
- Go to Manage accounts.
- Select Add account.
- Select Personal (IMAP).
Connect
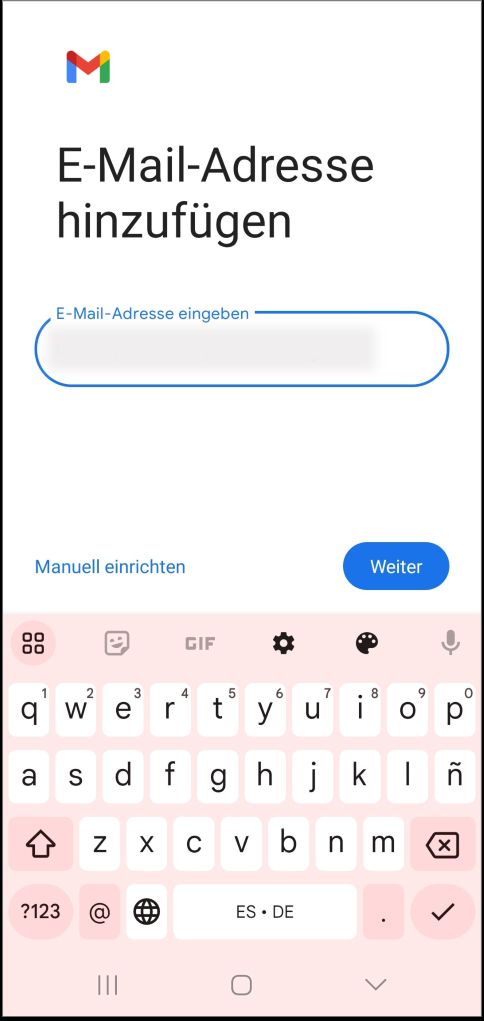
- Enter your email address and tap Next.
-
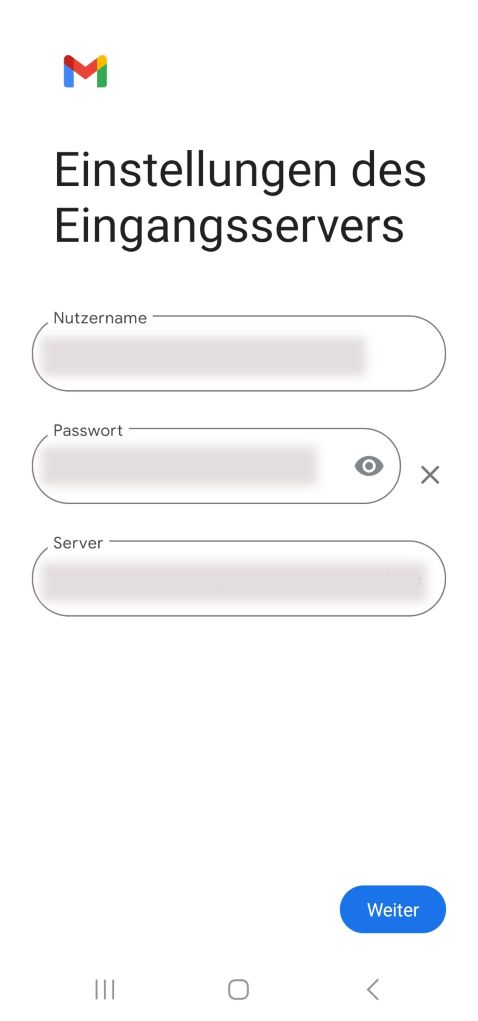
Enter your password and tap Next.
-
Enter the information in the Server field that is listed under IMAP Server in the access data in the CCP, and then tap Next.
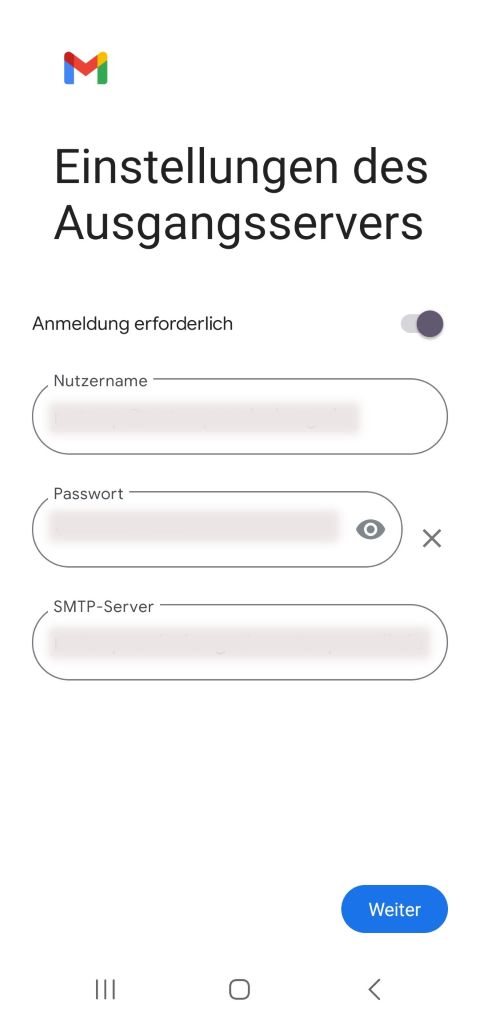
- Enter the information in the SMTP server field that is listed under SMTP Server in the access data in the CCP, and then tap Next.
- Optionally, enter an account name and your name and tap Next.
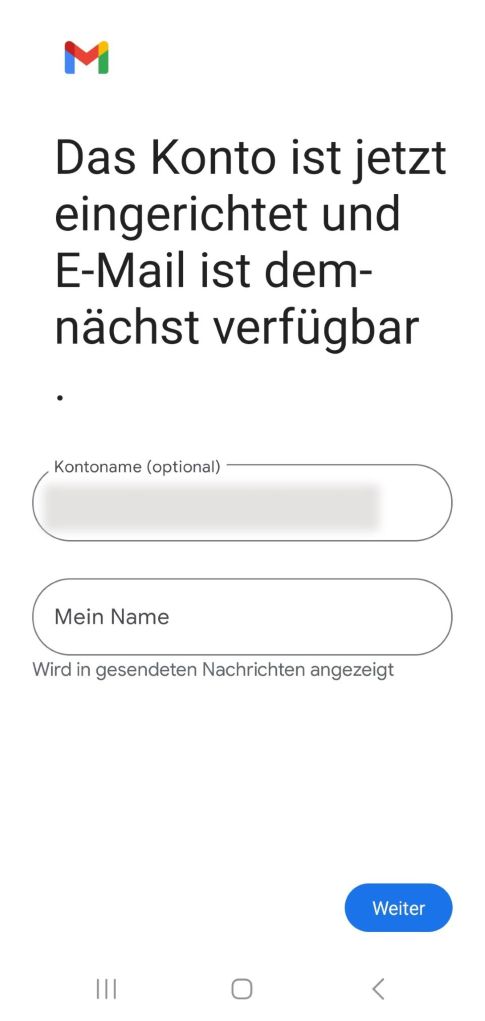
- The setup is complete.
2. Set up calendar and contacts
Install DAVx⁵
Android does not support CalDAV and CardDAV by default. DAVx⁵ is an app that makes it possible to manage and synchronize these protocols on Android devices.
- Download DAVx⁵: https://f-droid.org/de/packages/at.bitfire.davdroid/
- Complete the installation.
Open DAVx⁵
- Start the app.
- Tap on Add account.
- Select Log in with URL and username and tap Continue.
Enter data
-
Enter your base URL:
https://yoururl-tld.netcup-mail.de/SOGo/dav. -
Enter your username (= Email address).
-
Enter your SOGo account password.
-
Tap on Log in.
-
Enter your email address as the account name.
-
Tap on Complete.
Success
You have successfully connected your SOGo account to your Android device. You now have direct access to all SOGo functions, including webmail, calendars and address books.
netcup
netcup Enterprise
Community
netcup Enterprise
Community