
netcup wiki
Webhosting

Managing Applications
This guide will assist you in managing applications through the Webhosting Control Panel.
1. Accessing the CCP
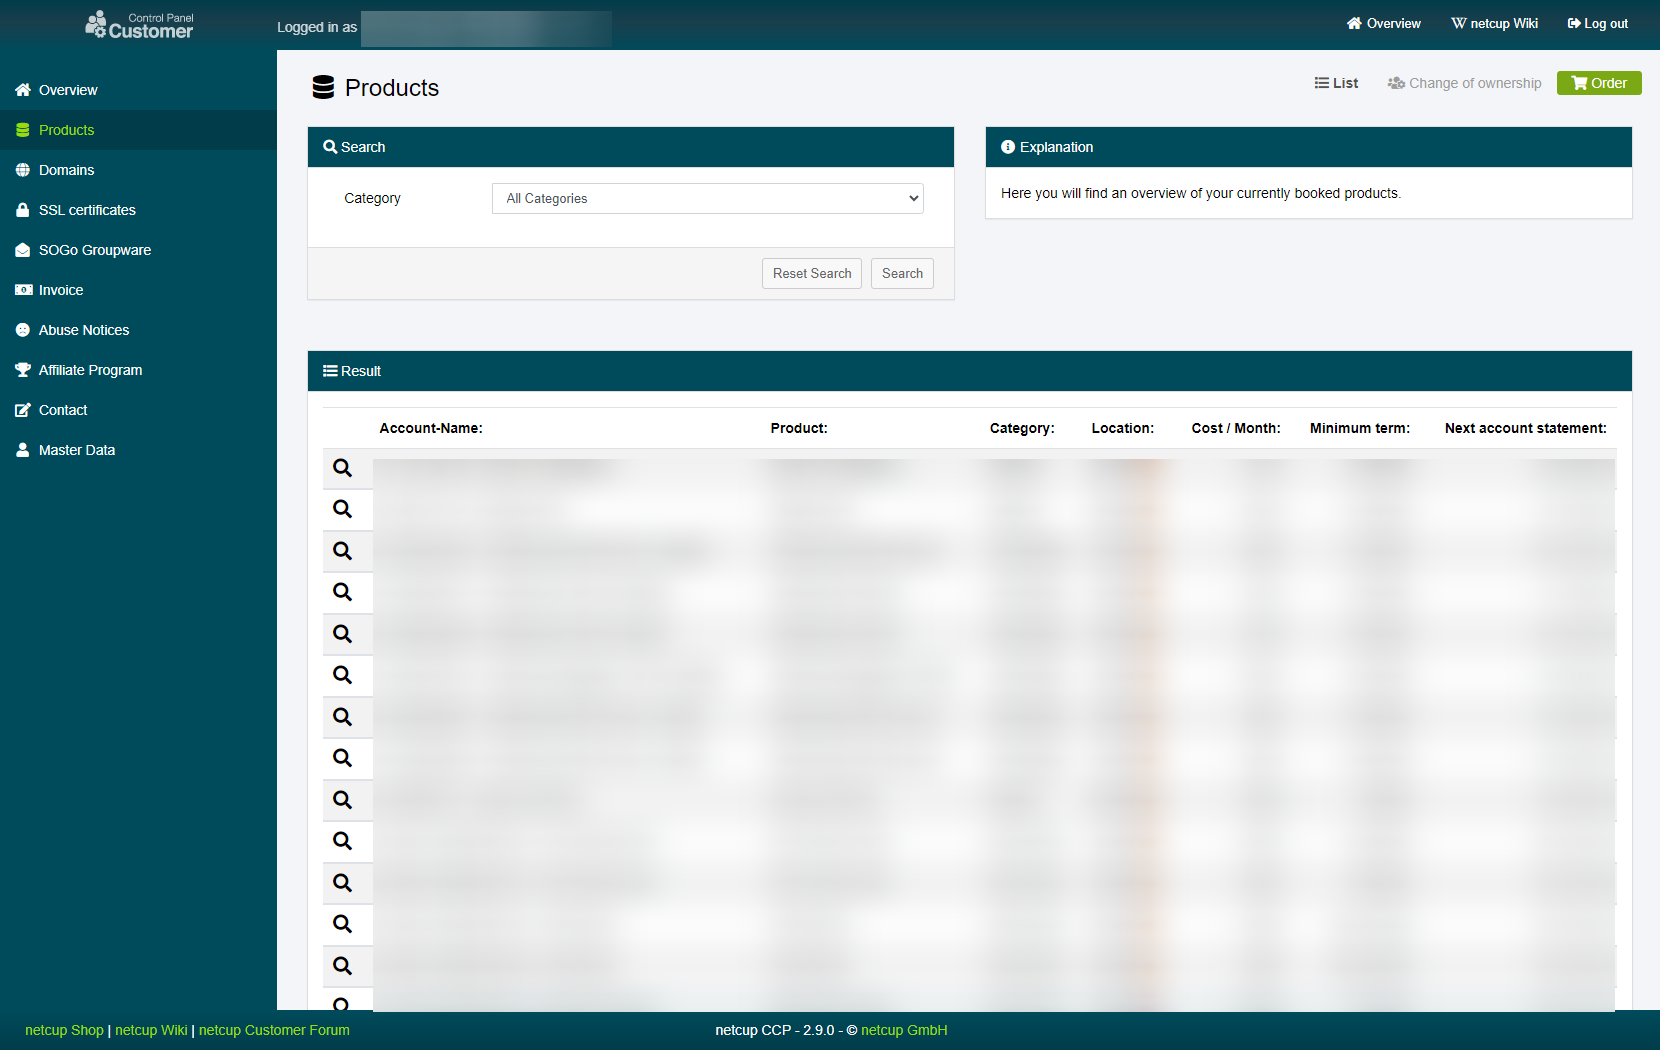
Log into your Customer Control Panel (CCP). In the navigation bar on the left, go to the "Products" section. Find the Webhosting instance you want to manage applications on and click on the magnifying glass icon next to the instance name.
2. Managing Existing Applications
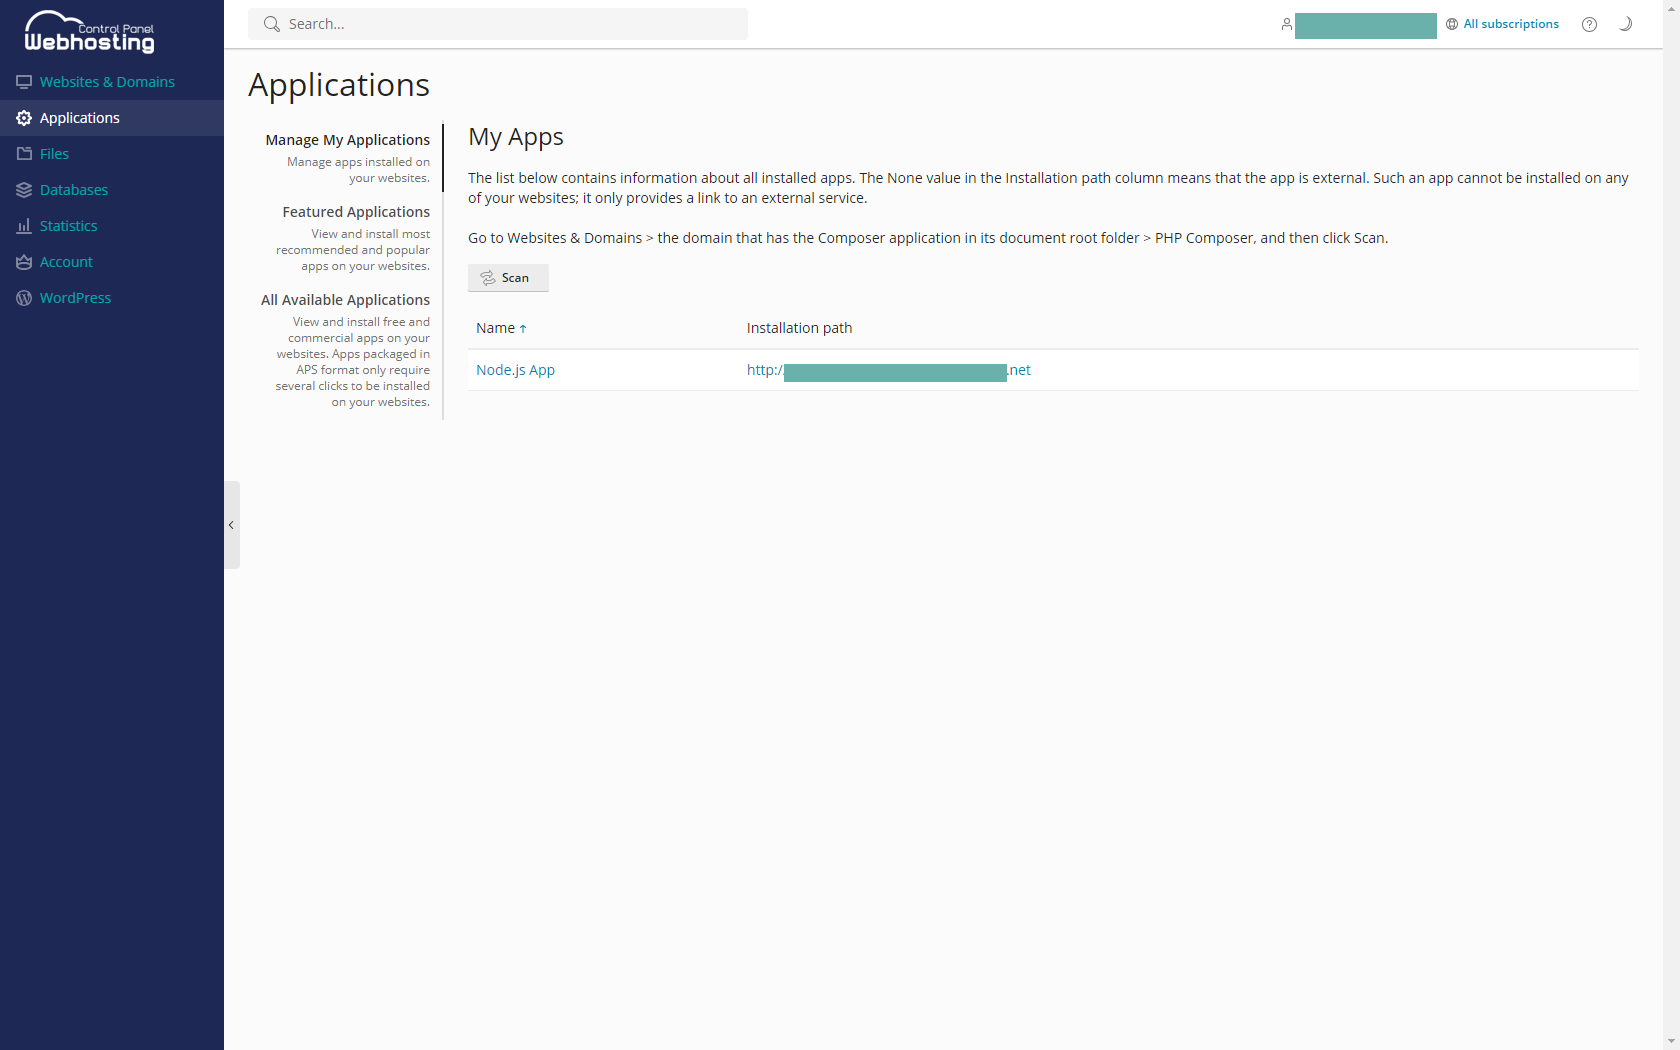
Next, click on "Applications."
You will be redirected to your Webhosting Control Panel for the selected domain. In the new window, you'll see a list of your existing applications. Click on an application to manage it - you can configure its settings, update it, or uninstall it if necessary.
3. Installing a New Application
To install a new application, click on the "Install Application" button. Search for the application you want to install and then click on the "Install" button next to it. Follow the installation instructions to complete the process.
4. Success
Congratulations! You can now manage your applications directly from your Webhosting interface.
netcup
netcup Enterprise
Community
netcup Enterprise
Community