
netcup wiki
Webhosting

Accessing the Database
The number of available databases depends on the chosen Webhosting product.
This guide will show you how to manage your databases through the Webhosting Control Panel. Effective database management is crucial for the smooth operation of your websites and applications.
1. Accessing the CCP
Log into your Customer Control Panel (CCP). In the navigation bar on the left, go to the "Products" section. Find the Webhosting Instance you want to manage the database of and click on the magnifying glass icon next to the Webhosting instance name.

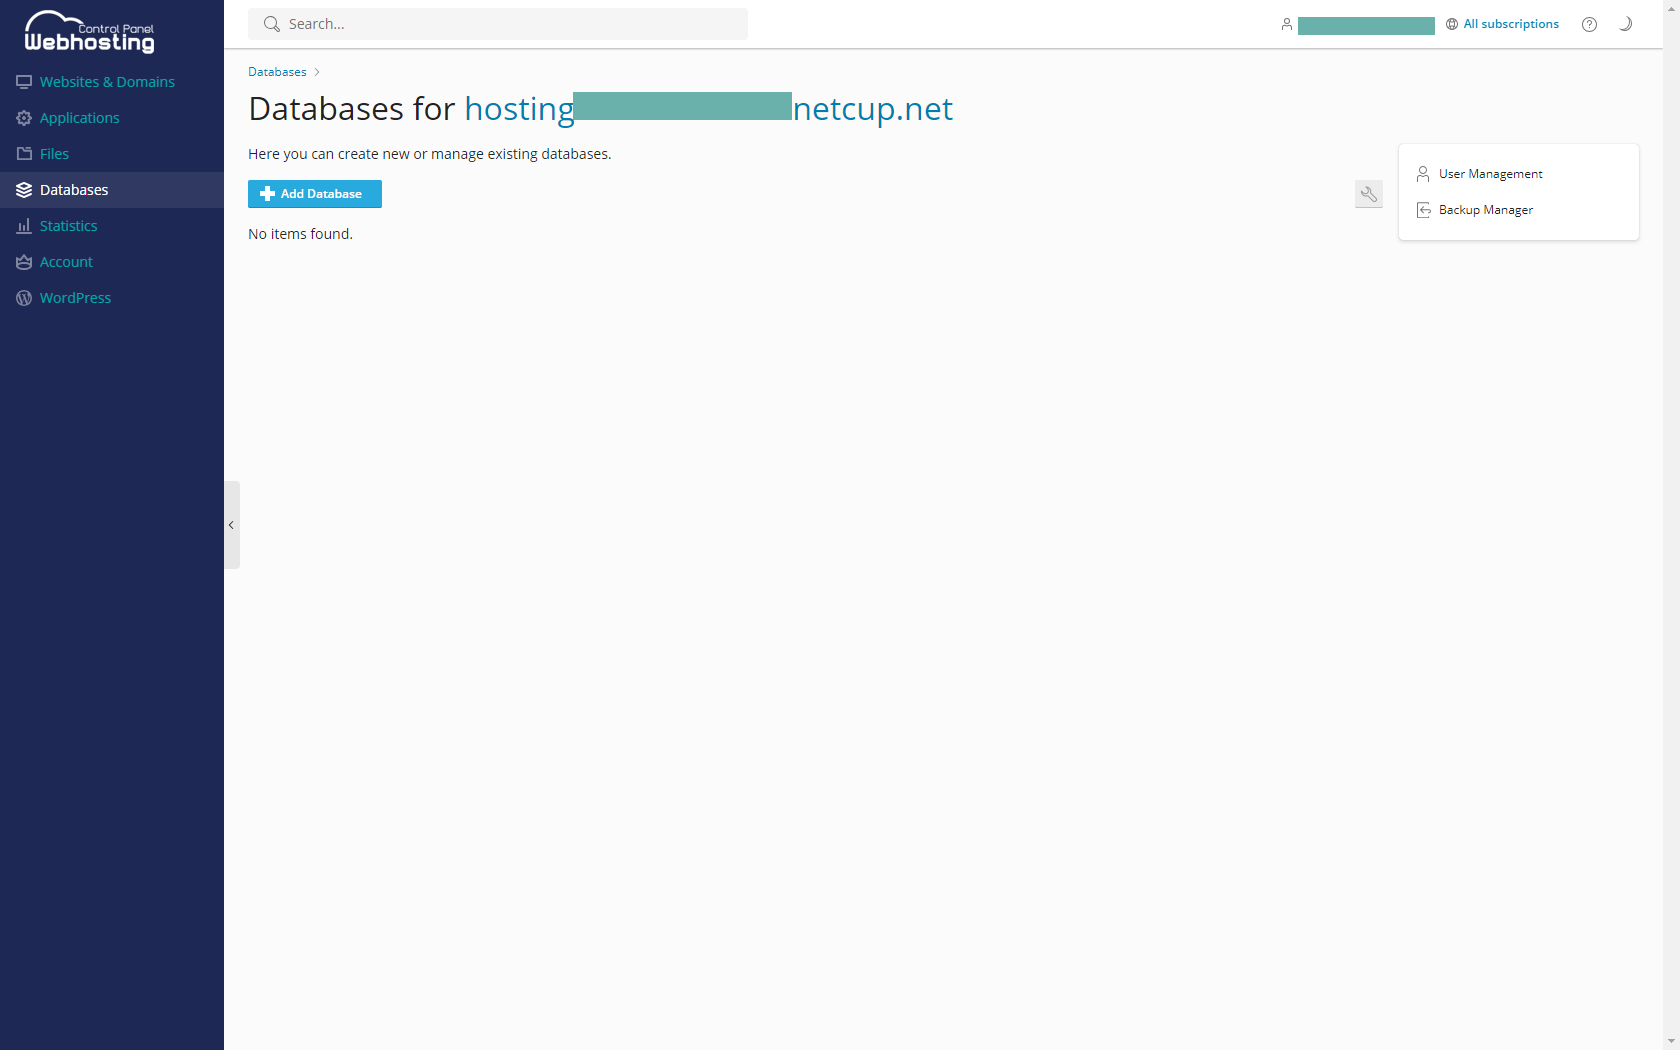
2. Managing Existing Databases
Then, click on "Databases. In the new window, you'll see a list of your existing databases. Click on a database name to manage its contents, change the database user or password, or backup and restore the database.
3. Creating a New Database
To create a new database, click on the "Add Database" button. Fill in the necessary details such as database name, related site, database username, and password. Then click "OK" to create the database.
4. Success
Congratulations! You can now manage your databases directly from your Webhosting interface.
netcup
netcup Enterprise
Community
netcup Enterprise
Community