netcup wiki
Server

SCP Home Page
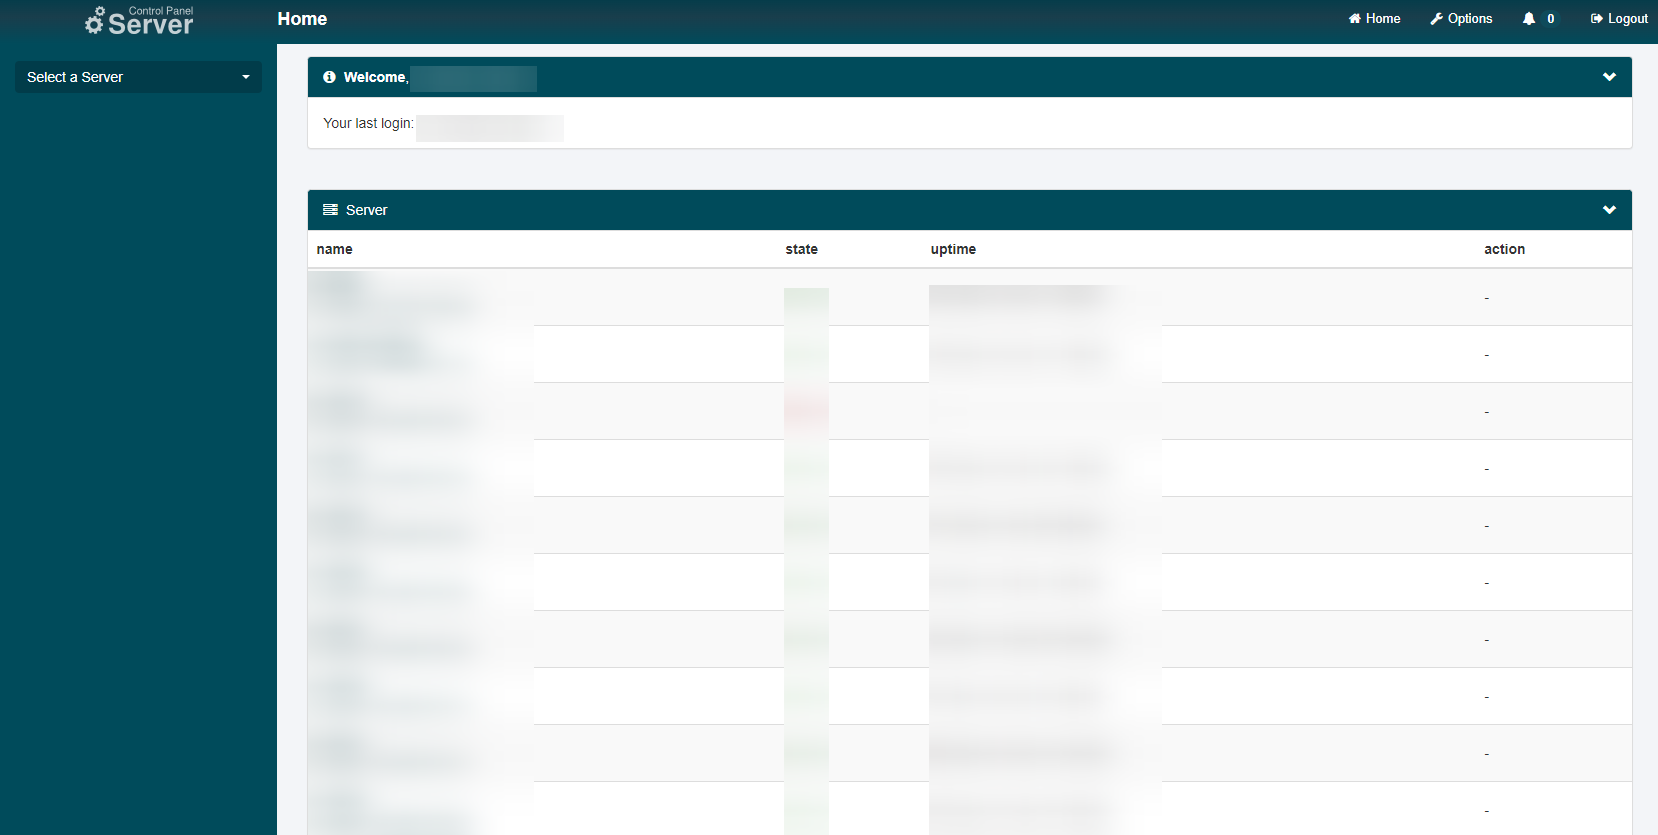
After successful login, SCP welcomes you to the "Home” page. Here your servers are listed, including information on their current state and uptime. At the top you will find the control bar, which shows the SCP logo on the far left. Clicking on it will take you back to the "Home" page from any page.
Below the SCP logo, you will find a drop-down menu that allows you to select one of your servers. This will take you to the specific SCP for that server. The drop-down menu can be helpful if you are managing many servers. You can also select a server by clicking on its name in the server list that is located in the center of the page.
On the right side of the SCP logo, you will find the following buttons:
Home
“Home", like the logo, takes you back to the “Home” page.
Options
The "Options" section guides you to the user-specific settings of your SCP access. Here, you have the opportunity to change your password, modify the SCP language, or activate web services.
Customer Data
Under "Customer Data," you can view an overview of your stored customer data and also update your SCP password.
Customer Data

The customer data originates from the Customer Control Panel (CCP) and cannot be modified here.
In this section, the customer data saved for your account is presented.
Change Password
Here you can change your SCP password. It's recommended to replace the password after the first login with a personal one and not to use the initial password received via email for the long term.
To implement the change, first enter your current password for security reasons. Then, input your desired new password into the following fields. Ideally, use a long, unique passphrase that includes both special characters and numbers to maximize security.
Once all input fields are filled out correctly, confirm the change with "Set New Password".
Settings
If the "Simple Password Option" is not activated, you must confirm any changes with your current SCP password.
In "Settings," you can configure the SCP according to your preferences.
| Title | Description |
|---|---|
| Language | The SCP supports both English and German. You can set your preferred language here. |
| Show Nicknames | Activate this option to show nicknames preferably over server names, for example, in the quick select list. |
| Easy Password Option | By activating this option, you will not be prompted for your password during certain processes, like the installation of an image. This increases comfort but decreases security. |
| Security Access Mode | Activate this option to prevent direct login to the SCP. From then on, you will always have to log in via the "Auto Login" function of the CCP to the SCP, which enhances security through the option of two-factor authentication. By activating this option, the "Simple Password Option" is automatically activated since the SCP password is no longer queried. |
Webservice
On this page, you can activate the SCP web service for your account. This web service is a SOAP API, which allows you to create automation processes, e.g., starting and stopping servers via API calls.
By default, the web service is deactivated for security reasons. To use it, enable the "Activate Webservice" option.
Use the button on the right side to automatically generate a secure password.
Afterwards, an input field labeled "Webservice Password" will appear. You should choose a secure and unique password here since it acts as your API key.
Once you've chosen a suitable password, confirm the changes by clicking "Save".
The web service will then be activated.
SSH Keys
In this section, you have the option to manage Public SSH Keys: add, view, and delete. These keys can be selected during server setup through an official netcup image and are placed on the server as part of the installation process.
Log
This page presents a list of SCP-relevant changes. For instance, password changes are logged here.
Notification bell
Next to the “Options” button there is the "Notification bell" with a number below it. This number counts each notification you receive from your servers. For example, you will receive a notification when the reinstallation of your server is completed. You can read the notification details by clicking on the bell.
Logout
By clicking the "Logout" button, you end your current session and return to the login screen.