
netcup wiki
SOGo Groupware

General
Getting Started
User Guide
Server
Getting Started
User Guide
Webhosting
Getting Started
User Guide
Domain
Getting Started
User Guide
Certificate
Getting Started
User Guide
SOGo Groupware
Getting Started
User Guide
Adding a Domain to SOGo
Learn how to connect your netcup domain to SOGo.

Please note that SOGo only works with netcup domains.
1. Getting Started

Make sure that you are not using an existing mail server with the selected domain. Otherwise, you will lose access to the existing mail server.
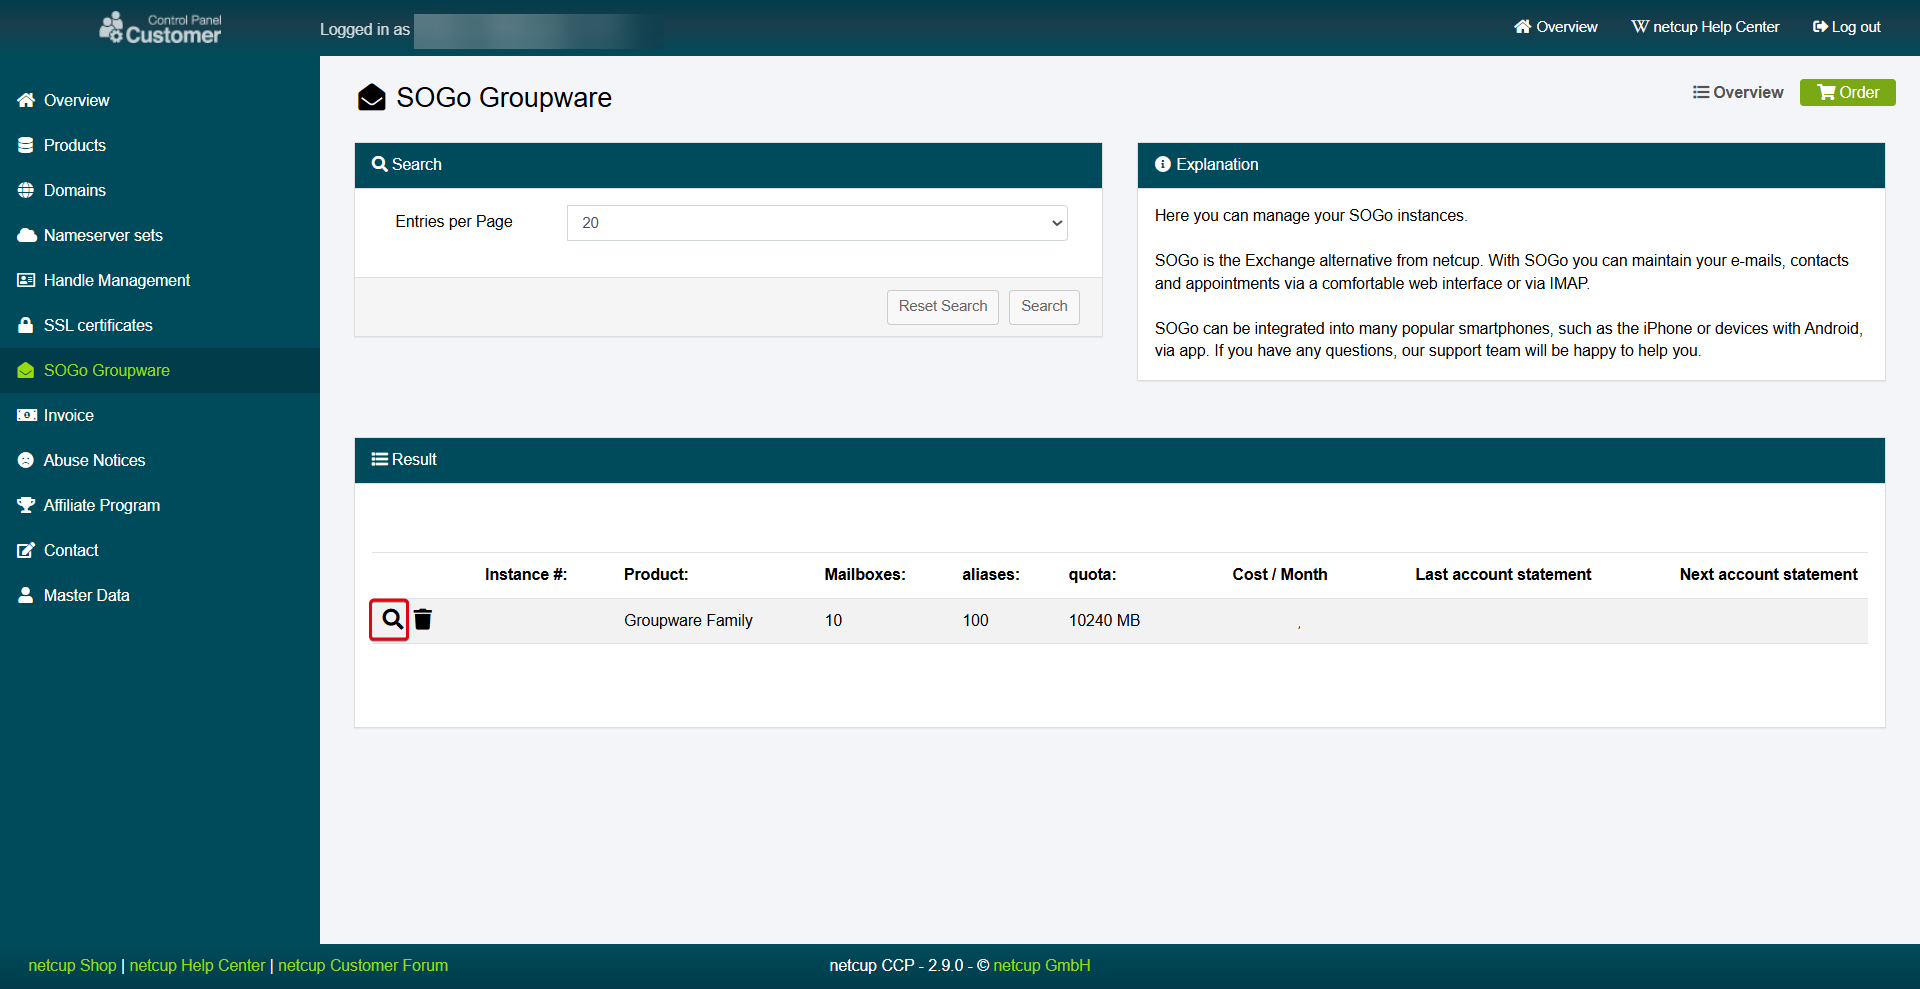
- Log in to the Customer Control Panel (CCP).
- Go to the SOGo Groupware menu item.
- Click the Magnifying Glass Icon next to the SOGo instance, to which you want to add a domain.
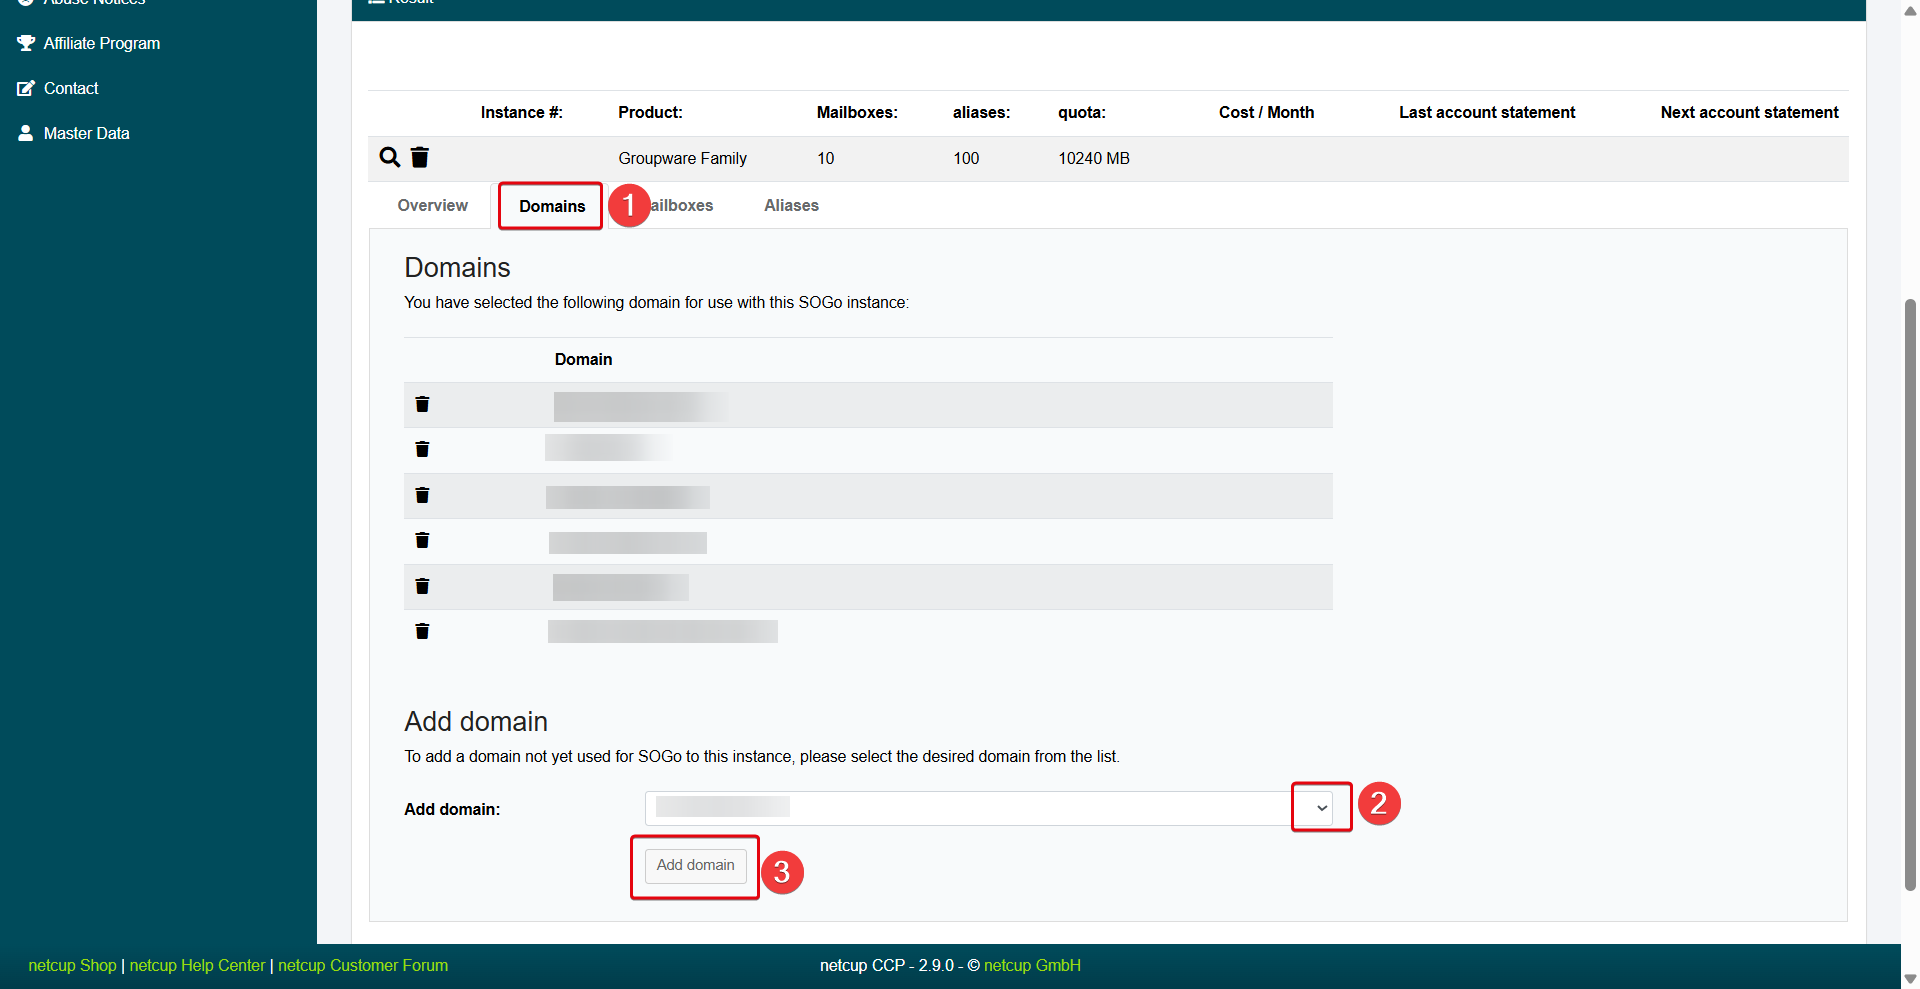
2. Adding Domains
- Switch to the Domains tab.
- In the Add domain section, select the domain you want to add from the drop-down menu. Please note that you can only add domains that you own at netcup.
- Click Add domain.
- Read the text that appears and accept it by clicking ok.
3. Adjusting DNS Records
Please note that after assigning a domain, the MX record is set automatically and existing MX records are overwritten. SPF and DKIM records, which verify you as the sender, are not set automatically. Adjust your DNS records manually: DNS Records
netcup
netcup Enterprise
Community
netcup Enterprise
Community