
netcup wiki
Webhosting

Setting up email
If needed, you can also use the e-mail service that your Webhosting package offers.
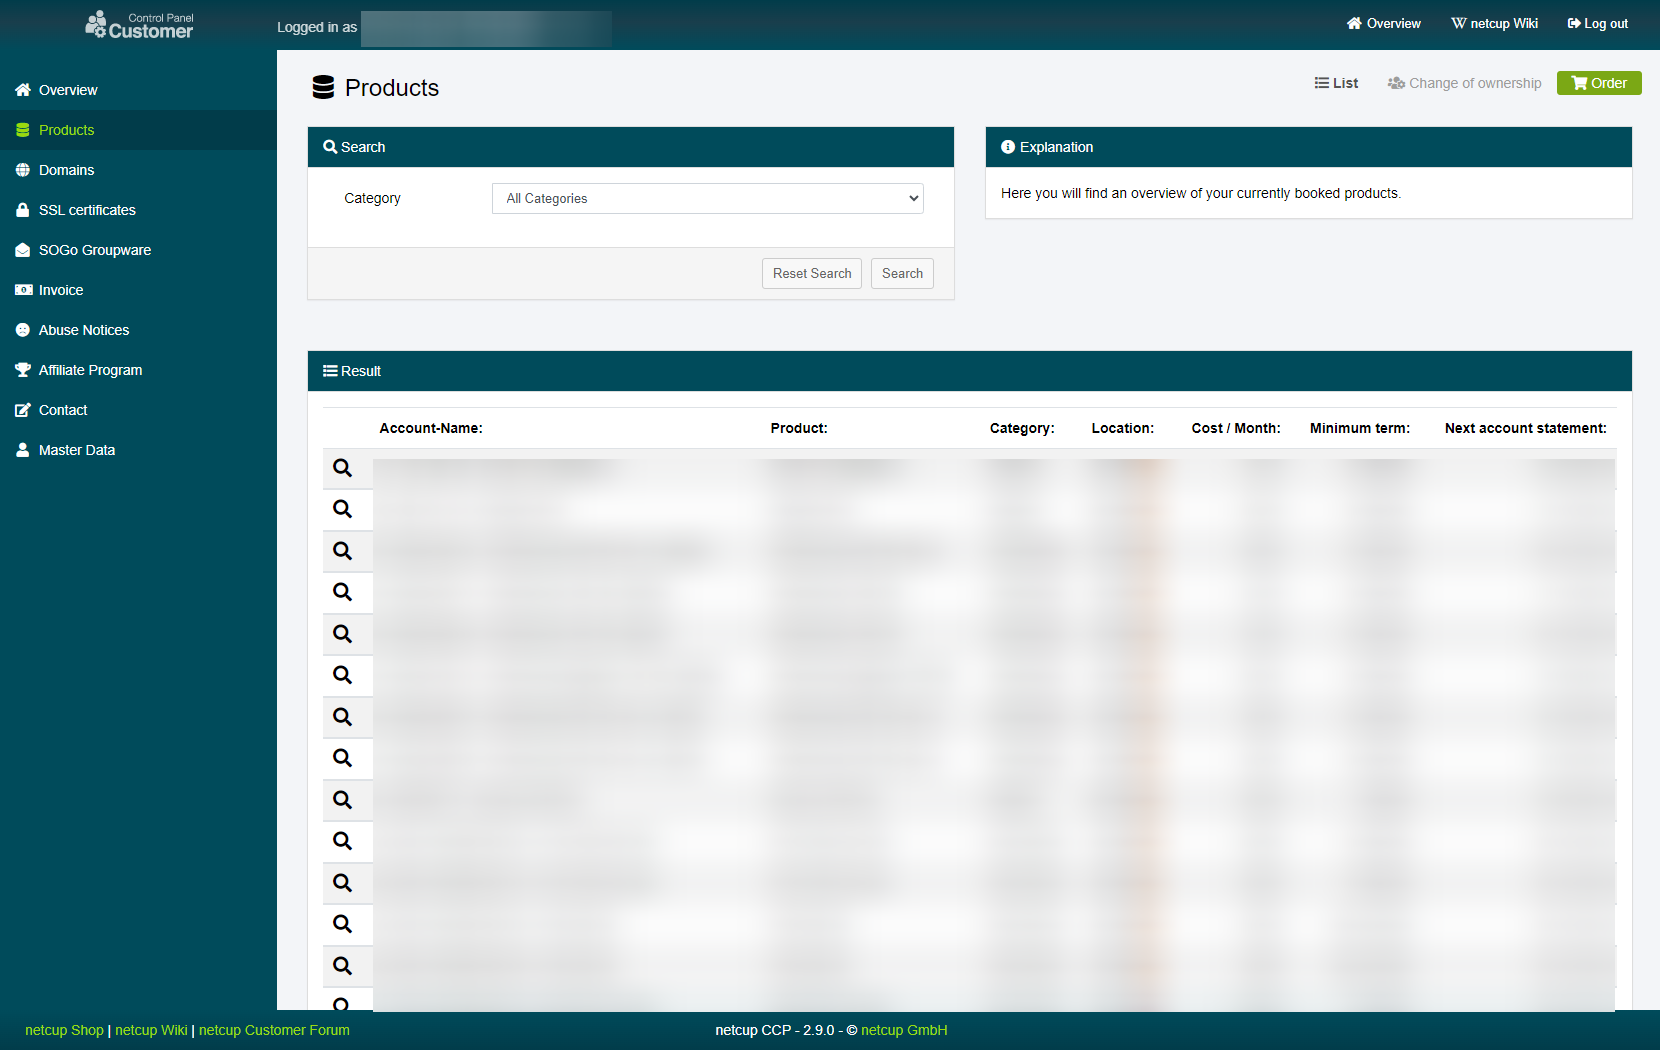
1. Accessing the CCP
Open your CCP and go to the "Products" section in the navigation bar on the left. Look for the Webhosting you want to and click the magnifying glass next to the product name:
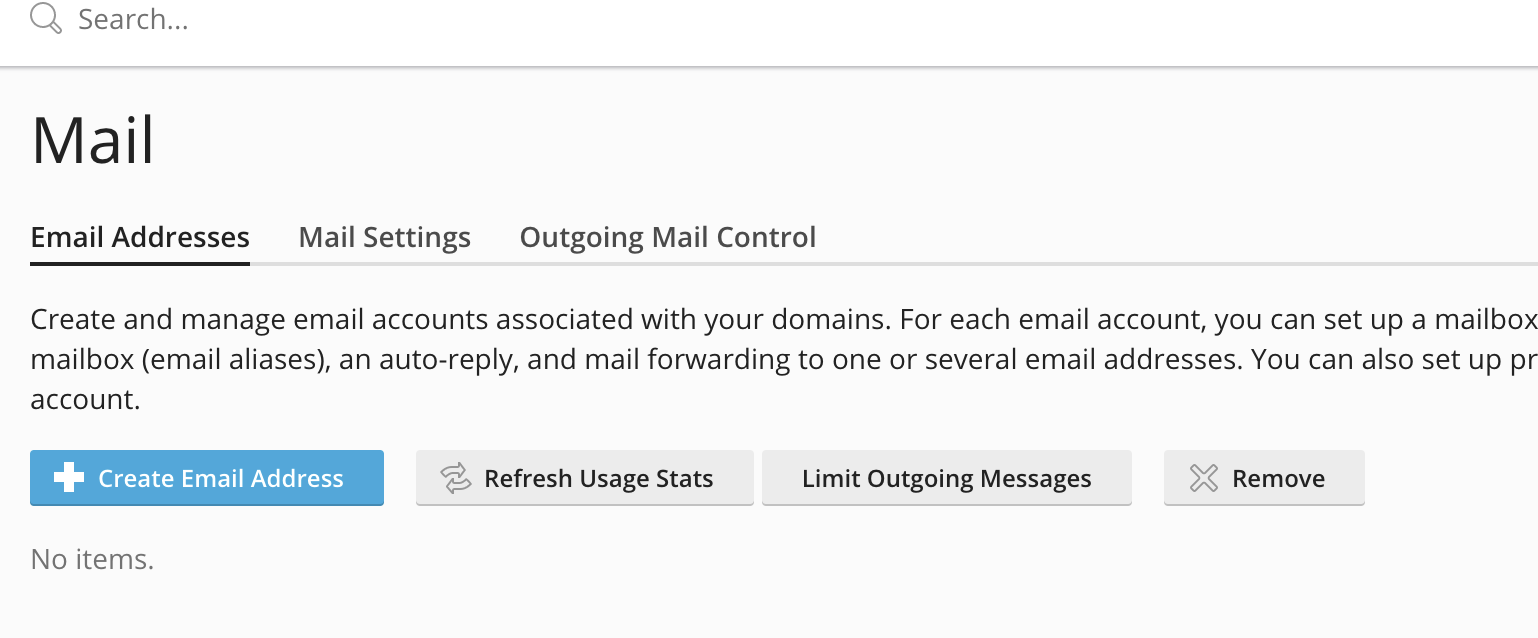
2. Creating an address
Next, click on "email addresses". Once you have been forwarded to the Webhosting Control Panel, click on "Create Email Address":
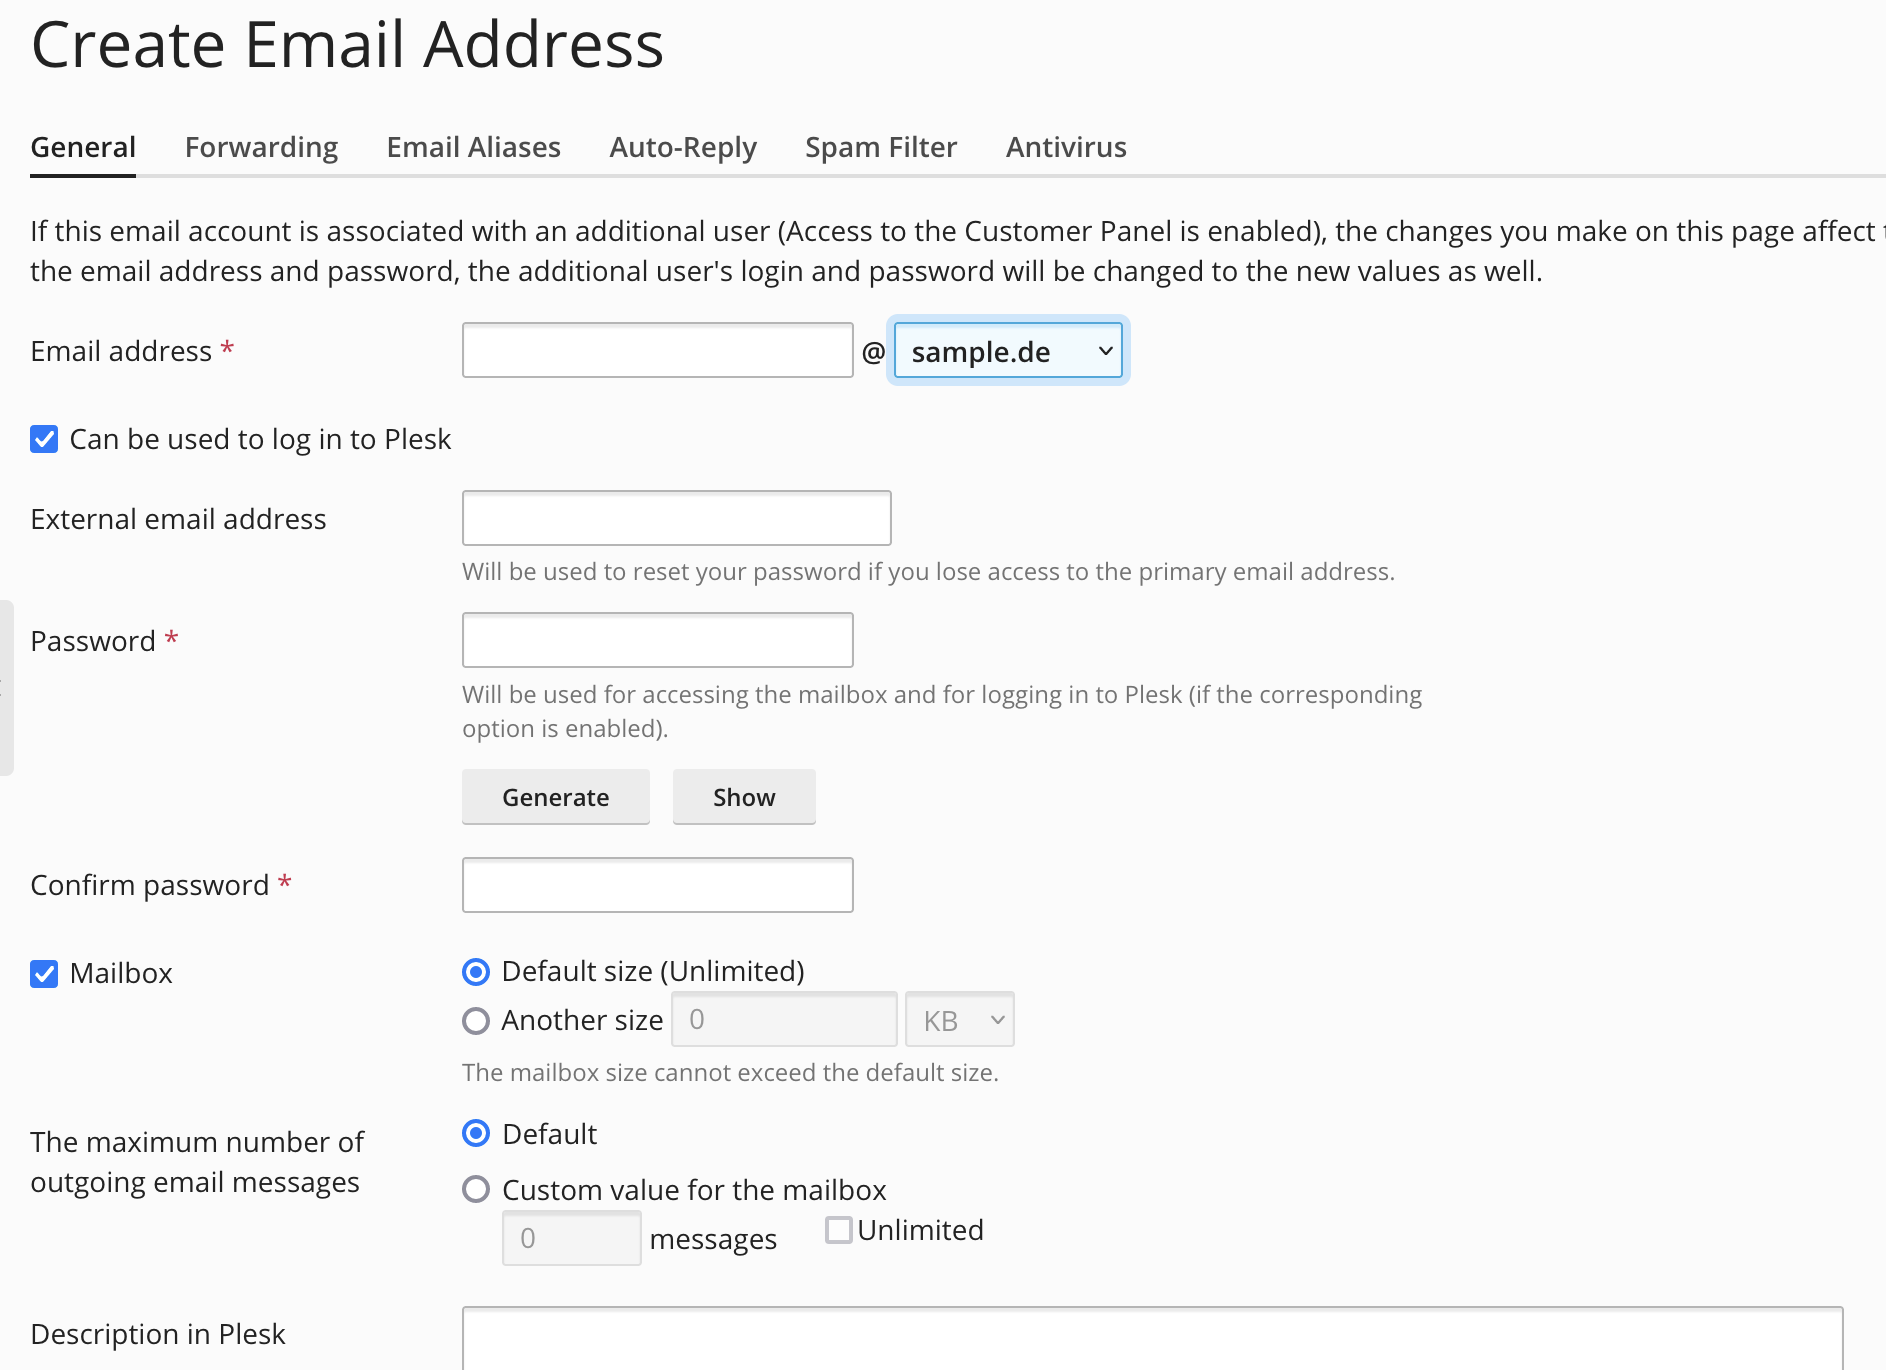
This will lead you to a new page asking you for information on the new address. Here, you add all the necessary information on your new address.
Once you have made all desired additions, click on "OK" to create the address.
3. Success
You have now added a new email address to your Webhosting instance. Further information on the use of netcup Webhosting for mail can be found in this chapter.
netcup
netcup Enterprise
Community
netcup Enterprise
Community