
netcup wiki
Webhosting

Hosting Settings
This guide provides step-by-step instructions on how to manage your Hosting Settings via the Webhosting Control Panel.
1. Accessing the CCP
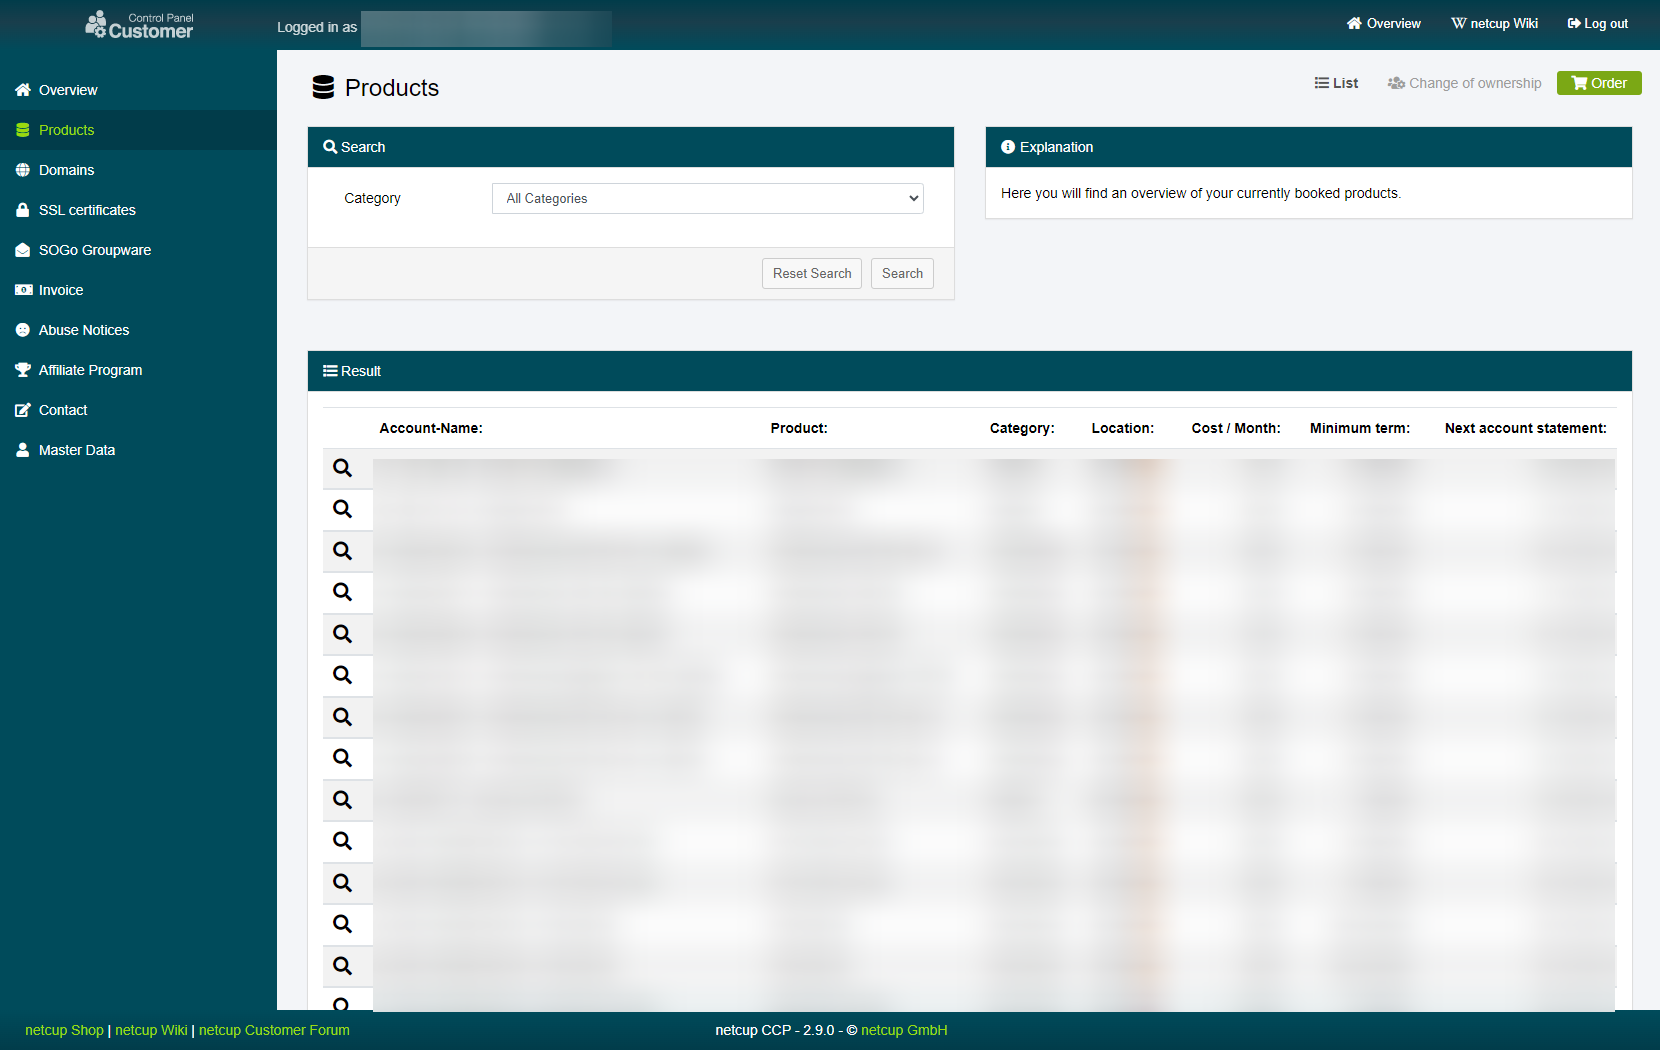
Log into your Customer Control Panel (CCP). In the navigation bar on the left, go to the "Products" section. Find the Webhosting instance you want to manage settings for and click on the magnifying glass icon next to the instance name.
2. Managing Hosting Settings
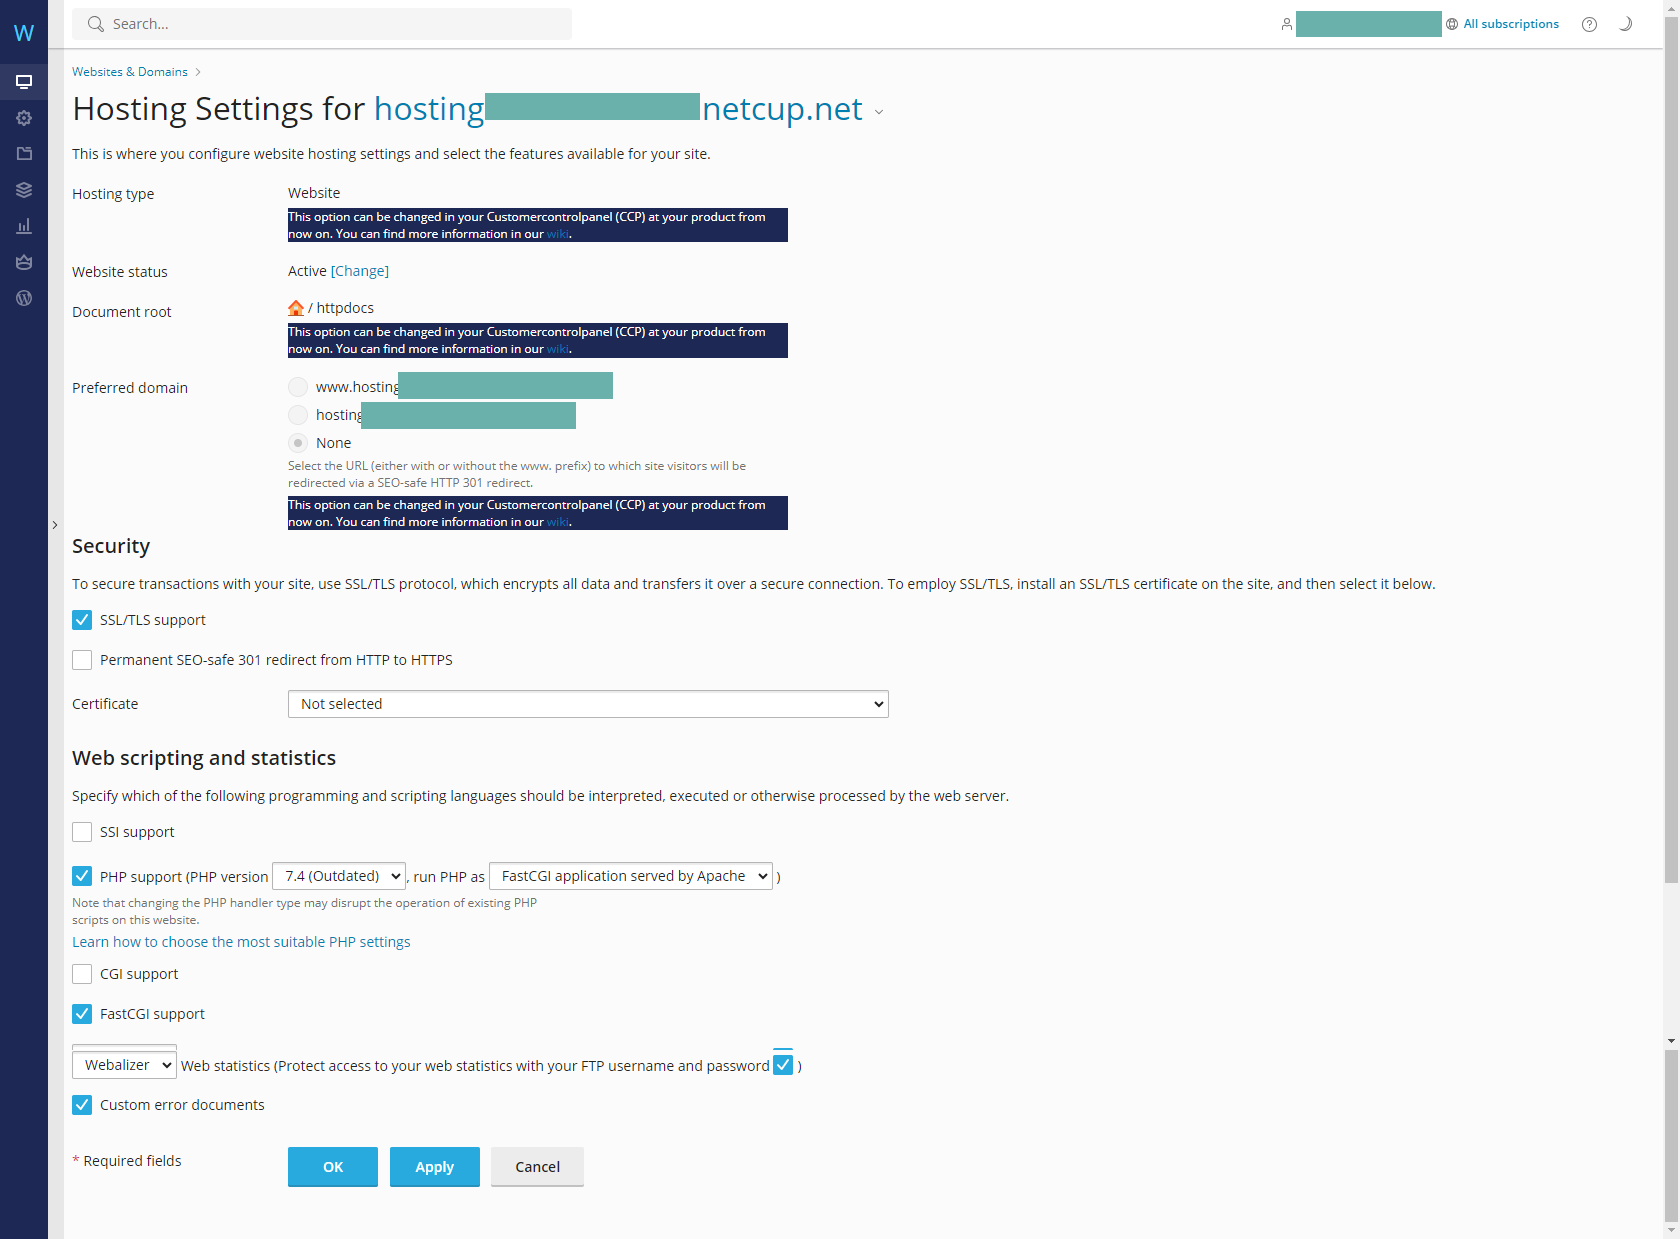
Under "Select a domain" choose the domain you want to work with and click on "Hosting Settings."
You will be redirected to your Webhosting Control Panel. In the new window, you'll be able to adjust security and scripting settings. Make the necessary changes and click "Apply" to save them.
3. Domain Settings
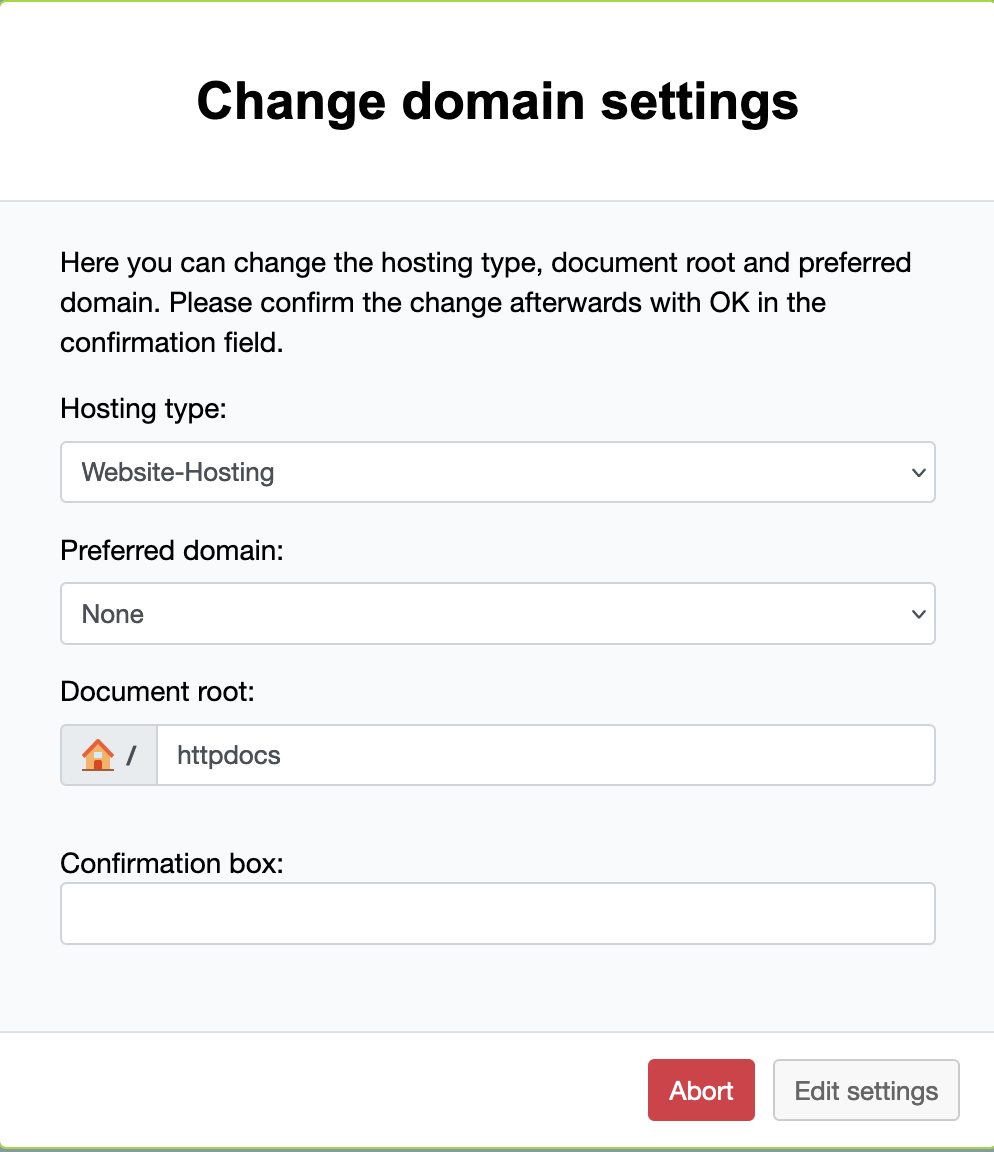
To make Domain specific changes to the settings, specifically in regards to the document root, hosting type, etc., please head back to your your Customer Control Panel (CCP) and the "Products" section. Like before, find the Webhosting instance you want to manage settings for and click on the magnifying glass icon next to the instance name. Once more, choose the domain you want to work with under "Select a domain".

Click on "Edit settings". Here you can make changes to the document root, hosting type, etc.
4. Success
Congratulations! You have successfully updated your settings through the Webhosting interface.
netcup
netcup Enterprise
Community
netcup Enterprise
Community