
netcup wiki
Webhosting

Setting Up Scheduled Tasks
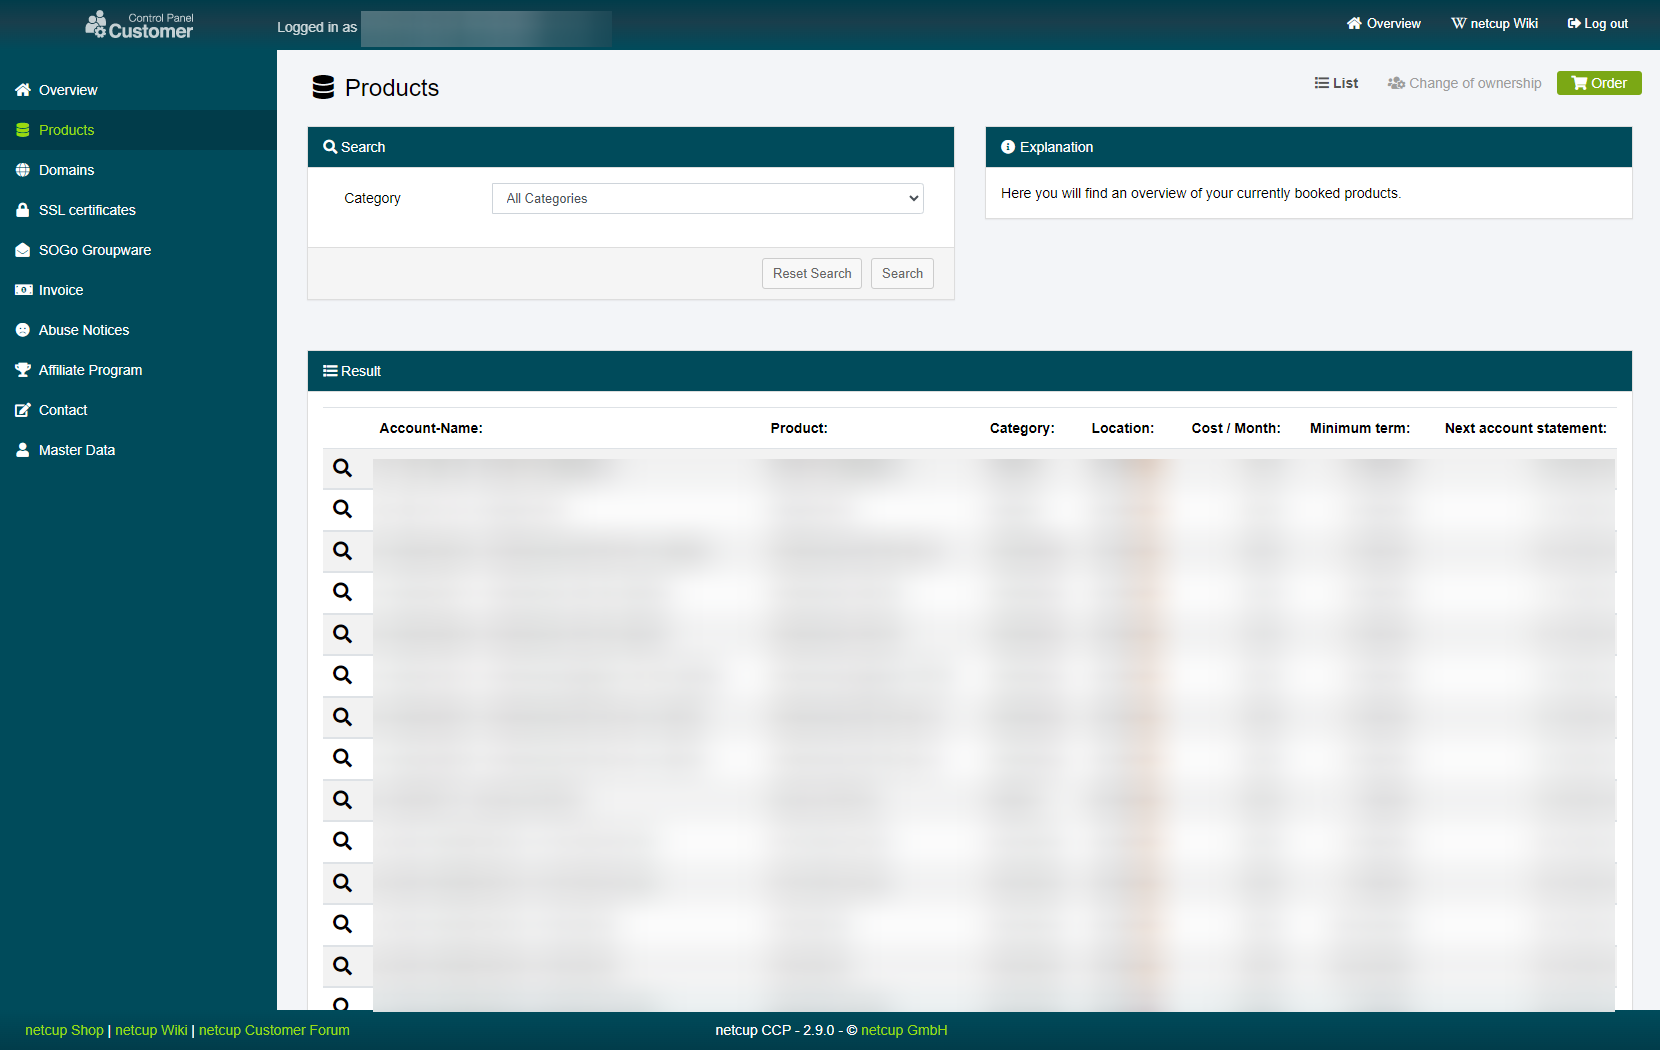
1. Accessing the CCP
Log into your Customer Control Panel (CCP). In the navigation bar on the left, go to the "Products" section. Find the Webhosting instance where you want to manage scheduled tasks and click on the magnifying glass icon next to the instance name.
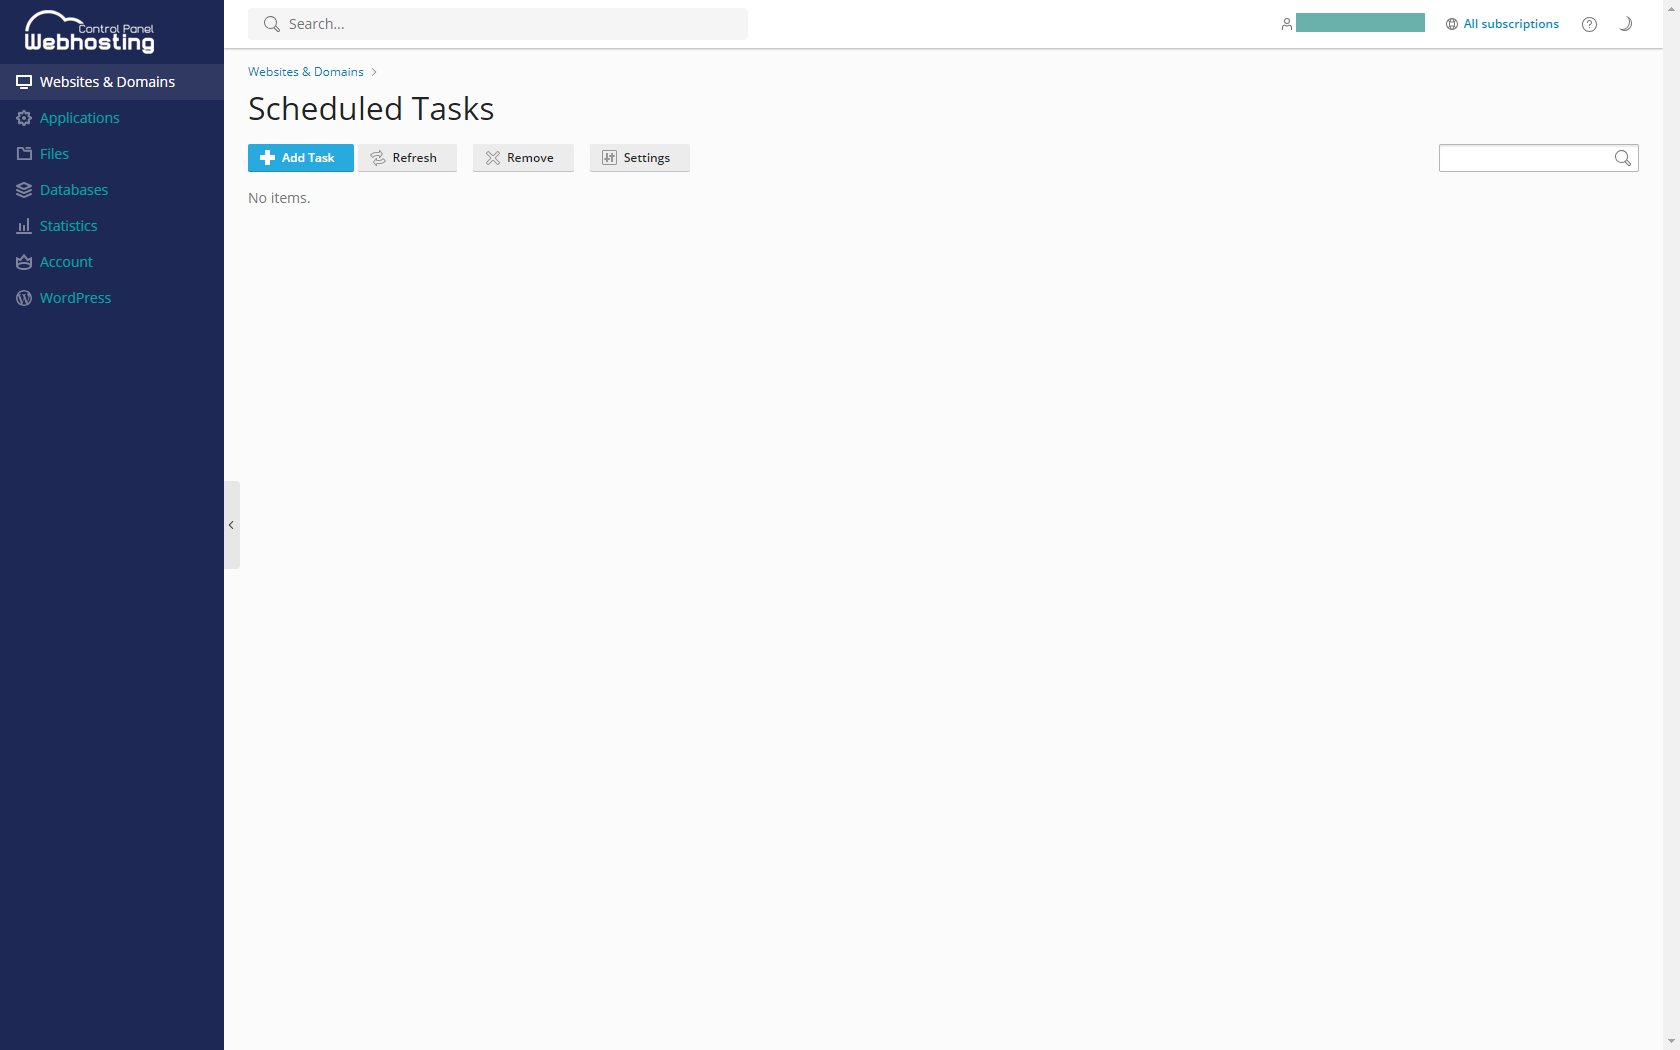
2. Managing Scheduled Tasks
Now, click on "Planned Task".
You will be redirected to your Webhosting Control Panel. In the new window, you'll be able to create new tasks, modify existing ones, run tasks manually, and more. To add a new task, click on the "Add Task" button, enter the command you wish to run, and specify when the task should be run. Once you've configured your task, click "OK" to save it.
3. Success
Congratulations! You have successfully managed your scheduled tasks through the Webhosting interface.
netcup
netcup Enterprise
Community
netcup Enterprise
Community