
netcup wiki
Webhosting

Moving away from an old Webhosting instance
In the following, we will explain how the migration from the old cloud web hosting to the new cloud web hosting can be done as an example. Naturally, the respective procedure may vary depending on the scripts used. You are also free to use other tools for the move. You might also need to, for example, move cron jobs from the old hosting to the new one. We will not cover that in this guide. We will demonstrate a migration using a Wordpress website as an example. The following instructions are definitely a good foundation for a successful migration of your websites, databases, and email mailboxes. Please understand that we cannot provide further support regarding this guide and the migration process itself.
Initiating Soft-Migration
To start, initiate the soft-migration to the new cloud hosting through your Customer Control Panel (CCP). In it, click on "Products" on the left, then on the magnifying glass in front of the old web hosting, and then on "Management". Under "Migration to the new Cloud Web Hosting", you'll find all the important information.
Since you want to redirect your domain to the new web hosting only after the migration is completed, do not check the box for "I want the DNS settings of my domains to be set directly to the new web hosting account.". Make the DNS changes after transferring your content. Read the notes carefully and then carry out the soft migration. A new web hosting plan will be set up for you to which you can transfer your content in the following way. You have 30 days to do this (after which the old tariff will be removed).
Website Migration
The domains from your old web hosting will automatically be set up in the new hosting plan during the soft migration. However, you still need to copy the webspace content including databases to the new plan. Below, we will guide you through the process using a Wordpress website as an example.
Webspace Migration
Click on the magnifying glass in front of the old plan in the Customer Control Panel (CCP) under "Products".
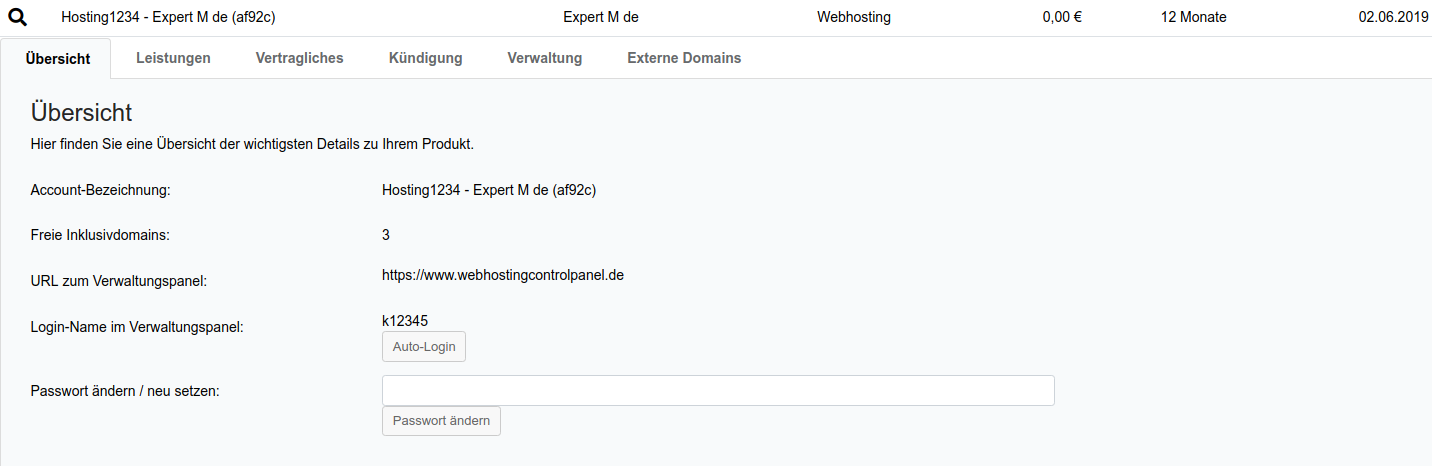
Click on "Auto-Login".

Click on "Web Hosting Access".
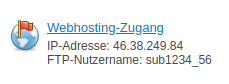
Assign login data and make a note of the IP address, username, and password.

In the Customer Control Panel (CCP) for the new plan, click on the magnifying glass as well.

Click on "Web Hosting Access".
Here too, assign login data and make a note of the IP address, username, and password.
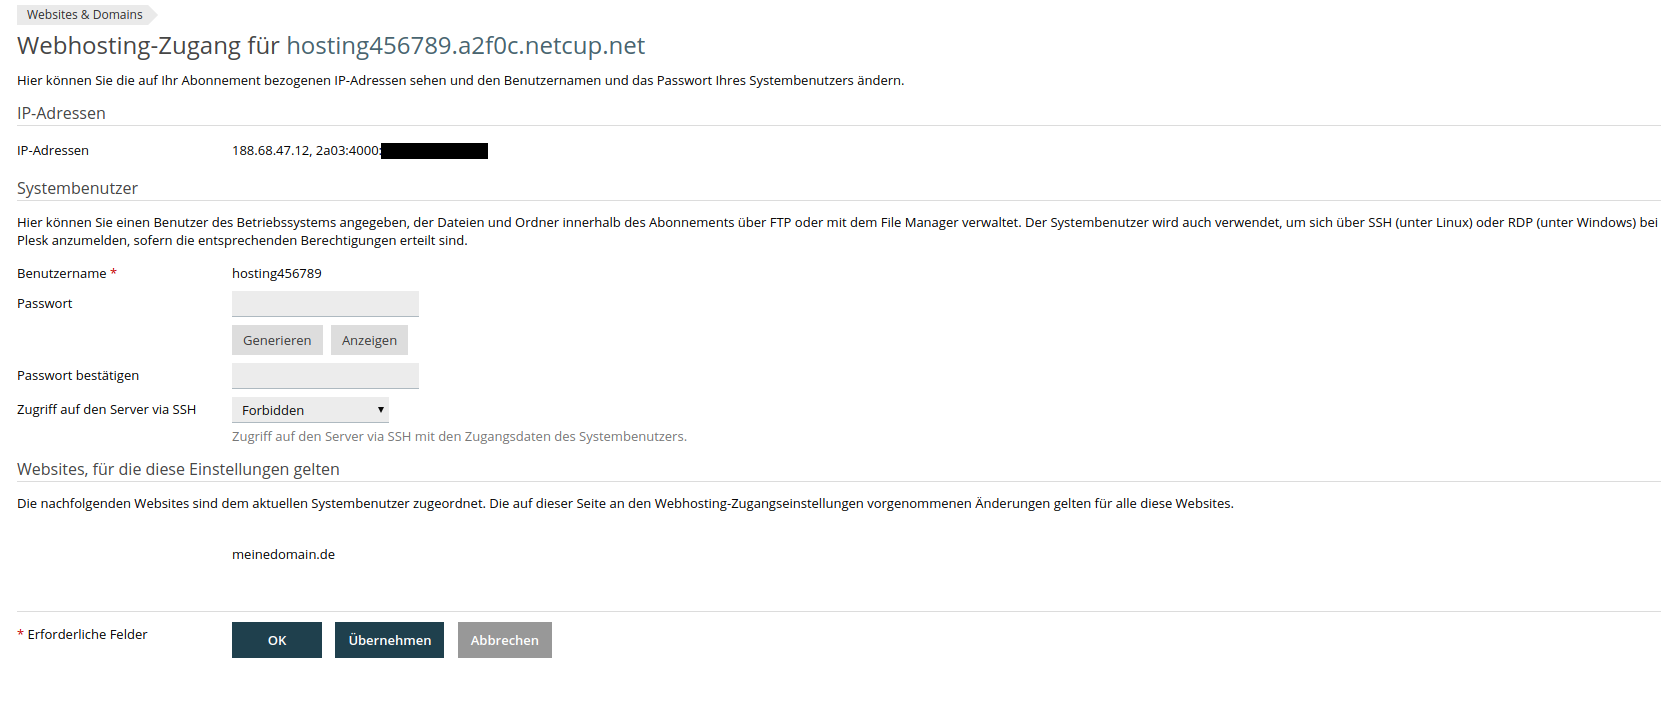
Access your old web hosting plan via FTP. We recommend using the FTP client "Filezilla". In the top bar next to "Server", enter the IP address of the old web hosting server, next to username enter the web hosting access username, and next to password, enter the previously assigned password.
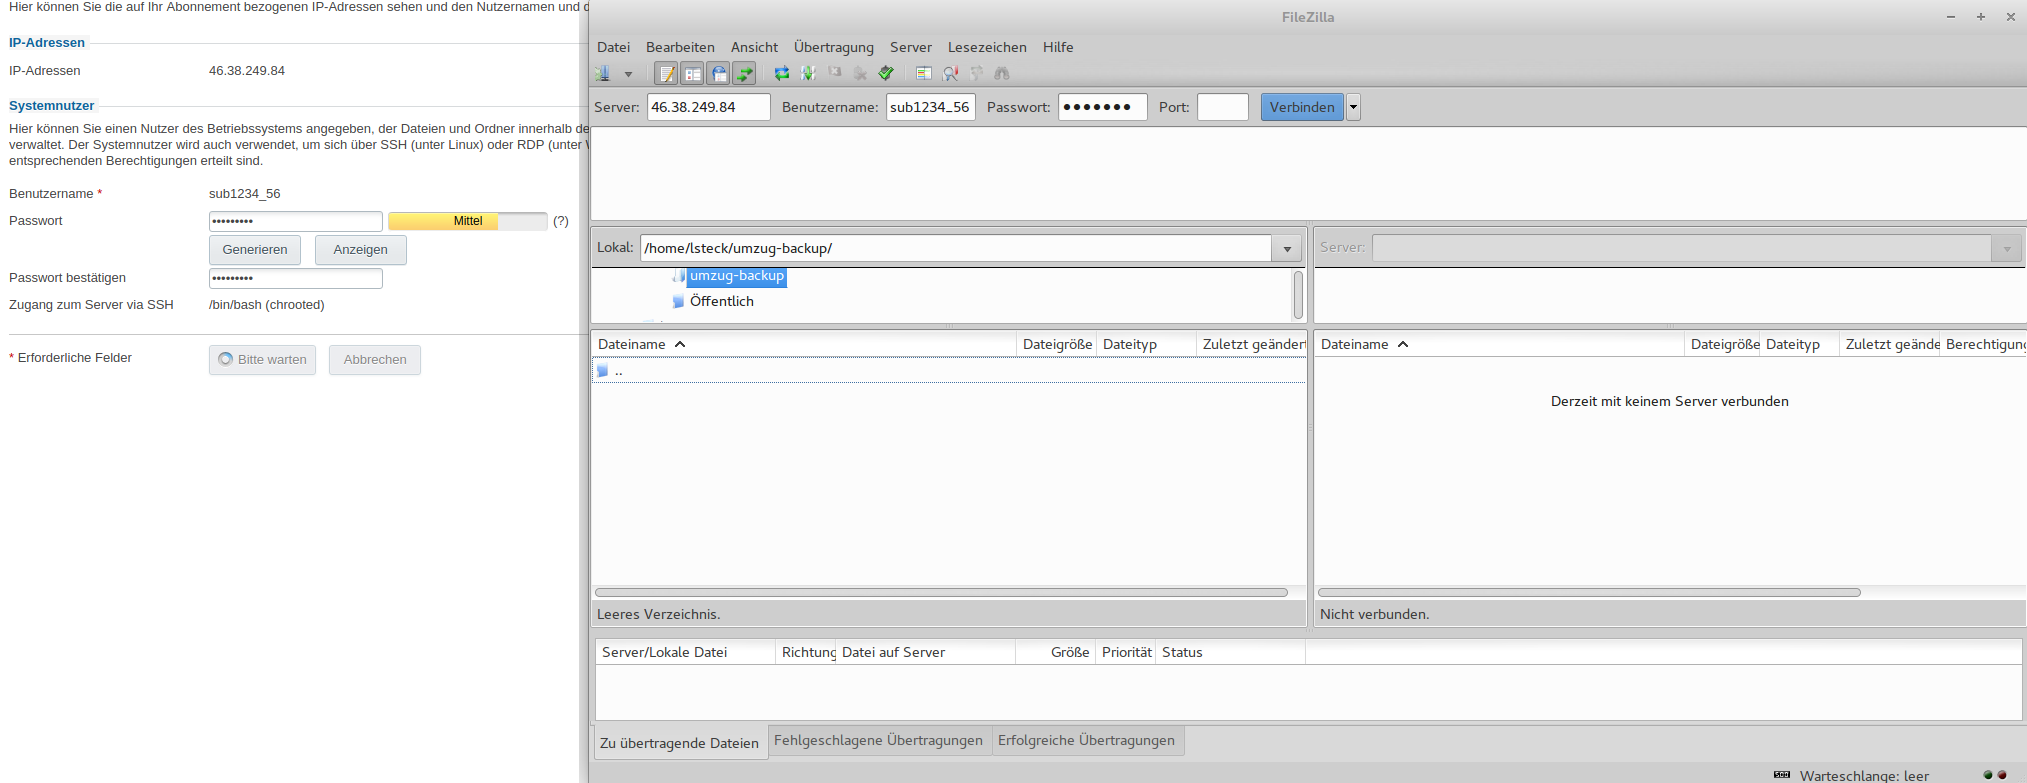
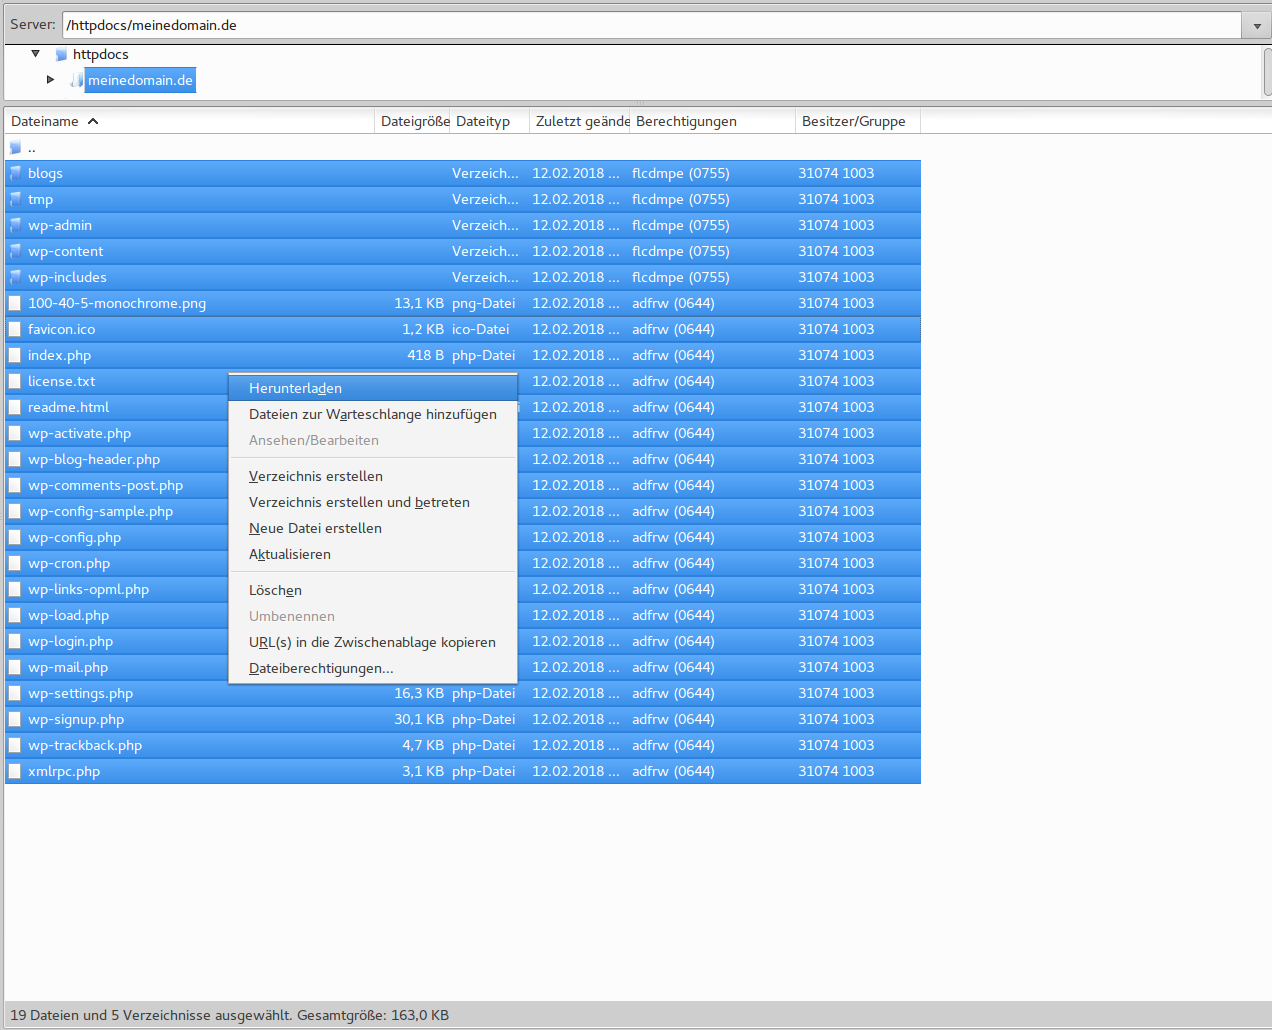
On the left side, you'll see your PC's local filesystem. Create a folder here where you can temporarily store the files to be migrated and navigate to it. On the right side, you'll see the content of the web hosting server. Highlight the content to be downloaded (the content of your websites), right-click on the highlighted content and click on "Download".
Wait for the transfer to complete. The files are now on your PC. Log in to the new web hosting server with the previously created web hosting access as described above.
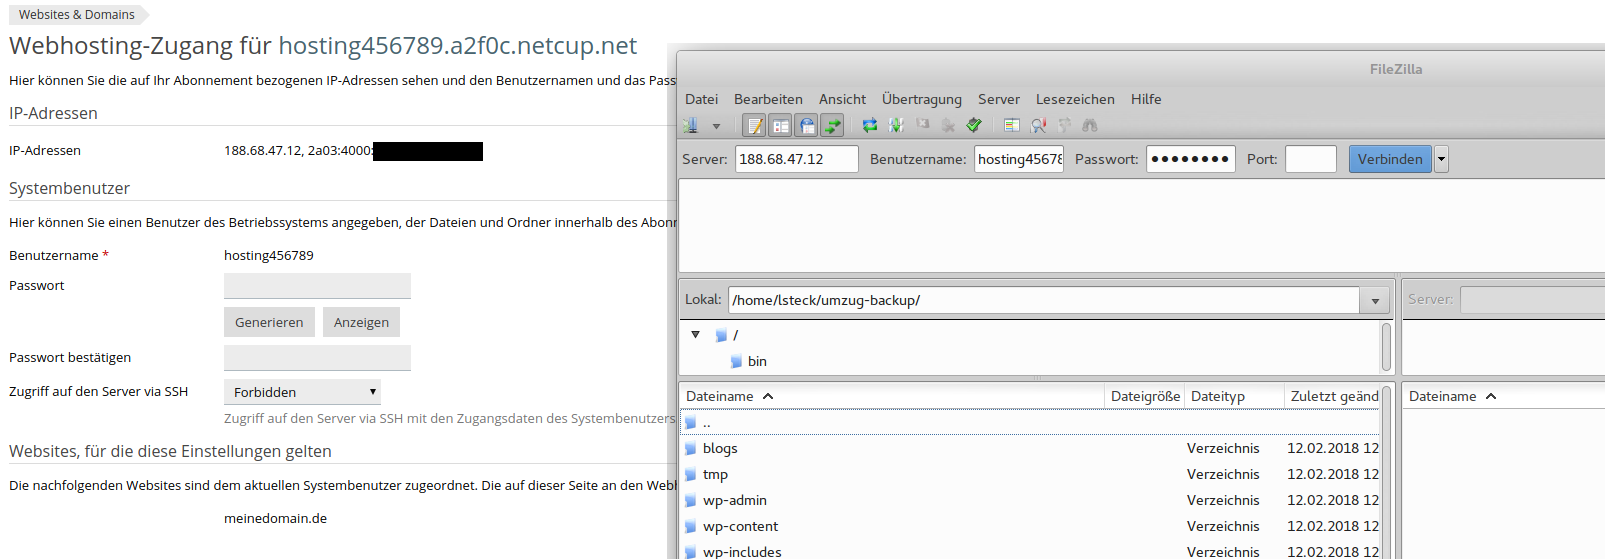
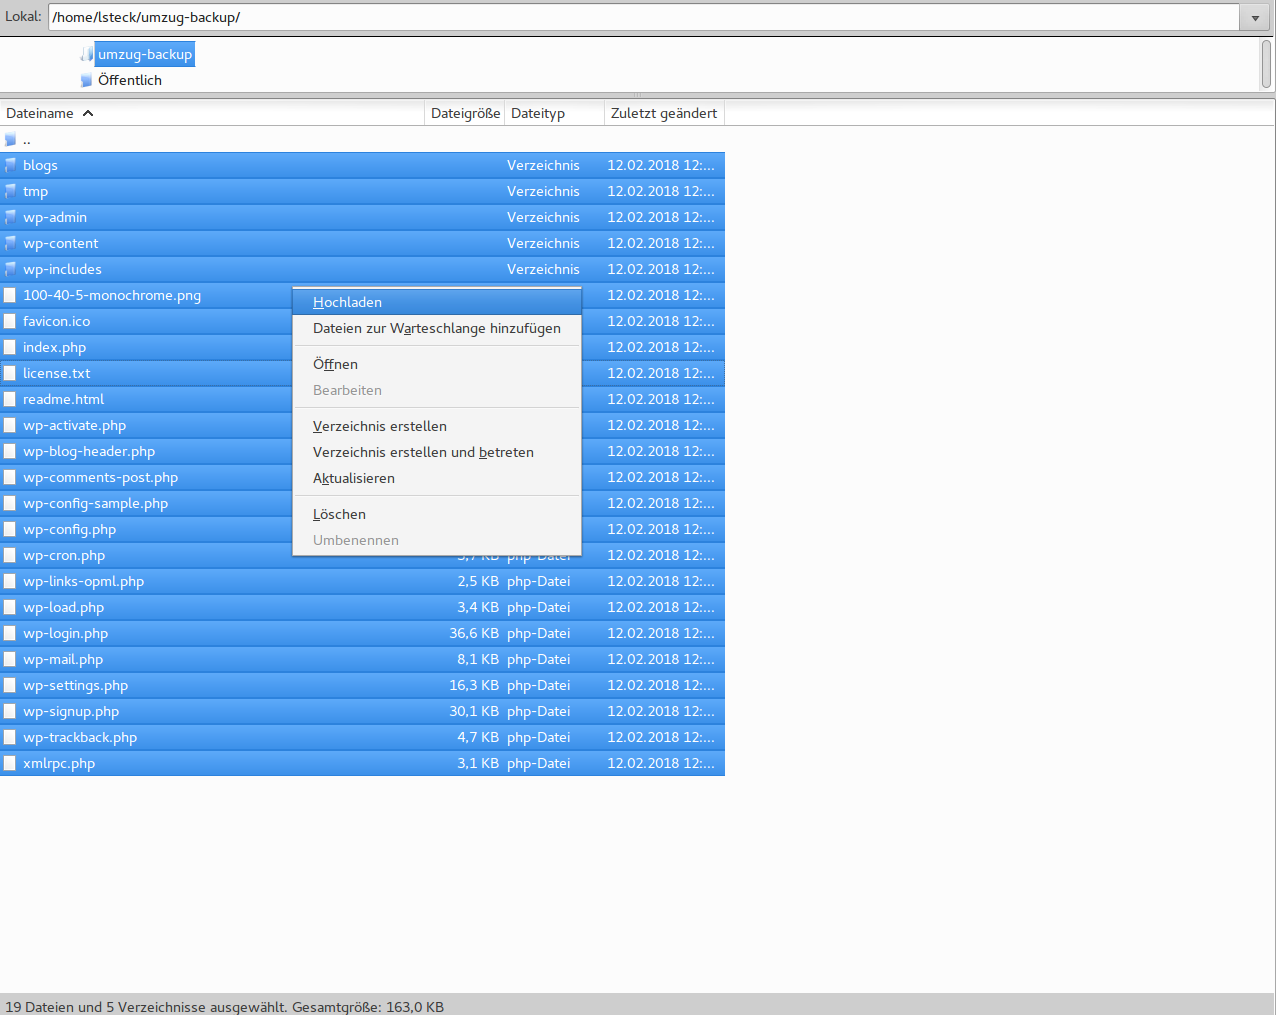
On the right side (on the web hosting server), navigate to the directory where you want to store your websites. Highlight the files on the left side, right-click on them, and select "Upload". The files will now be copied to the server.
After the transfer is complete, for each of the domains in your new plan, you can now change the document root so that they point to the correct folder containing the website content for that particular domain.
Change the document root using the "Edit Settings" button in the hosting plan in the Customer Control Panel (CCP) under the respective domain.

You can find more information about this in our article about Plesk hosting.
Database Migration
Click on the "Databases" button at the top in the old plan.

Remember the database name and the user's name. Next to the database, click on "Webadmin".


Within the "phpMyAdmin" interface, click "Export" in the top middle menu.

You do not need to adjust the settings. Click on "OK".

If you receive an error stating the file is too large and cannot be exported, you can generate it via SSH using the mysqldump tool and then download it via FTP, for example.
Save the file that is subsequently downloaded.

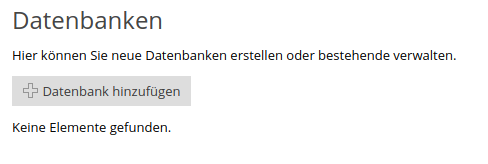
In the new web hosting plan, click on "Databases".
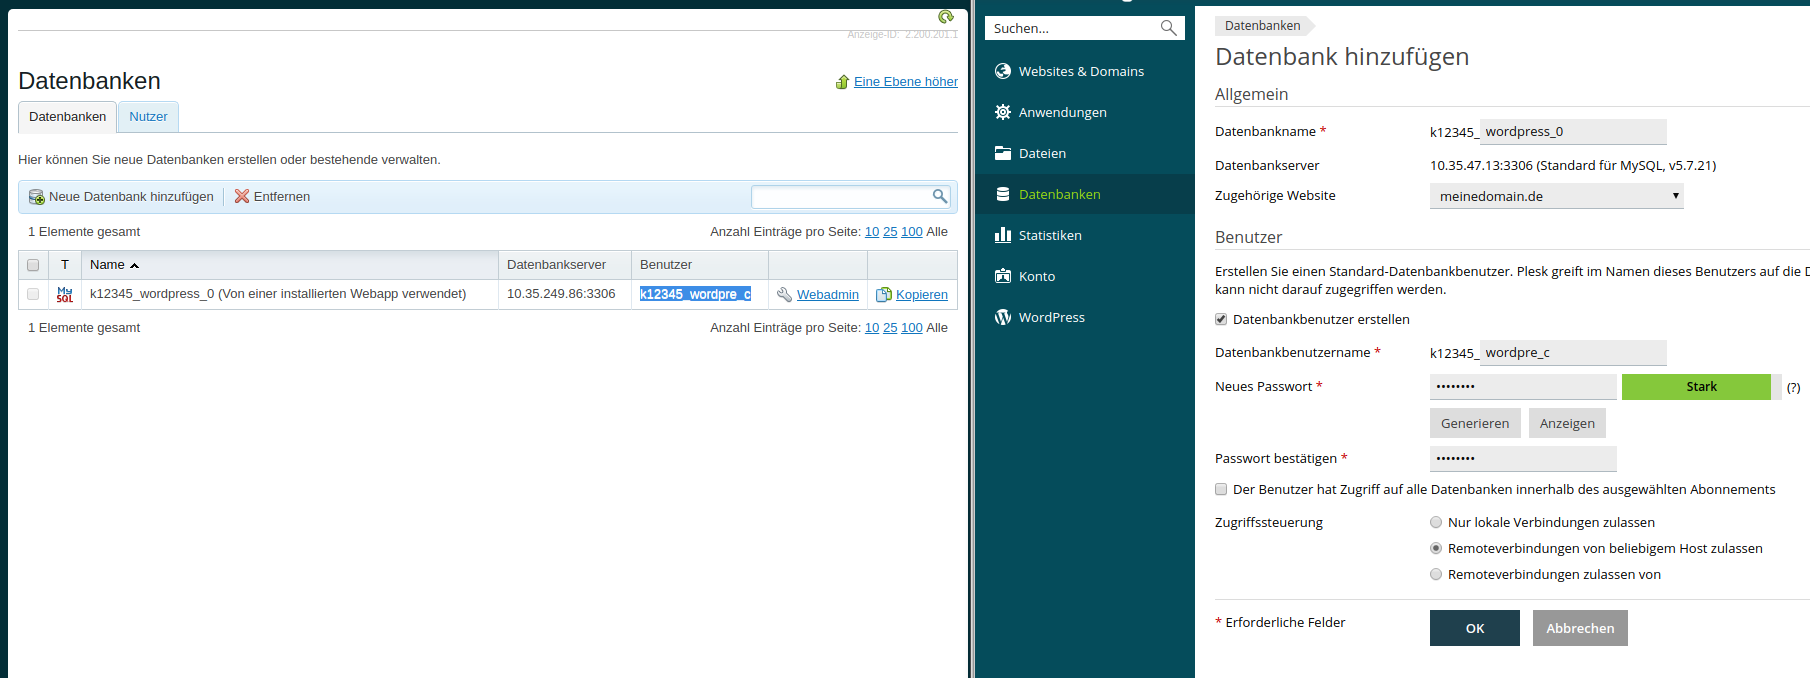
Click on "Add Database".
Assign the same database name, the same database username, and possibly the same password. However, you can change this. Next to "associated website", you can already select the domain for which the database is being created.
Now, for the newly created database, click on "Import Image".

Click on "Select File" under "Upload" and select the previously downloaded .sql file.

Confirm by clicking "OK". The database will now be imported. Repeat this process for each database.
Conclusion of Website Relocation

Your websites may still be accessible even without this step, as long as the databases in the old hosting have not been deleted. However, this will automatically happen 30 days after soft migration. Accessibility of the site does not guarantee that the change has been made correctly. Therefore, please ensure that you have adjusted the configuration file on the new server.
Finally, you will need to adjust the configuration file of the script you are using. Due to the relocation into the new web hosting environment, the IP address at which the database server is located has changed. Perhaps you also changed your password in the previous step? If so, you must now adjust this in the configuration of your web application. The procedure is essentially the same; you just need to modify a different option than in our subsequent example. Here, we illustrate the procedure using Wordpress. If in doubt, please contact the support of the respective system in use. However, a quick internet search usually provides helpful information.
Click on "File Manager" for the domain in the new plan.

If necessary, switch to the previously defined document root for the domain.
In the case of Wordpress, you'll find the necessary options in the wp-config.php file. Open it for editing by clicking on its name.
The setting reads:
/** MySQL hostname */
define('DB_HOST', '10.35.249.86:3306');
Here, the MySQL server 10.35.249.86 with port 3306 is indicated. The port does not change during the move, so you can leave :3306 as is. Only the part before the colon changes.
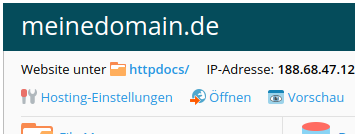
You can find the correct IP address in the Customer Control Panel (CCP) of your web hosting plan (after clicking on the magnifying glass) next to "IP address (internal):"

If the IP address is, for example, 10.35.249.143, the entry in wp-config.php will subsequently look like:
/** MySQL hostname */
define('DB_HOST', '10.35.249.143:3306');
Repeat this for every web application that requires a database. You may also need to adjust the PHP settings for the respective domain in the new plan to match the settings of the old plan.

Website Preview
So far, you haven't changed the DNS entries of your domain. So when you call it up, you're still landing on the old web hosting server. How can you check that everything is fine with your website and the move was successful?
Use the "Preview" function in the new cloud hosting plan for this purpose. This allows you to view your website without the correct DNS entries. To do this, click on "Plesk Onyx Overview" for the domain, and then "Preview":
Using the Wordpress Toolkit
If you use Wordpress, perhaps you had installed it as an application in the old web hosting plan and could benefit from certain features, e.g., an update function. This is also possible in the new WCP, where you even have many more functions at your disposal. Wordpress pages, even those migrated, can be integrated into the "Wordpress Toolkit".
To do so, click on "Plesk Onyx Overview" for the domain.
Then click on "Wordpress" in the left menu.

Now, click on "Search".

The WCP now searches your webspace for all installed Wordpress websites. You can then easily manage these via the Wordpress Toolkit.

Relocating Email Mailboxes
There are various methods to migrate email mailboxes. Here, we show you the procedure using the Thunderbird email client as an example.
As an alternative, we offer a graphical interface for email migration (netcup Mailsync). You can find the tool at the following link: https://mailsync.netcup.net/
Create the same email addresses in the new plan as in the old one. This can be done under "Email Addresses". Set up the old email address in Thunderbird if it hasn't been done yet. Also, set up the new email address. Choose "Manual Edit".
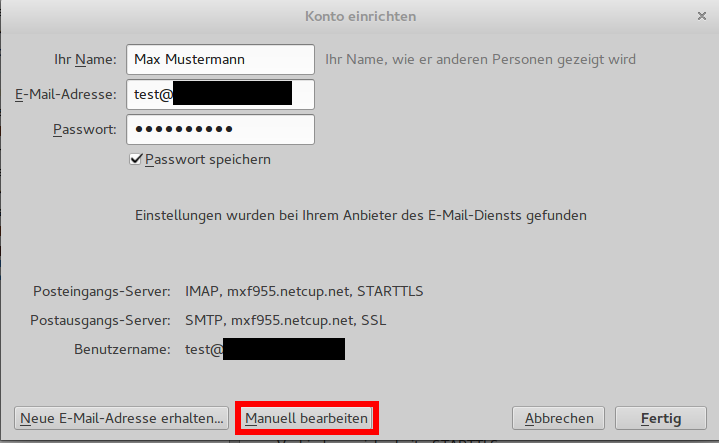
Use the hostname displayed for the new plan in the Customer Control Panel (CCP) next to "SMTP(S)- / IMAP(S)- / POP3(S)-Server:" as the incoming and outgoing mail server. You can leave the other settings as they are suggested.

You have now set up the email address twice in Thunderbird. You can now highlight emails in the old mailbox and drag and drop them onto the new mailbox. The emails will then be copied there. Go folder by folder. Repeat this process for each email address.
Modifying the DNS Records
The following change should only be made once you have completed your migration.
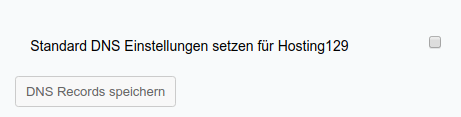
Currently, your domain still points to your old web hosting. When users access the domain, they are still directed to the old server. The same applies to the reception of emails: they are delivered to the old web hosting server. To finally direct your domain to the new plan, log in to your Customer Control Panel (CCP, click on "Domains" in the left menu, then on the magnifying glass icon next to the domain, and then on the "DNS" tab. Here, you'll find an option for your domain labeled "Set Default DNS Settings for Hosting...". If you activate this and save the DNS records, the DNS entries for the new web hosting will be set.
This also applies to email delivery. Some emails might still arrive on your old server, while others will already be delivered to your new email inboxes.
The domain now points to the new web hosting plan. It may take up to 48 hours for this change to propagate, as DNS resolvers employ a so-called caching. During this period, visitors might still be directed to your old server, while some visitors might already access the new server.