
netcup wiki
Webhosting

FTP Access
Learn how to add FTP accounts to your web hosting and connect with an FTP client.
1. About FTP
FTP (File Transfer Protocol) is used to transfer data between your local computer and the web hosting server. By default, data is transferred unencrypted during an FTP connection.
We recommend using the secure protocols SFTP and FTPES (FTP over SSL/TLS).

For instructions on how to activate SFTP and FTPES, please refer to the documentation for your FTP client.
Users
Main-User
- The main user is the FTP account of the subscription owner.
- It is created automatically when web hosting is set up.
- Has access to the entire hosting directory.
- Supports connections via FTP, FTPES, and SFTP.
Additional FTP User
- Is granted access to a defined subdirectory.
- Supports connections via FTP and FTPES, but not SFTP.
2. FTP Account
Adding FTP Accounts
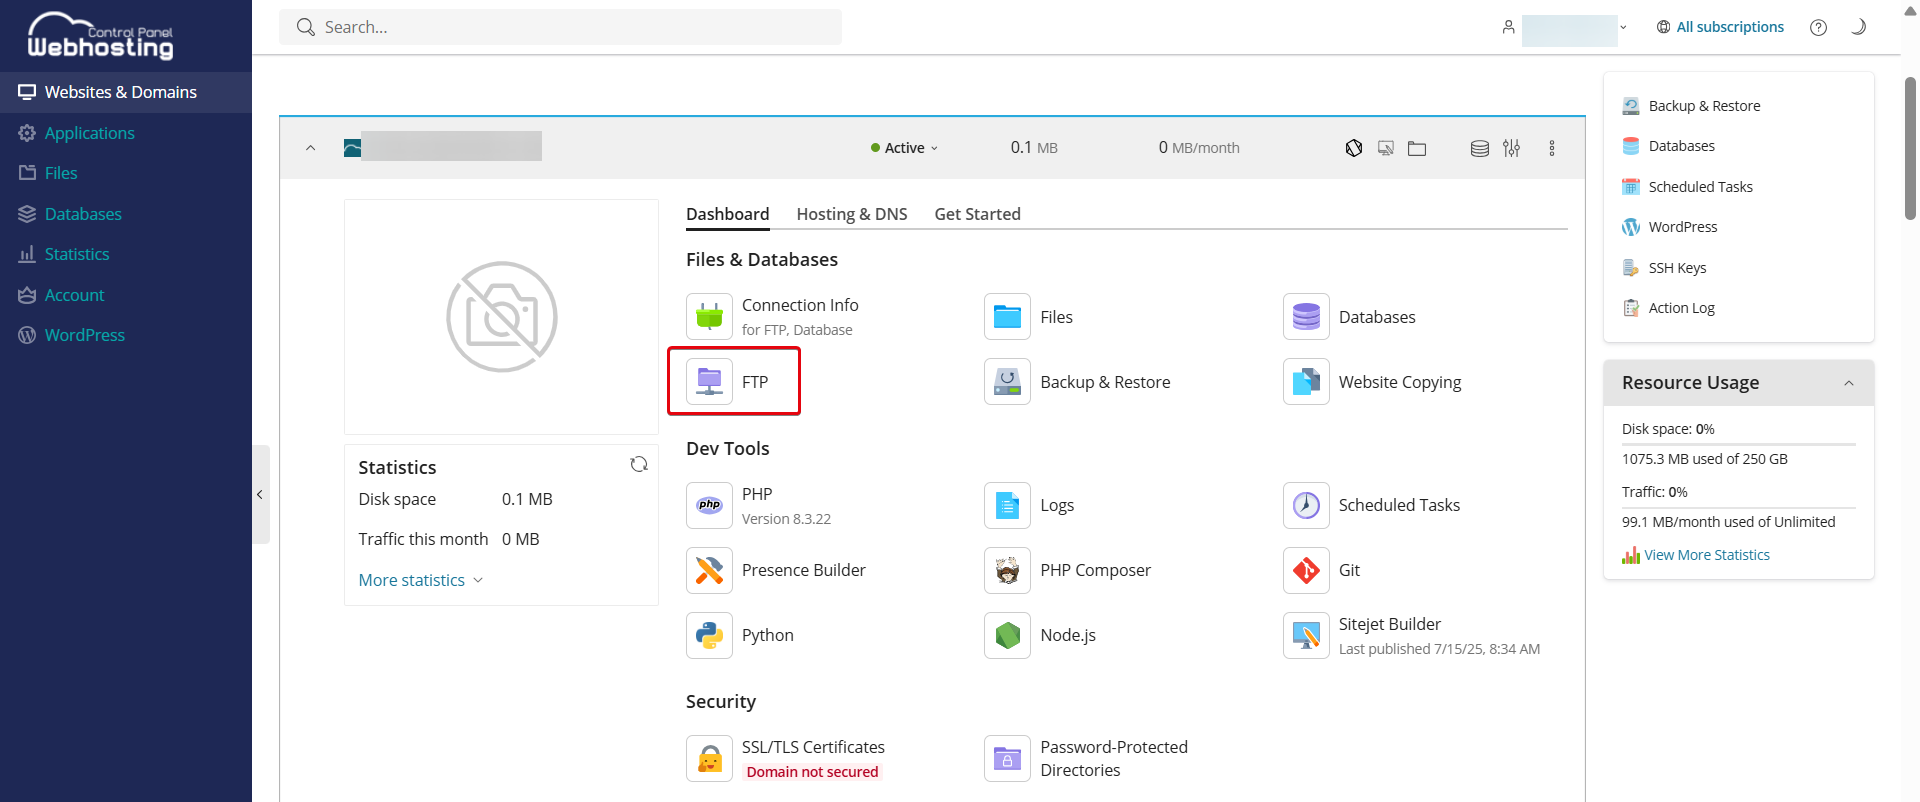
- Log in to the Webhosting Control Panel (WCP).
- Go to the Websites & Domains menu item.
- Select your domain and click FTP in the Dashboard.
- Click Add an FTP Account.
- Configure your settings:
- FTP account name: Enter a username
- Home directory: Select the directory to which the user should be redirected when they connect to the FTP account.
- Password.
- Click OK.
Editing FTP Accounts
- Log in to the Webhosting Control Panel (WCP).
- Go to the Websites & Domains menu item.
- Select your domain and click FTP in the Dashboard.
- Select the desired account.
- Make your changes and click OK.
Removing FTP Accounts
- Log in to the Webhosting Control Panel (WCP).
- Go to the Websites & Domains menu item.
- Select your domain and click FTP in the Dashboard.
- Check the box next to the account you want to remove. Note that you cannot remove the main account.
- Click Remove.
- Confirm by clicking Yes, remove.
3. Connecting with an FTP Client
- Open your FTP client (e.g., FileZilla, WinSCP, or Cyberduck).
- Use the login details you configured for your FTP account (username and password).
- Enter your standard domain or the IP address of the hosting under Server. We recommend entering the information as follows:
- ftp://hosting.a123.netcup.net
- sftp://hosting.a123.netcup.net
- ftpes://hosting.a123.netcup.net
This allows most programs to automatically select the correct ports for the protocol.
- Click Connect.
- If the connection is successful, your FTP client will display the file structure. You can now manage your files via FTP.
4. Frequently Asked Questions (FAQ)
How can SFTP be enabled for additional FTP users?
Since SFTP runs via SSH, SFTP access requires SSH access. For security reasons, however, this is only active for the standard FTP user. Use FTPES instead.
How many FTP connections are possible at the same time?
A maximum of 30 FTP connections is possible. However, we recommend not reaching this limit, as our security systems may block your IP address.