
netcup wiki
Domain

Connecting a netcup Domain to a Webhosting instance
The process for using a netcup Domain in combination with netcup Webhosting is very simple. This chapter provides you with a detailed step-by-step guide.
1. Registration
The first step to connecting an additional netcup Domain to a netcup Webhosting that is already in use is to register a new netcup Domain. This process is documented in detail in this chapter.
Once you have ordered a new netcup Domain, you can proceed to Step 2.
2. Accessing the CCP
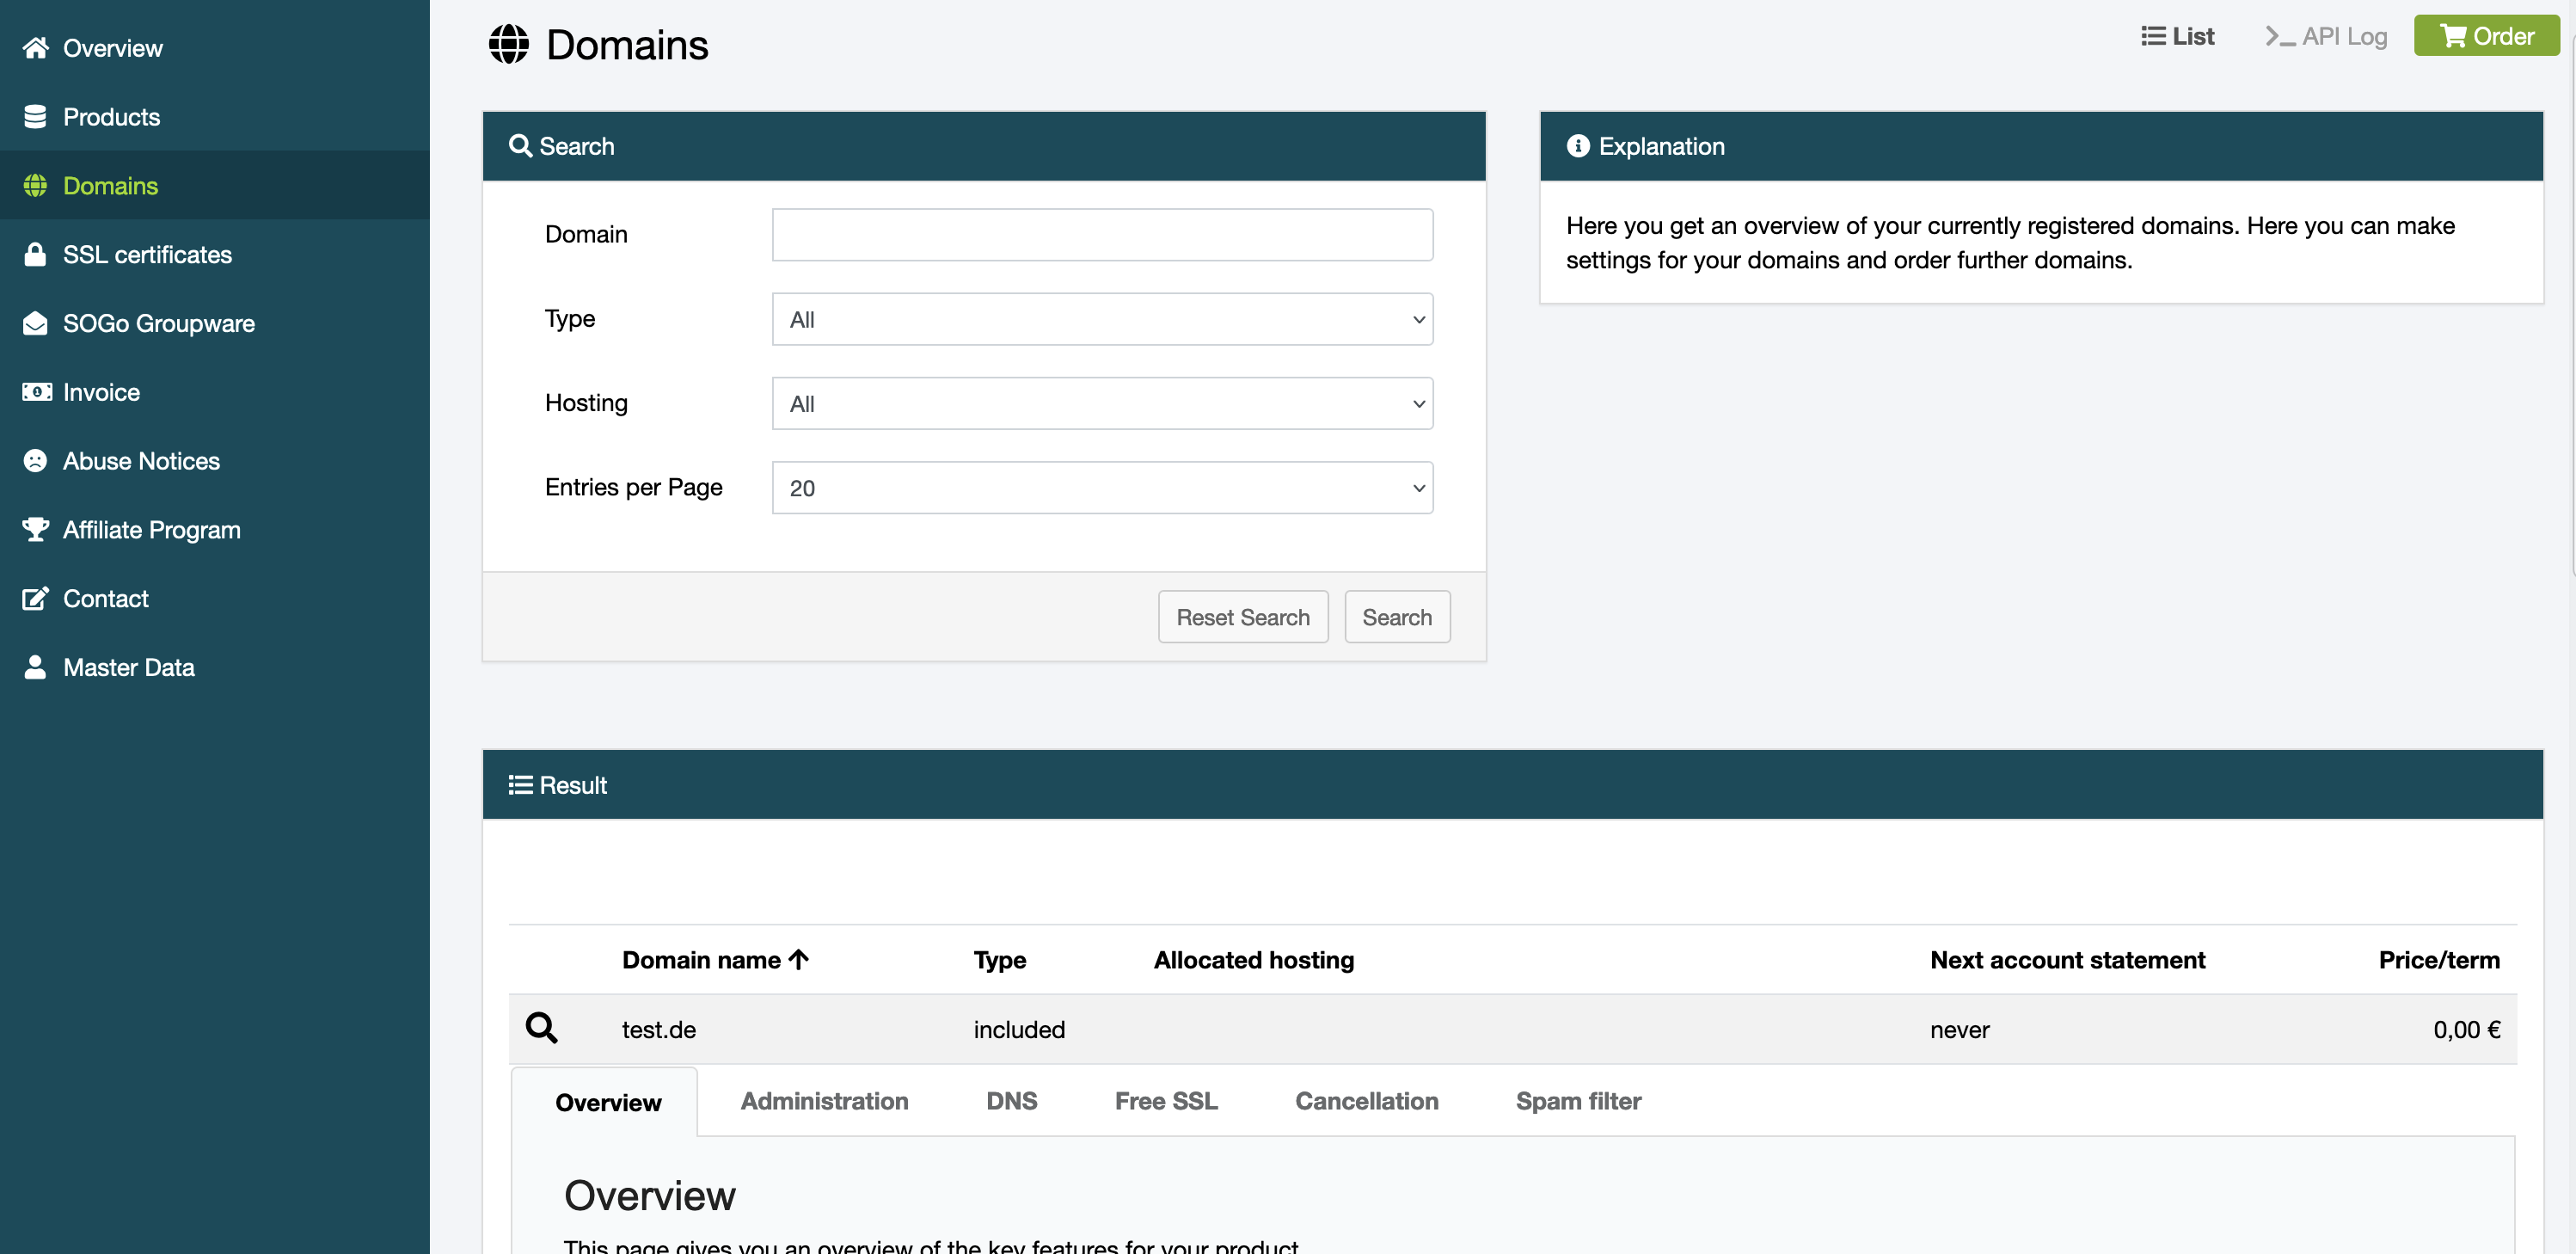
Open your Customer Control Panel (CCP) and go to the "Domain" section in the left navigation bar.
Look for the domain you would like to connect. Click on the magnifying glass to the left of the domain name, then change to the "Administration" tab.
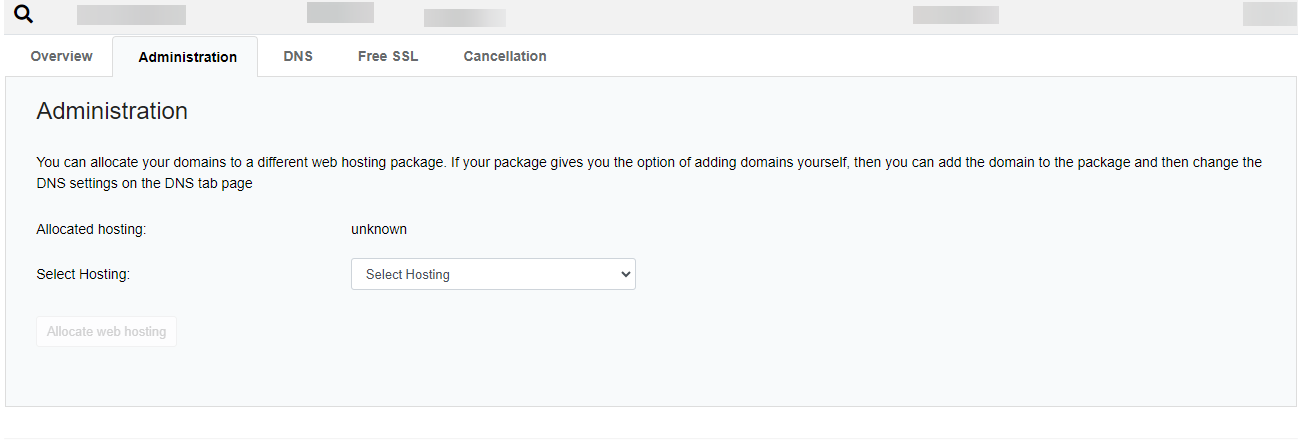
3. Selecting the Webhosting instance
Under "Select Hosting", you will find a drop-down menu listing your currently active netcup Webhosting instances. Select the desired instance and confirm the selection by clicking on "Allocate web hosting". The Domain will be accessible via this Webhosting instance within a few minutes:
netcup
netcup Enterprise
Community
netcup Enterprise
Community