
netcup wiki
Webhosting

FTP Access
This guide provides step-by-step instructions on how to access your instances via FTP using the Webhosting Control Panel. FTP allows you to manage your files directly.
1. Accessing the CCP
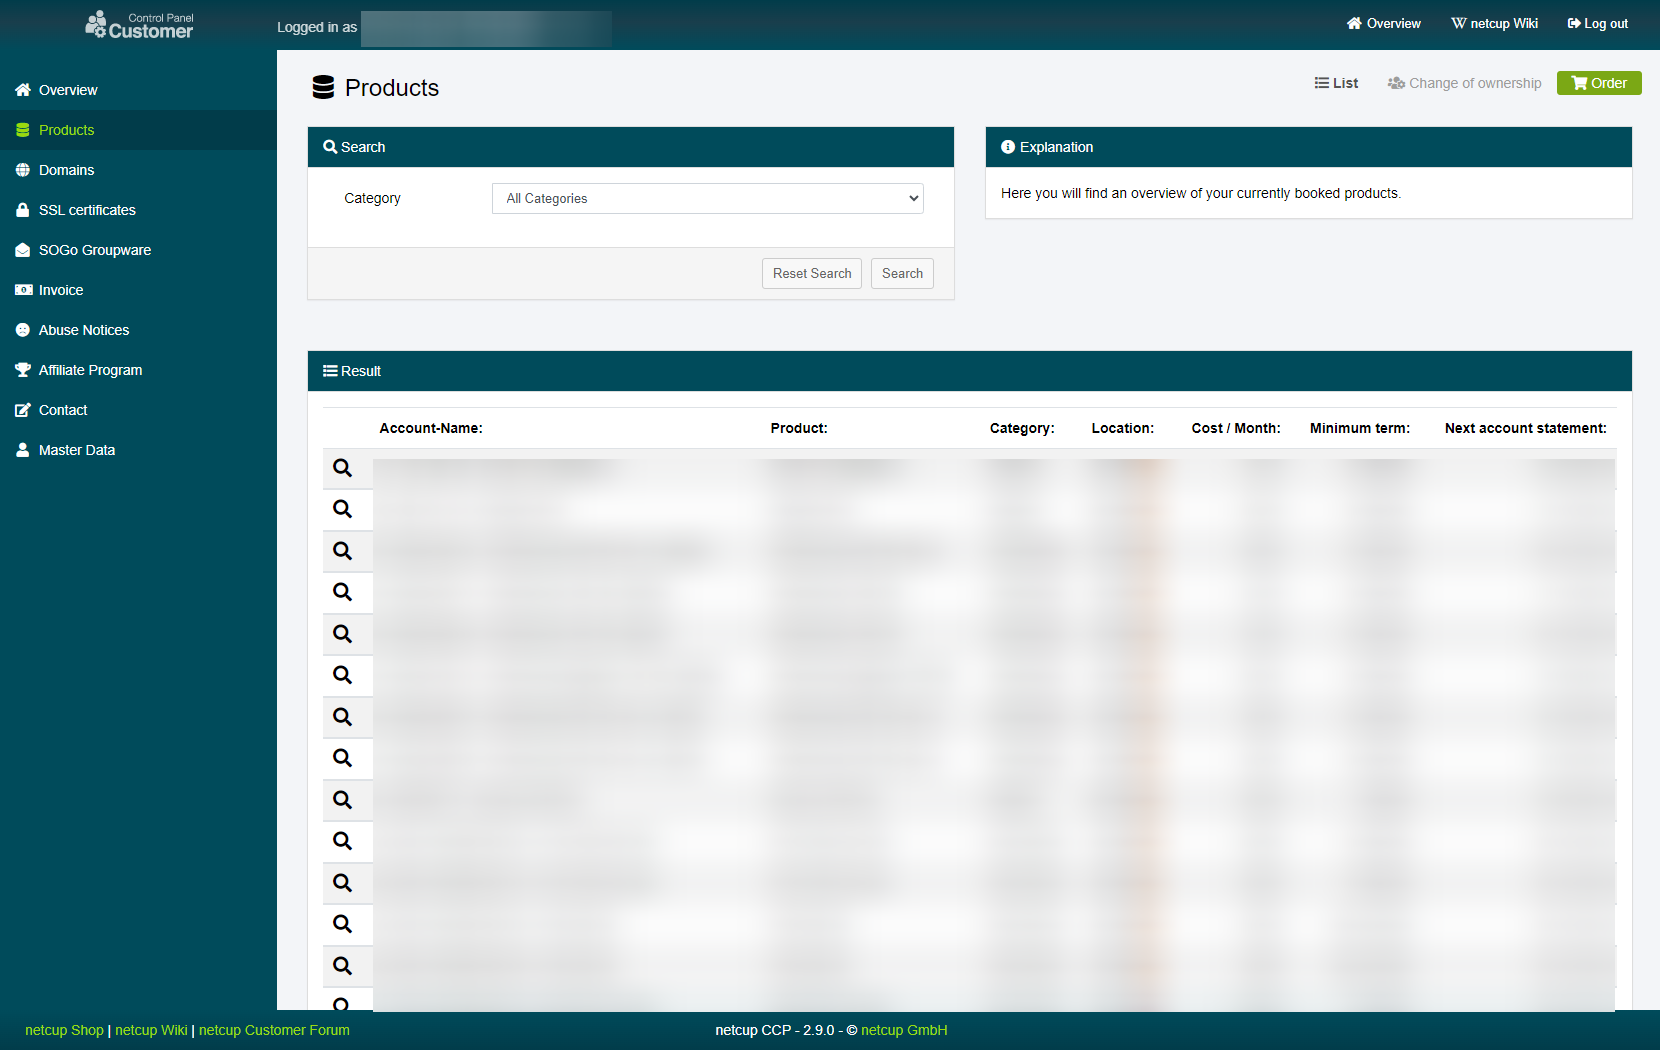
Log into your Customer Control Panel (CCP). In the navigation bar on the left, go to the "Products" section. Find the Webhosting instance you want to access via FTP and click on the magnifying glass icon next to the instance name. Then click on "FTP Access"
2. FTP Credentials
In the new window, you'll need to set your FTP username and password. Use strong and unique credentials to ensure security. Once you've filled in the required information, click on "OK" or "Apply" to save your FTP account details.
Please keep this tab open during the next steps as it contains crucial information for your FTP client setup.
3. Accessing via FTP Client
Now, open your preferred FTP client on your local machine (for instance, FileZilla, WinSCP, or Cyberduck).
Use the FTP credentials you configured in the previous step to connect. Normally you have to fill in at least the fields "Server", "User name" and "Password". You have just set the user name and password. You can use your domain as the "Server".
After filling in these details, click on "Connect" or "Quickconnect" in your FTP client.
4. Success
If the connection is successful, your FTP client will display the file structure. You can now start managing yourfiles via FTP.
netcup
netcup Enterprise
Community
netcup Enterprise
Community