
netcup wiki
Webhosting

Adding External Domains

Domains from other netcup accounts cannot be added as external domains.
Depending on the plan, a certain number of free external domains may be included, which is the case with most current products. For all other plans, or once the number of free external domains has been used up, additional external domains can be added for a one-time setup fee of €4.20 (+VAT). This fee will be clearly displayed during the process. There are no further costs.

If you have a reseller web hosting account, you can add external domains directly in the Plesk hosting panel: Reseller Web Hosting. There are no setup fees for reseller web hosting.
1. Creating and Validating External Domains
Creating a Domain
- Log in to the Customer Control Panel (CCP).
-
Go to the Domains menu item.
-
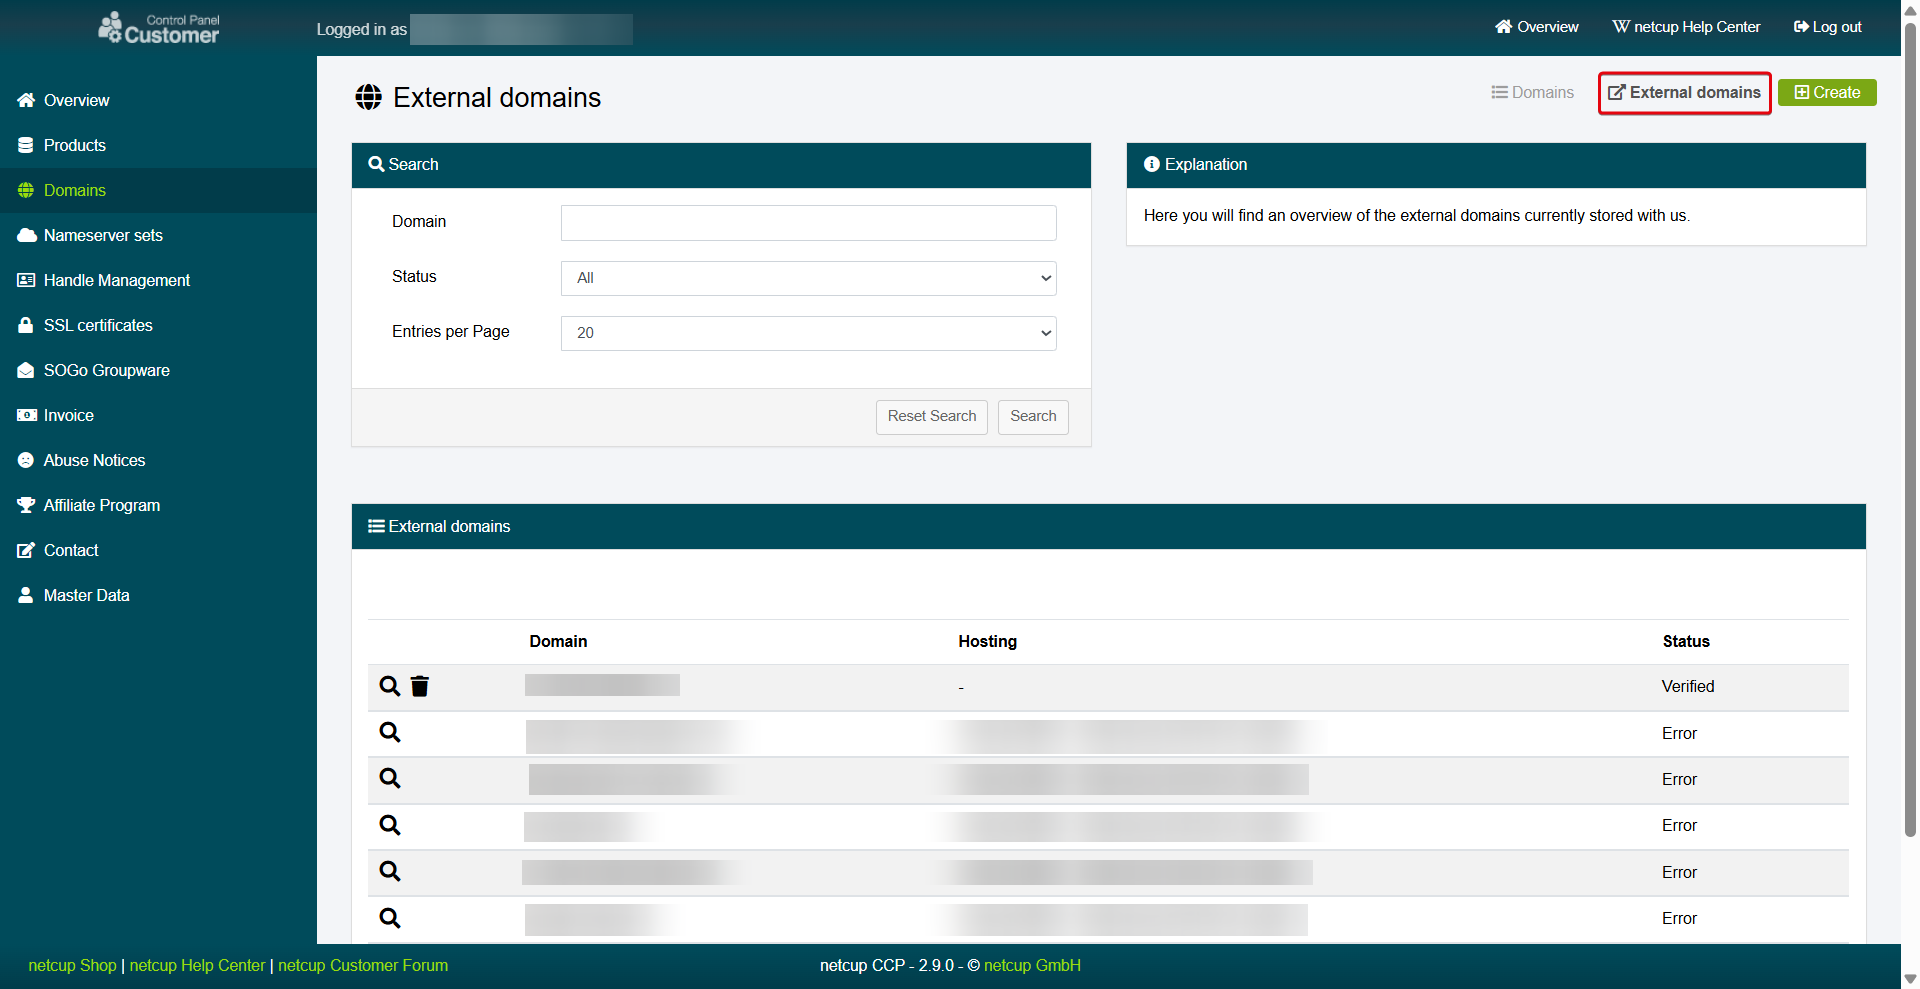
Go to the External domains tab.
-
Click Create.
-
Enter the name of the external domain.
-
Click Confirm.
Validating a Domain
- A window with the DNS settings will appear.
- Write down the displayed verification token.
- Store the token in the DNS records with your domain provider.
- Click the Magnifying Glass Icon next to the domain.
- Click Start token verification.
- The system will now regularly check whether the token has been entered.
- You will be notified by email as soon as the token has been successfully validated, at which point you can assign the domain. If validation fails repeatedly, it will be stopped after 24 hours. You will also receive an email notification if this occurs.
You cannot use Netcup nameservers to host the DNS records of the domain. The DNS records must be set with your provider on their nameservers. Contact your domain provider.
Regular Validation
Added external domains are checked each month to ensure they are still valid. This means the system checks if the token is still stored. If not, you will receive an email notification that your settings may be incorrect. Nothing will be removed automatically.
2. Assigning External Domains to a Web Hosting Account
After successful validation, you can assign your external domain to a web hosting plan.
- Go to the Products menu item.
- Click the Magnifying Glass Icon next to the web hosting plan for which you would like to add an external domain.
- Go to the External domains tab.
- Select the previously added domain and click Add external domain. Note that only validated domains can be selected.
3. Managing External Domains
Viewing External Domains
- Go to the Domains menu item.
- Click the Magnifying Glass Icon next to the domain.
- You will now see an overview of your domain's status, verification token, and other details.
Deleting External Domains
All data assigned to the domain, including webspace content, email inboxes, apps, users, etc., will be lost.
- Go to the Products menu item.
- Click the Magnifying Glass Icon in front of the web hosting plan to which the external domain is assigned.
- Go to the External domains tab.
- Remove the external domain from the web hosting plan by clicking the Trash Can Icon.
- Switch to the Domains menu item.
- Go to the External domains tab.
- Click the Trash Can Icon next to the domain you want to remove.