
netcup wiki
Webhosting

Managing PHP settings
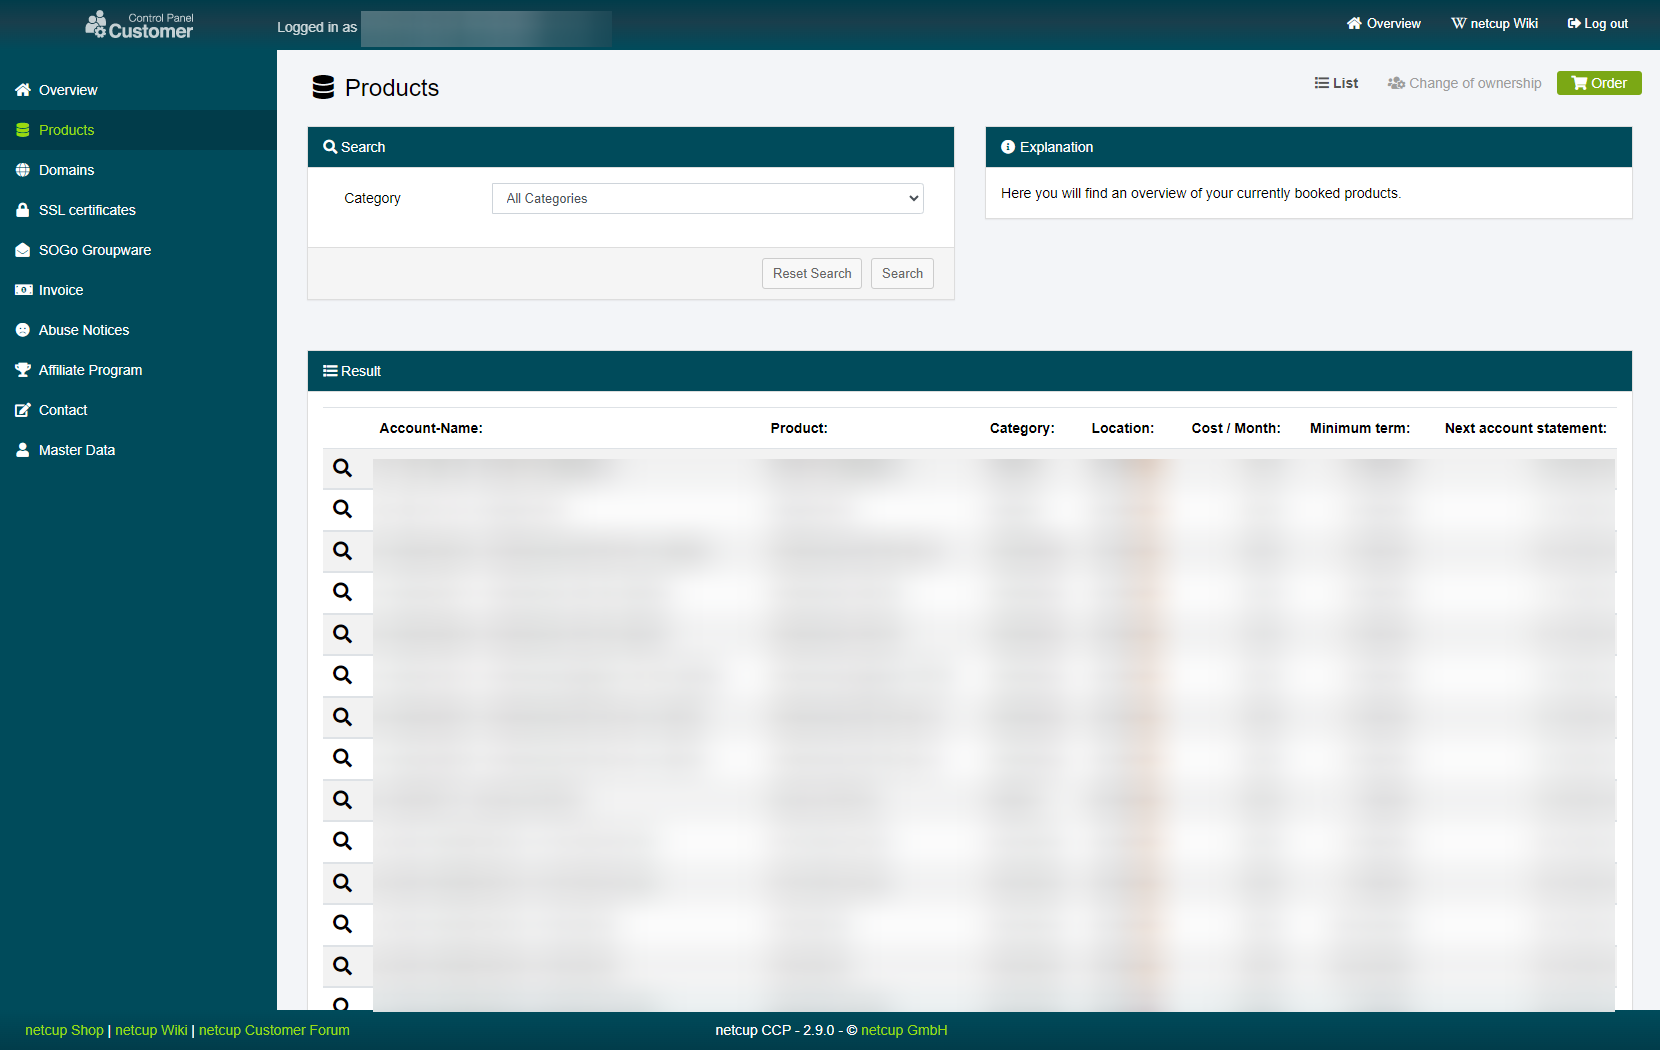
1. Accessing the CCP
Log into your Customer Control Panel (CCP). In the navigation bar on the left, go to the "Products" section. Find the Webhosting instance where you want to manage PHP settings and click on the magnifying glass icon next to the instance name.
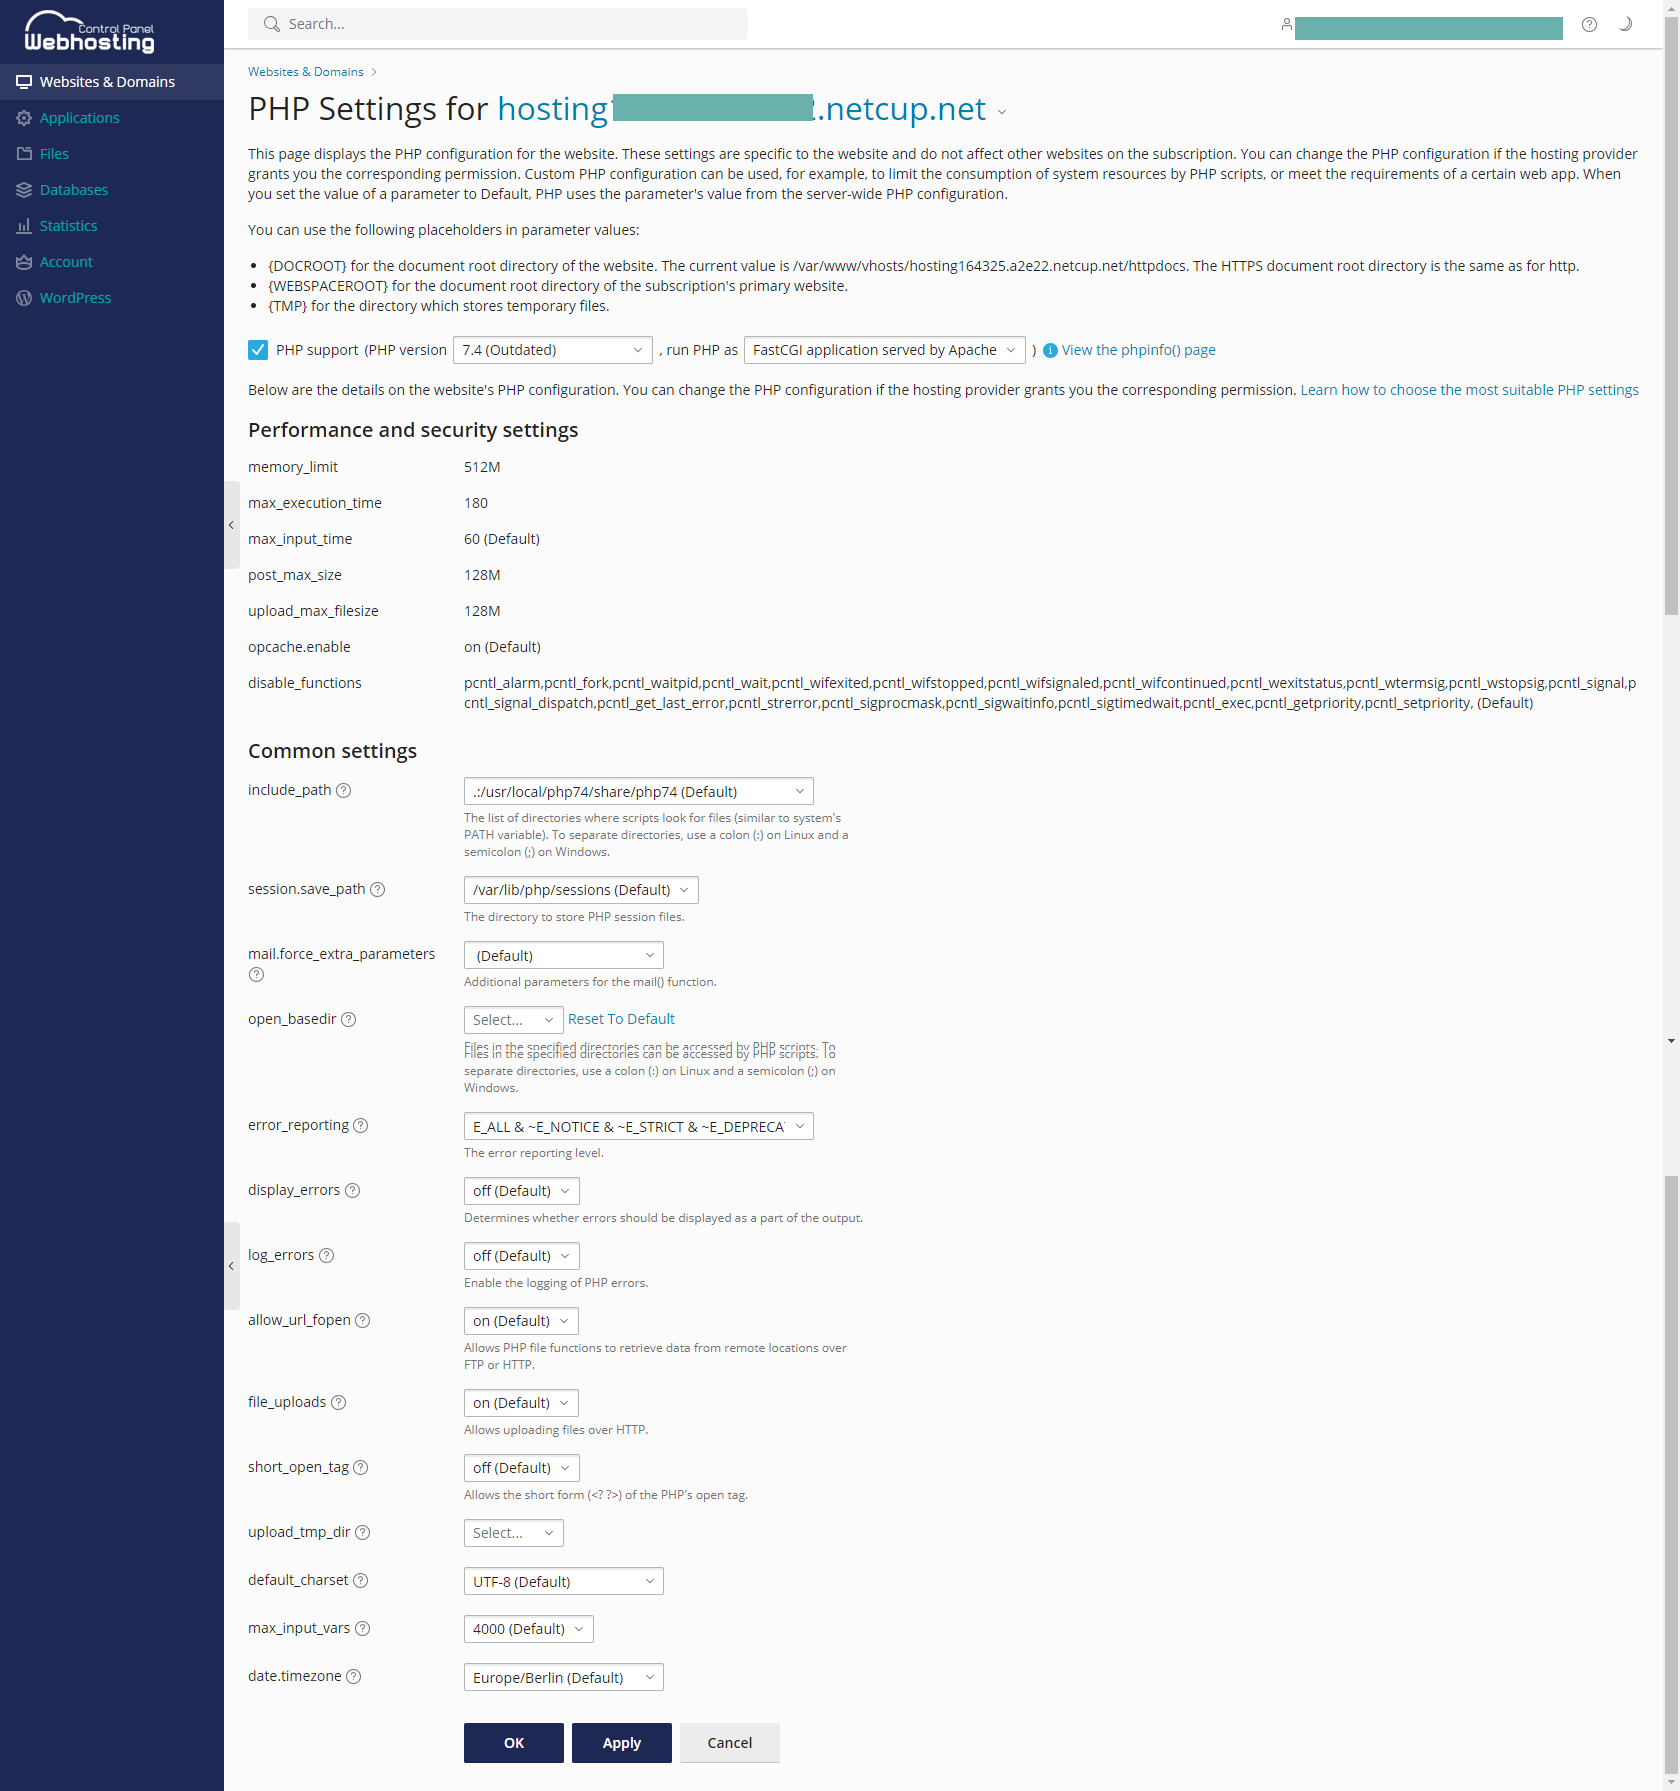
2. Managing PHP Settings

Please note that you can only manage the displayed PHP settings. Only the shown values may be changed. This is a limitation that cannot be circumvented by our support either.
Under "Select a domain," choose the domain you want to work with and click on "PHP Settings".
You will be redirected to your Webhosting Control Panel. In the new window, you'll be able to adjust your PHP settings such as the PHP version, runtime settings, and extensions. Make the necessary changes and click "Apply" to save them.
3. Success
Congratulations! You have successfully updated your PHP settings through the Webhosting interface.
netcup
netcup Enterprise
Community
netcup Enterprise
Community