
netcup wiki
SOGo Groupware

Changing a SOGo Users Quota
In this chapter, we are providing you with a step-by-step guide on how to change the quota of storage space available to an existing SOGo user. This helps you manage the storage of your SOGo instance effectively.
1. Selecting the instance
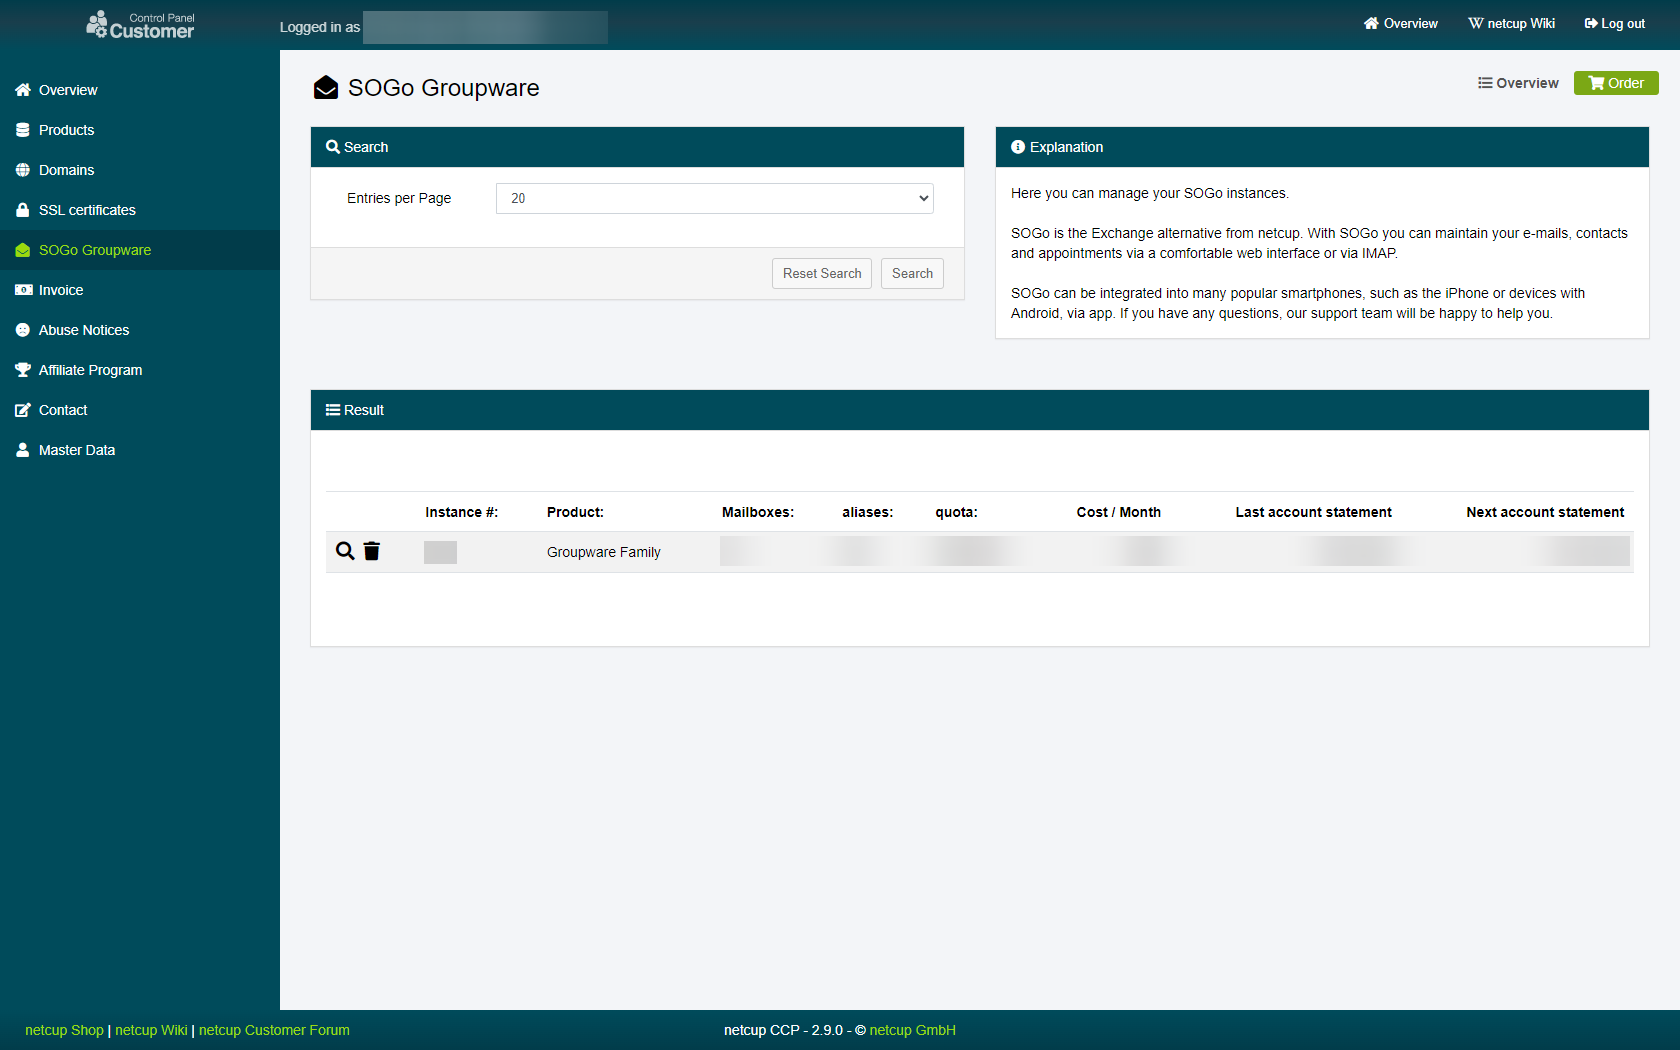
Head to the SOGo page in your Customer Control Panel and click on the magnifying glass next to the SOGo instance with the user whose quota you want to change:
2. Changing the quota
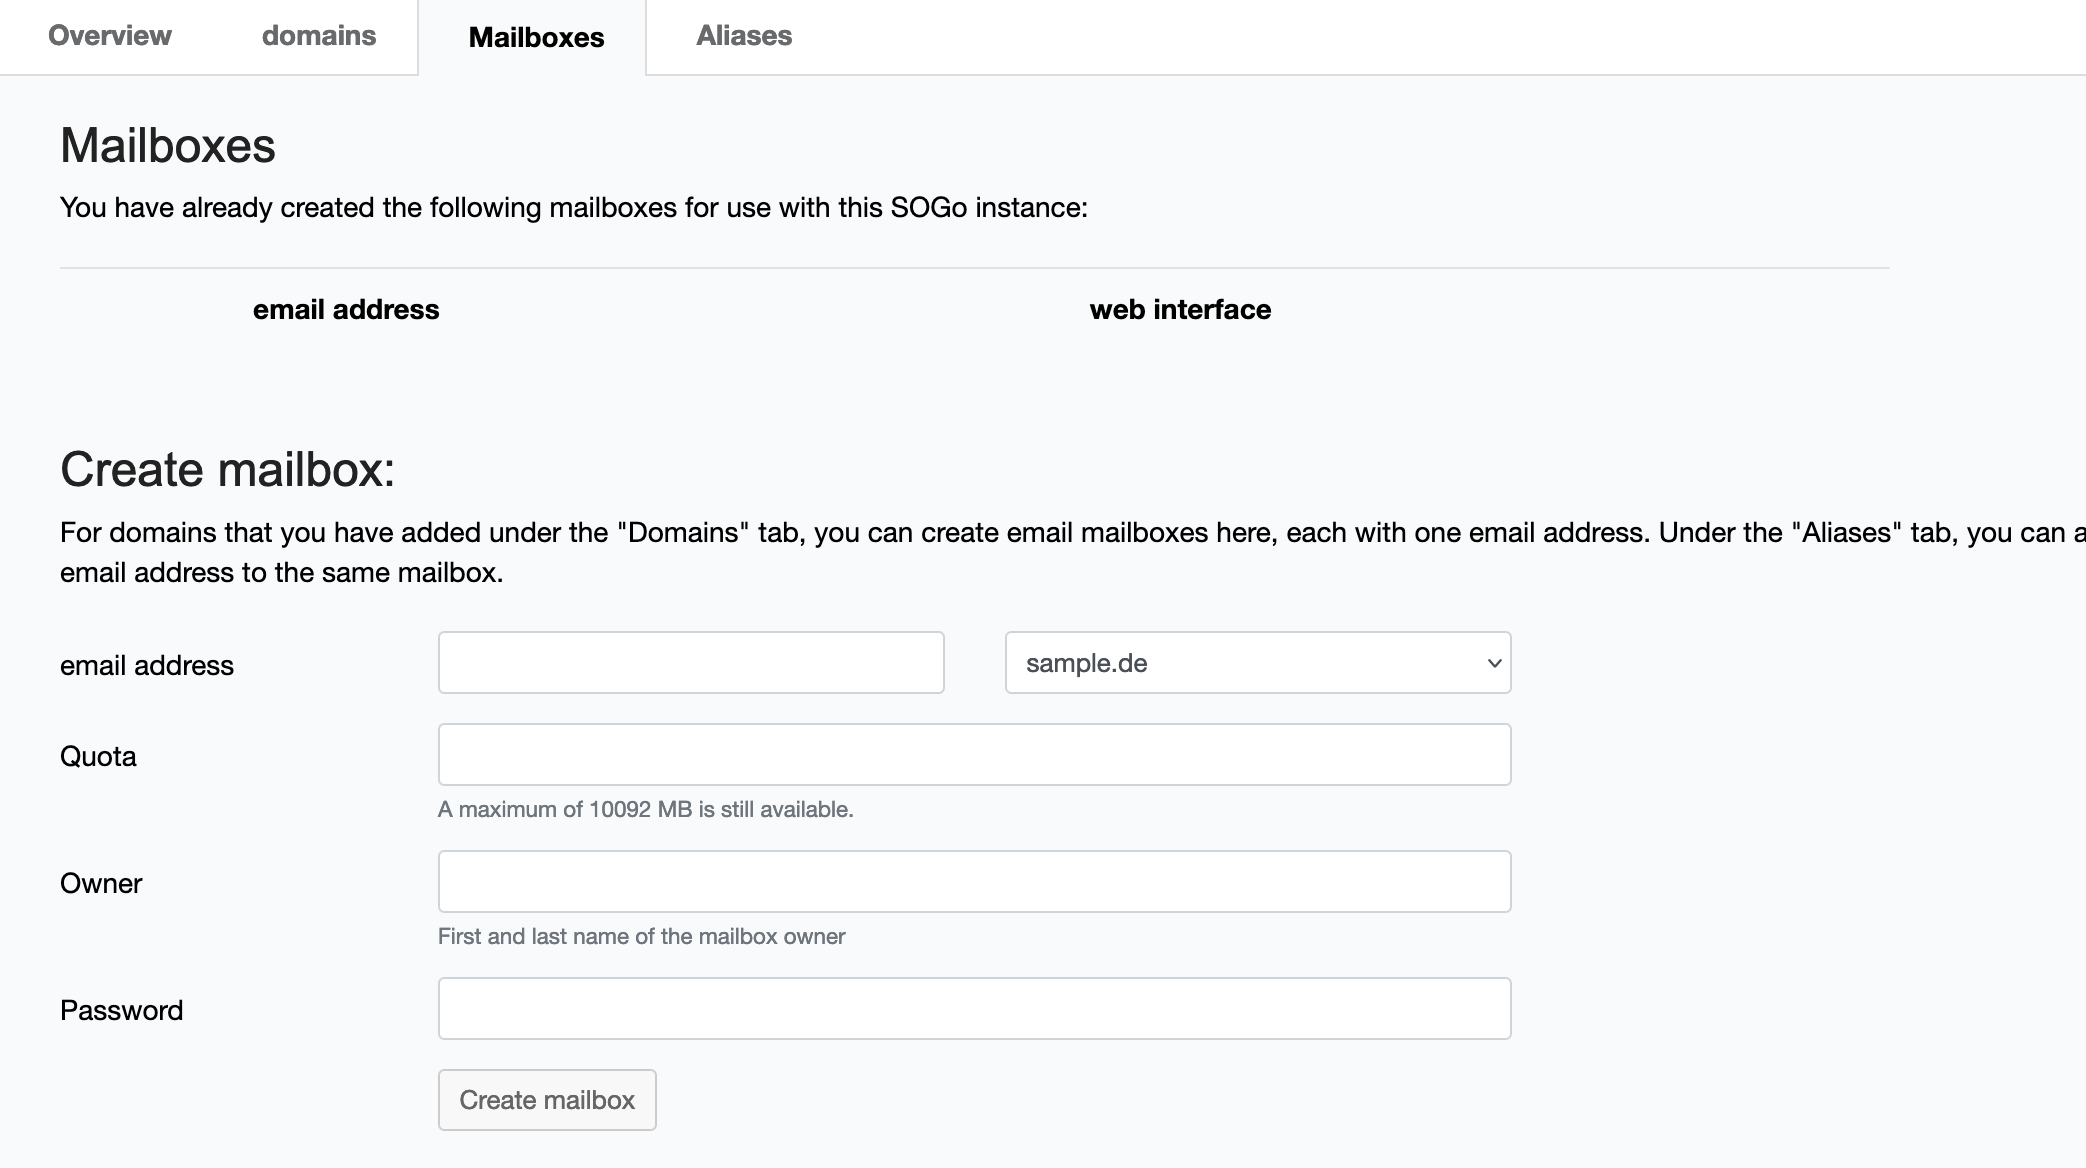
Switch over to the "Mailboxes" tab and look for the address whose quota you want to change. Click on the notepad symbol to the left of the mailbox. Type in the new quota in megabytes under "Quota":
3. Success
Click on "Ok". You have now changed the quota of storage available to the selected address.
netcup
netcup Enterprise
Community
netcup Enterprise
Community