
netcup wiki
SOGo Groupware

Creating an Alias
In this chapter, we are providing you with a step-by-step guide on how to add an alias for an existing address. An alias is an additional email address that you can assign for delivery to an existing address. Aliases may be helpful in reducing spam, improve privacy and can provide you with additional control by allowing you to hand out an alias rather than your actual address.

An alias cannot be applied to several inboxes at the same time.
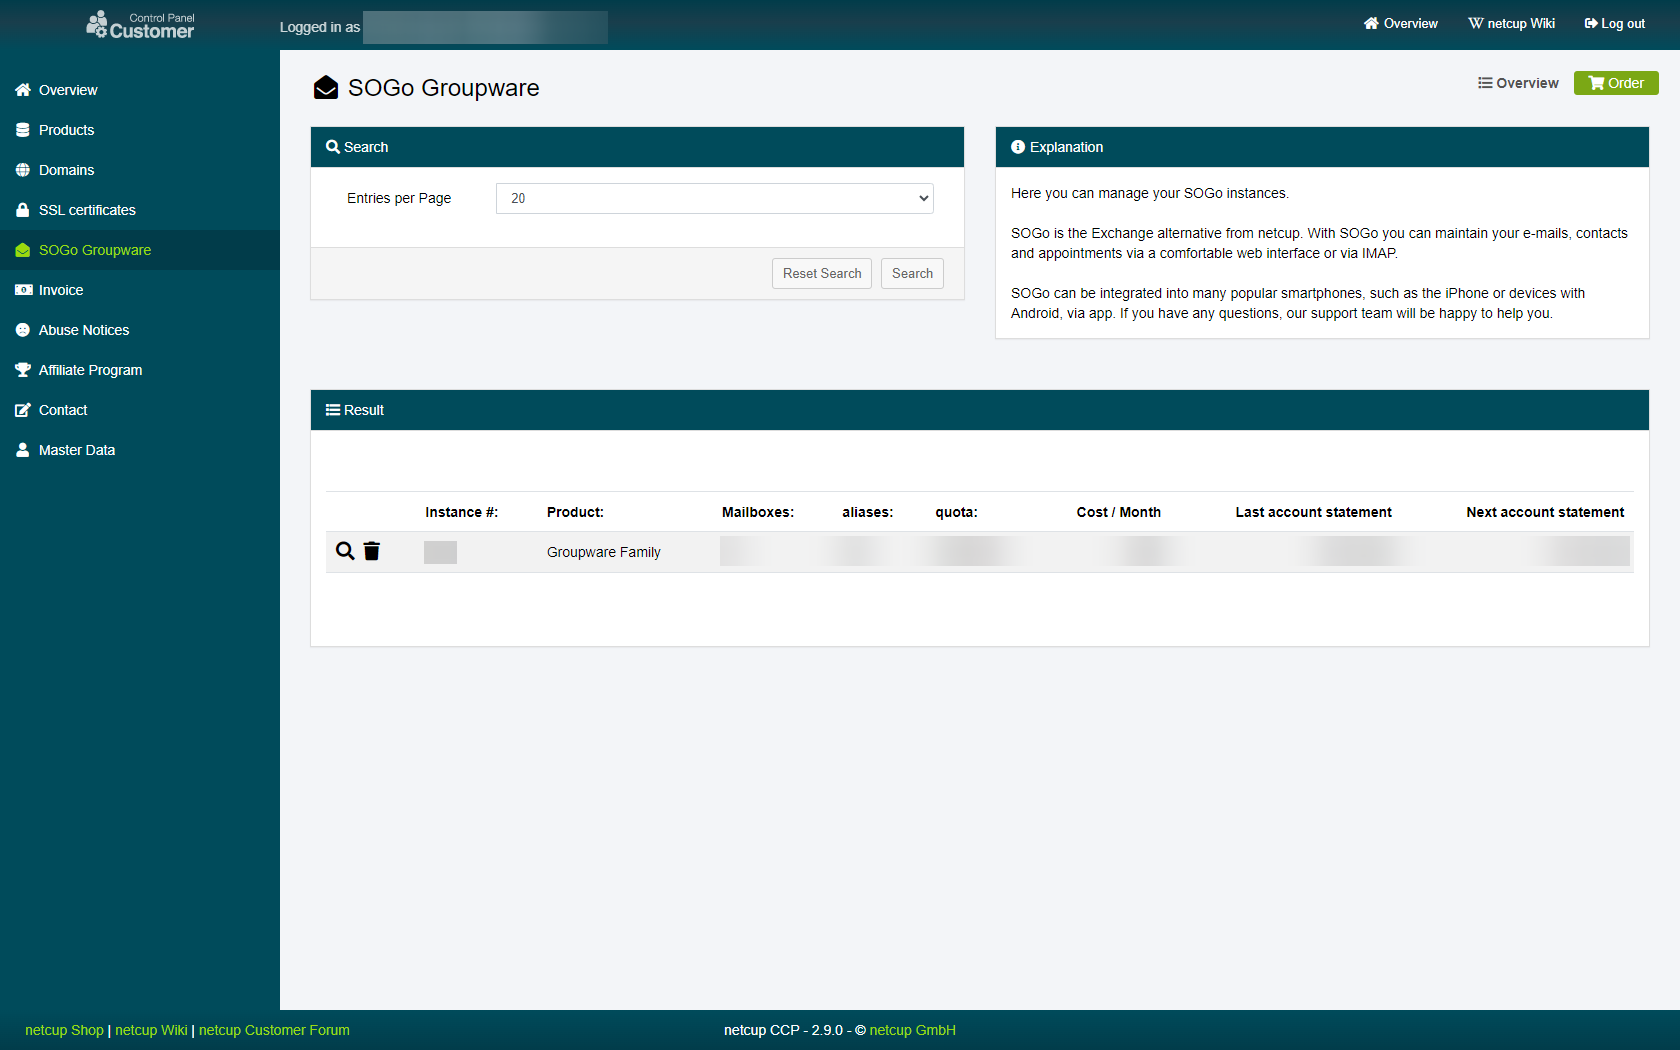
1. Selecting the instance
Head to the SOGo page in your Customer Control Panel and click on the magnifying glass next to the SOGo instance on which you want to create an alias:
2. Creating an alias
Switch over to the "Aliases" tab and look for the section titled "Add alias".
| Titel | Content |
|---|---|
| Here you can set the address for your alias. Add the new alias address name on the left and select the Domain you want to use on the address right. | |
| Mailbox | Here you select the address to which the alias is supposed to forward all emails it receives. |
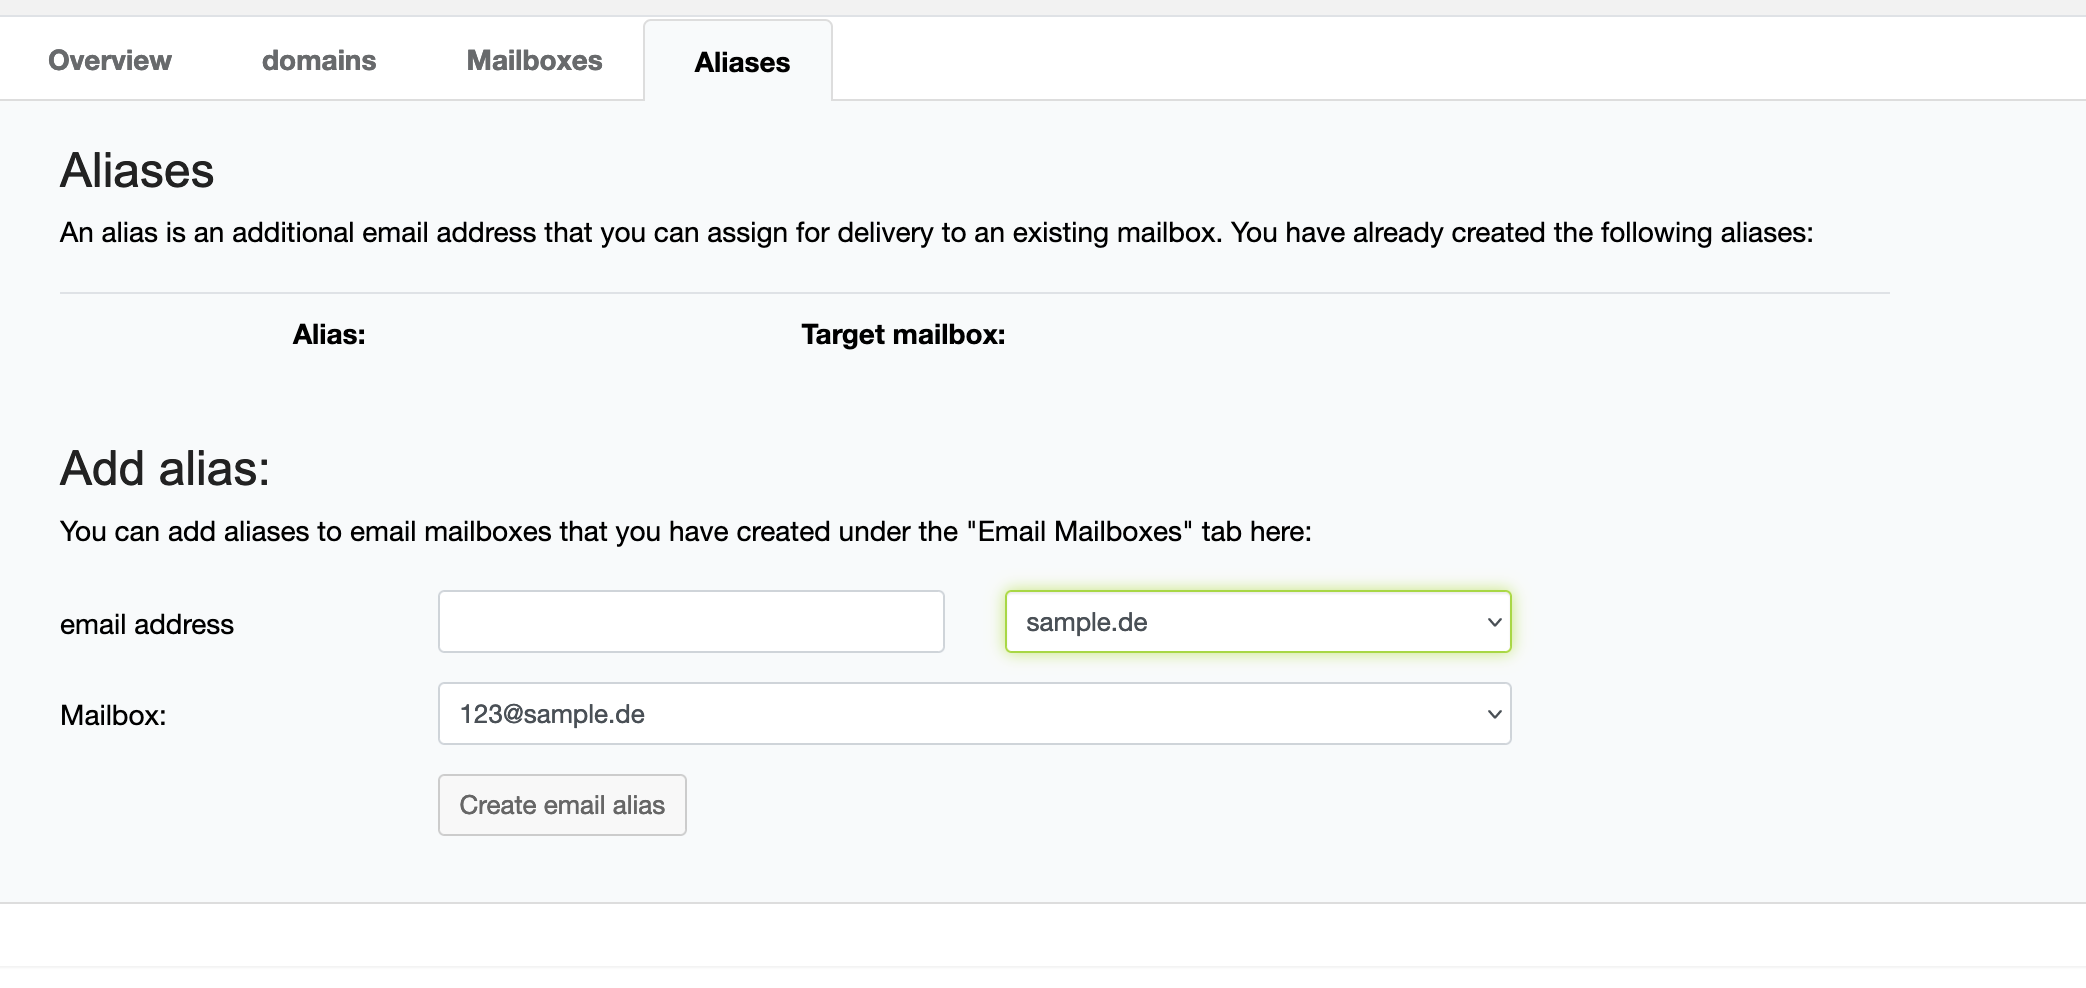
3. Success
Click on "Create email alias" at the bottom. You have now created an alias. Any mail received by the alias will be forwarded to the address you selected under "Mailbox" in the previous step.
netcup
netcup Enterprise
Community
netcup Enterprise
Community