
netcup wiki
Webhosting

Setting Up and Managing Email
1. Setting Up a New Email Address
- Log in to the Customer Control Panel (CCP).
- Go to the menu item Products and click on the Magnifying Glass Icon next to the corresponding web hosting instance.
- Click Auto-Login MAIL.

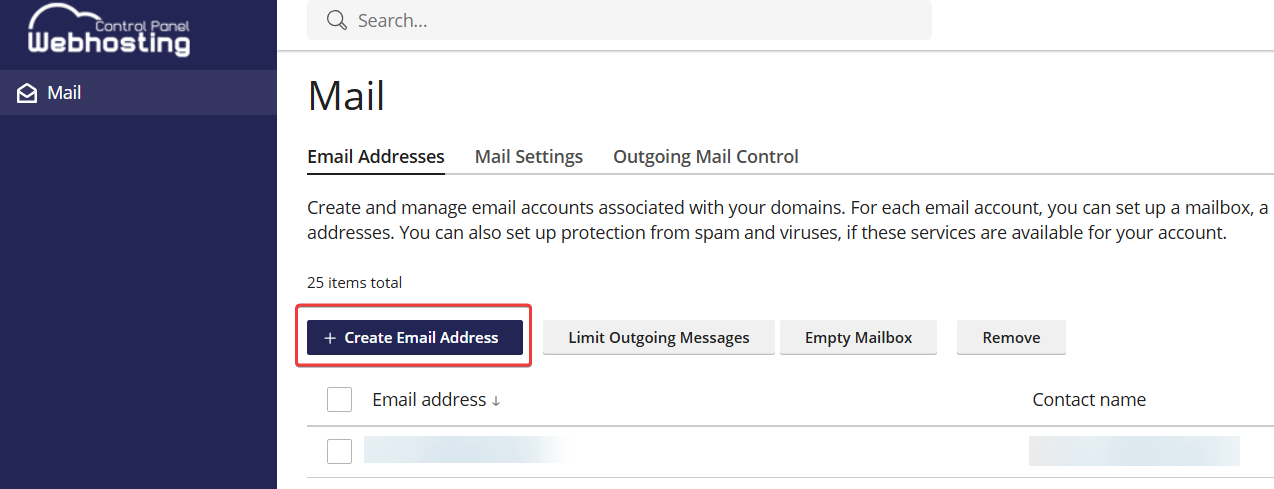
- You will now be redirected to the Webhosting Control Panel (WCP).
- Click Create Email Address.
-
Enter all the necessary information for your new email address and configure your desired settings.
-
Click OK to create the email address.
2. Managing Email Addresses
In the Webhosting Control Panel (WCP), you will find a list of your existing email addresses under Email. Click on an email address to manage it and make changes.
General Settings
Can be used to log in to Plesk
Selecting the Can be used to log in to Plesk checkbox, allows you to log in to your mailbox with your email address and the generated password. There, you can configure your own settings (mainly for web hosting resellers).
Maximum number of outgoing email messages
You can set the maximum number of emails that can be sent from this mailbox. The default value is a maximum of 250 messages within 60 minutes. The user-defined value may not exceed the default number of 250 messages. A maximum of 750 messages can be sent within 24 hours.
You may also be interested in:
netcup
netcup Enterprise
Community
netcup Enterprise
Community